This copy is for your personal, non-commercial use only. Distribution and use of this material are governed by our Subscriber Agreement and by copyright law. For non-personal use or to order multiple copies, please contact The Epoch Times Reprints.
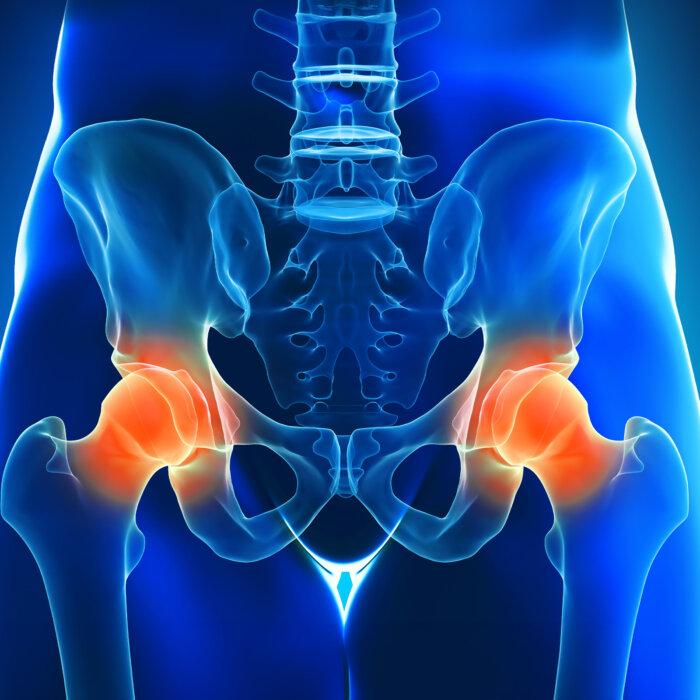
Decreased core strength and hip instability are yokes that many of us wear around our necks—or actually, our midsections. While muscular weakness in general poses many challenges, hip instability does so in particular, because that’s where your center of balance is.
Generally, your center of balance is right at the level of your navel, or the level of your second sacral vertebra. In the way that buildings need a strong foundation to be sound, core strength and hip stability serve as the foundations for our balance.
Fun Experiment: If you are wearing a belt, have someone hold on to it and lightly pull or push as you try to walk (carefully, though, because falls aren’t fun). You’ll be surprised how much this little bit of force can meddle with your balance and break up your gait pattern, forcing your body to make dozens of quick postural corrections. A weak core and hips that struggle with instability present similar challenges.
Let’s put on our construction hats and build a better foundation.
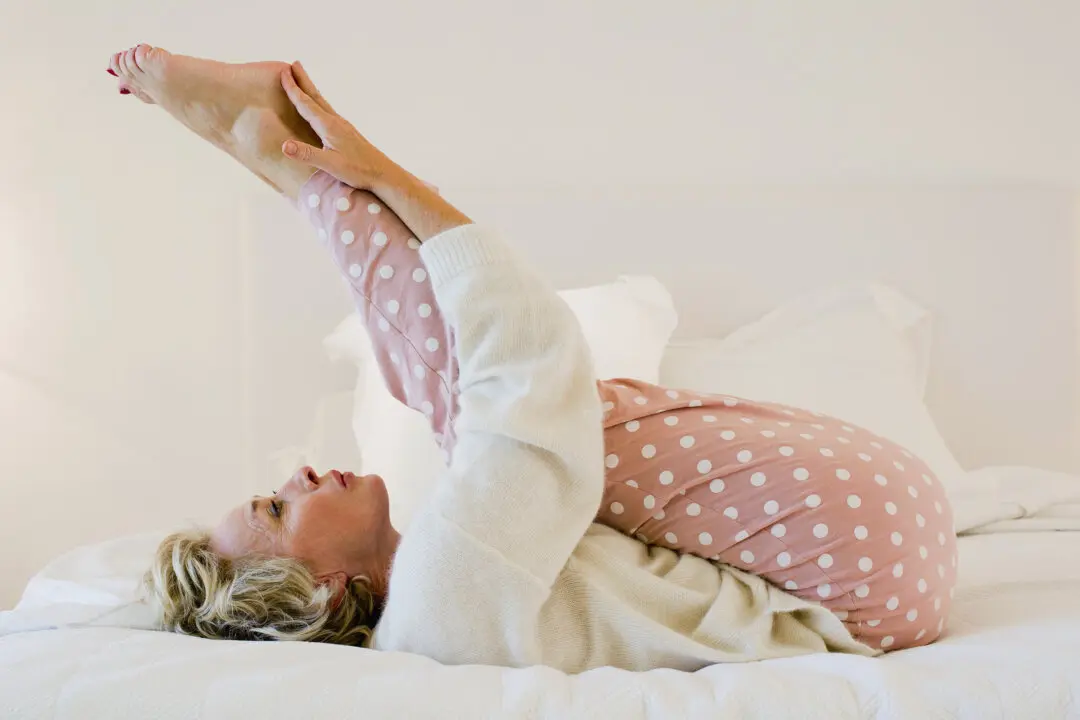
5 Exercises to Hike Your Hip Strength
The following exercises offer a wide variety of challenges and collectively combine to make you a more “balanced” person.
These exercises work well in the clinic, and my patients generally do well with them. However, you may wish to consult a medical provider to ensure that they are right for you.
1. Glute Bridge
Let’s start this exercise routine with one of the all-time all-arounders—the glute bridge. This exercise focuses on a great number of trunk and leg muscles in a tidy, stable movement that can be performed virtually anywhere.
What It Does: The glute bridge is a classic bodyweight exercise that, yes, works on the glutes, but also just happens to work on a whole bunch of other muscles, too, including your core.
Why I Like It: This exercise is easy to control and highly effective—a definite benefit when first trying to work on an unstable core and limited hip stability.
Practice Tip: The glute bridge is an excellent example of opposing forces. Rather than trying to “lift” your hips, pressing down through your feet will allow your hips to rise easily and the surrounding muscles to engage naturally.
Step 1: Lie on a flat surface with your arms by your sides. Bend your knees and place your feet flat on the floor, about hip-width apart.
Step 2: Slowly press down through the soles of your feet as you lift your hips off the floor. Rise until your body is in a straight line between your knees and your shoulders. Hold this position for 30 seconds before lowering back down.
Step 3: Rising and lowering back down counts as one repetition. Try to perform three sets of five repetitions.
Modifications:
Can’t get high up? Just rise as high as you comfortably can.
Can’t rise at all? Continue to try slowly and carefully, understanding that this exertion will initiate the process of strengthening the muscles required to perform the movement. Eventually, you may achieve liftoff.
2. Elevated Glute Bridge
Now that we’ve started the ball rolling with the basic glute bridge, let’s take it up a notch. However, the order of these exercises is not a “this or that” situation. I find that following glute bridges with elevated glute bridges is an excellent way to push your body into better strength and stability. Stacking these exercises makes me as happy as stacking pancakes on a plate.
What It Does: This is like the basic glute bridge—improved. Taking your feet up a little farther increases your movement before reaching the full bridge position.
Why I Like It: Once you master the basic glute bridge, the elevated glute bridge is a natural progression that offers great stability and control.
Step 1: Begin this exercise similarly to the basic glute bridge, but with your feet placed on an elevated platform, such as a yoga step or stair step.
Step 2: Slowly lift your hips off the floor until your body is straight from your knees to your shoulders. As with the glute bridge, pressing down through the feet will help with the elevation.
Step 3: Hold for 30 seconds before lowering back down to the starting position. Rising and lowering back down counts as one repetition. Try to complete three sets of five repetitions, feeling free to modify sets and repetitions to make the exercise work best for you.
Modifications:
Want to make it harder? Elevate the step height and extend the time you hold the bridge, or increase the number of bridges you perform.
Want to make it easier? Use a lower step height and/or reduce the number of bridges you do or the length of time you hold them.
3. Walking Glute Bridge
Therapists sometimes get called “mean,” but that’s not accurate. We’re extremely pushy, that’s all. Speaking of pushy, I want to “push” you into an even more strenuous exercise—the glute bridge made mobile.
What It Does: This exercise destabilizes the traditional glute bridge by removing one of the support points, forcing your body to compensate with your core musculature.
Why I Like It: The walking glute bridge is two exercises hidden in one. It’s the glute bridge, which is great all by itself, plus increased use of your core musculature in an asymmetrical, torsional manner. Master these, and you’ll be on your way to greatness.
Step 1: Begin this exercise in the standard glute bridge position.
Step 2: Once you move into the bridge position, raise one foot from the bench straight up for 10 seconds, then place it back down and repeat the movement on the other side.
Step 3: Try to perform five sets of 10 steps (five steps per side).
Modifications:
Can’t lift your feet up and still stabilize? No problem! Just try to lift them—that will still cause your body to engage your core musculature. In time, you may be able to get those feet up.
Feeling sporty and yearning for a deeper challenge? Try it using the elevated step.
4. Frog Pump
The frog pump exercise may look funny, but it’ll help you leap into more powerful glute musculature.
What It Does: This exercise decreases your body’s ability to anatomically engage the quadriceps muscles of the legs, instead shifting exertion to the gluteal muscles.
Why I Like It: You'll be giving some love to both the gluteus medius and gluteus minimus muscles, which can be overlooked in some exercises.
Step 1: Begin on the floor, just as you would with the standard bridge exercise.
Step 2: This time, bring the soles of your feet together and place your knees out to the sides approximately 45 degrees instead of straight up.
Step 3: Push your hips up as far as you comfortably can before lowering them slowly back down.
Step 4: Moving your hips up and back down counts as one repetition. Try to perform three sets of 12 repetitions.
Modification: If you can’t quite put the soles of your feet together, try placing them as close together as possible and then let your knees move to the side. It’s not quite as effective as the feet-together way, but it still provides a nice benefit.
5. Dumbbell Hip Thrust
Let’s try a hip thrust movement with weighted resistance. While you can add weights for several of these exercises, this one is particularly suited for resisted movement.
What It Does: This exercise maximizes the hip thrust by adding weighted resistance to the equation.
Why I Like It: Although well-supported, this is a less stable exercise form in my experience, causing your body to actively engage your core muscles to preserve your balance and posture.
Step 1: Sit on the floor in front of a stable couch, chair, or yoga step for a lower level. Lean your upper back and shoulder blades on the surface while you place your feet flat on the floor, about hip-width apart. Place a weight in your lap. It can be a dedicated weight or something heavy, such as a large book, a large can of food, or dumbbells.
Step 2: Push down with your legs and lift your hips until your body forms a straight line from your knees to your shoulders. Your hips should be suspended in the air while your shoulders rest on your selected support. If you use a weight, be sure to hold on to it as you complete the move.
Step 3: Once you reach the top, lower back down to the starting position. Rising and then lowering back down counts as one repetition. Try to perform three sets of 12 repetitions.
Modifications:
If you can’t perform the activity with a weight or find it difficult to control the weight during the movement, you can do it without the weight.
To make it harder, add more weight.
This routine, completed at least three times per week, can serve as an excellent avenue toward a stronger core and improved hip stability. It can decrease your risk of falls and injury, maximizing your functional independence and quality of life. You’ll feel strong, and guess what? You will be.
About the fitness model: Aerowenn Hunter is a health editor and fitness model for The Epoch Times. Vibrant in her 60s, she’s an accredited yoga therapist who has dedicated three decades to teaching yoga.
Views expressed in this article are the opinions of the author and do not necessarily reflect the views of The Epoch Times. Epoch Health welcomes professional discussion and friendly debate. To submit an opinion piece, please follow these guidelines and submit through our form here.
Kevin Shelley
Kevin Shelley is a licensed occupational therapist with over 30 years of experience in major health care settings. He is a health columnist for The Epoch Times.