This copy is for your personal, non-commercial use only. Distribution and use of this material are governed by our Subscriber Agreement and by copyright law. For non-personal use or to order multiple copies, please contact The Epoch Times Reprints.
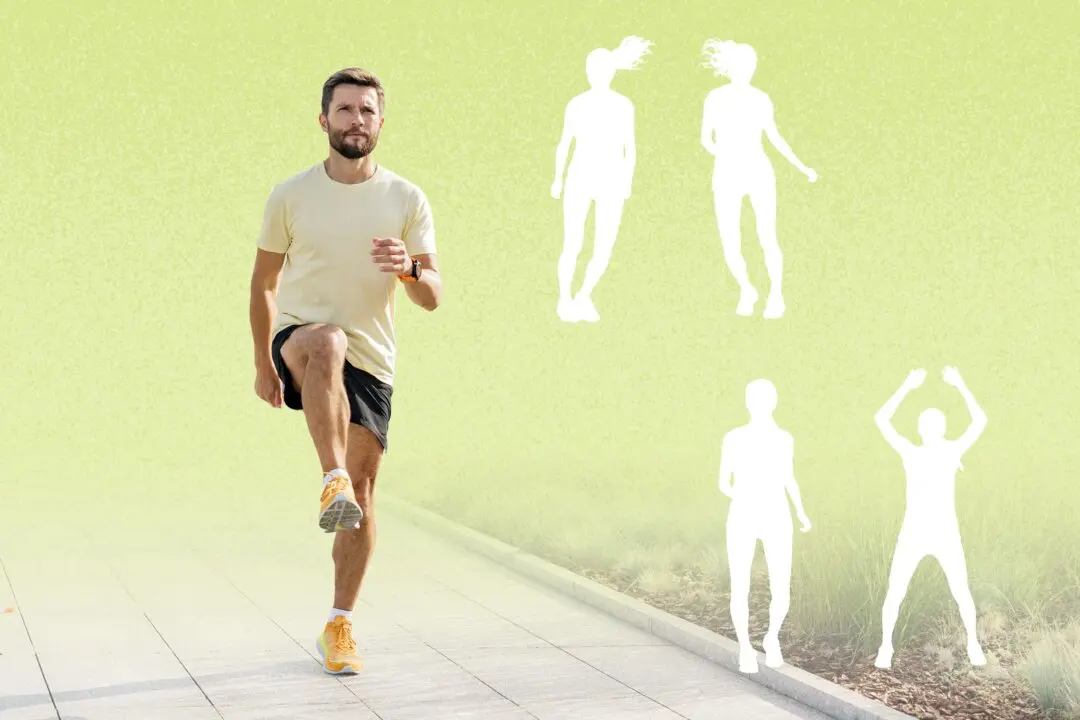
Super slow jogging has become one of Taiwan’s fastest-growing fitness trends, attracting everyone from retirees to busy office workers. Its appeal is simple: move at a pace so comfortable that you can still hold a conversation.
The movement’s leading advocate in Taiwan, fitness coach and former military officer Hsu Tung-Ying, popularized the Japanese concept with one simple rule: “No panting, no exhaustion—just keep moving.”
But Hsu believes aerobic exercise is only part of the formula. To stay strong, mobile, and independent with age, he says a well-conditioned core is just as important. To complement super slow jogging, he developed a simple bodyweight routine that can be done at home with no equipment.
Because the routine uses only body weight, it’s accessible to almost anyone, and the difficulty can be adjusted to suit different fitness levels. Hsu also notes that consistent practice helped many of his students improve endurance and build muscle without setting foot in a gym.
Hsu’s Core Training Program
Ready to give it a try? Grab a yoga mat and work through the following 12 exercises.
The crunch targets the front abdominal muscles and helps build core strength while reinforcing proper trunk control.
Step 1: Lie on your back with your knees bent, feet flat on the floor, and chin slightly tucked.
Step 2: Exhale and engage your abdominal muscles to lift your shoulders off the floor. Inhale as you slowly lower your shoulders back down.
2. Crunch Hold
This isometric variation increases core endurance by keeping the abdominal muscles engaged for an extended period.
Step 1: Lie on your back with your knees bent, feet flat on the floor, and chin slightly tucked.
Step 2: Exhale, engage your core, and lift your shoulders off the floor. Hold this position for 30 seconds, then slowly lower your shoulders back down.
3. Heel-Touch Crunch
This exercise works the oblique muscles along the sides of the abdomen while improving core stability.
Step 1: Lie on your back with your knees bent, feet flat on the floor, chin tucked, and arms extended alongside your body.
Step 2: Exhale and engage your abdominal muscles to lift your shoulders off the floor. Sway your upper body from side to side, reaching each hand to touch the heel on the same side, alternating left and right.
4. Bicycle Crunch
The bicycle crunch engages both the abdominal and oblique muscles through a controlled twisting movement.
Step 1: Lie on your back with your hands lightly behind your ears. Lift your knees, tighten your core, and keep your lower back pressed against the floor.
Step 2: Lift your upper body and rotate to the left, bringing your right elbow toward your left knee while extending your right leg without letting it touch the floor. Return to the center, then rotate to the right, bringing your left elbow toward your right knee. Alternate sides in a smooth, controlled pedaling motion.
5. Bent-Knee Leg Extension
This exercise strengthens the lower abdominal muscles while encouraging control and stability throughout the core.
Step 1: Lie on your back with your legs together and extended. Place your hands underneath your hips.
Step 2: Inhale as you bend your knees and lift your legs to about 90 degrees. Exhale as you straighten your legs and lower them without touching the floor. Repeat the movement.
6. Straight-Leg Raise
The straight-leg raise challenges the lower abdominal muscles and hip flexors while helping improve core control.
Step 1: Lie on your back with your legs together and extended. Place your hands underneath your hips.
Step 2: Inhale as you raise your straight legs to about 90 degrees. Exhale as you slowly lower them under control until they are just above the floor. Repeat the movement.
7. V-Up
The V-up is a full-core exercise that strengthens the abdominal muscles while improving coordination and balance.
Step 1: Lie on your back with your legs together. Raise your straight legs to about 90 degrees and extend your arms overhead.
Step 2: Exhale and engage your core to lift your shoulders off the floor, bringing your body into a “V” shape. Slowly return to the starting position and repeat. Allow your arms to move naturally with the motion.
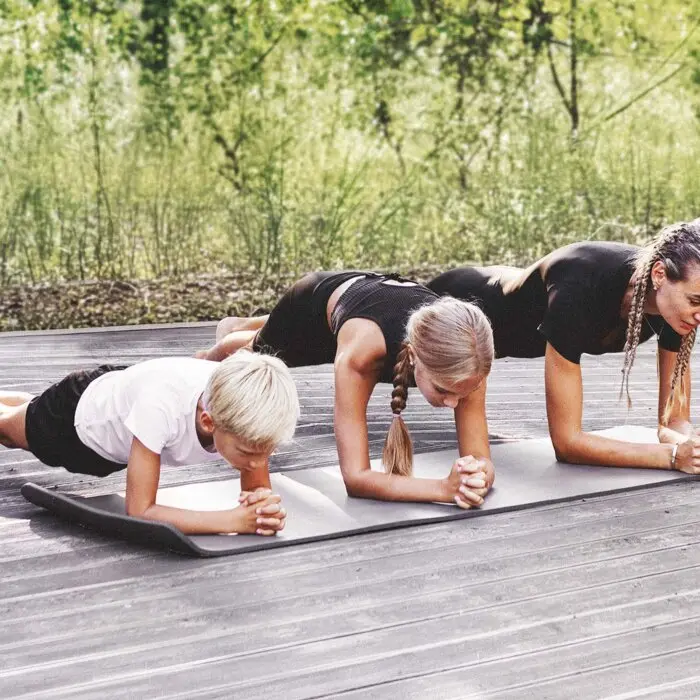
8. Right Side Plank
The right side plank strengthens the muscles along the right side of the core while promoting stability through the trunk and hips.
Step 1: Lie on your right side with your right elbow directly beneath your right shoulder and your forearm flat on the floor. Keep your legs together and fully extended.
Step 2: Exhale, brace your core, and lift your hips. Maintain a neutral pelvis so that your head, shoulders, back, hips, and ankles form a straight line. Avoid letting your hips sag or rise too high. Place your left hand on your hip or extend it straight upward, and keep your gaze forward.
9. Left Side Plank
The left side plank strengthens the muscles along the left side of the core while promoting stability through the trunk and hips.
Step 1: Lie on your left side with your left elbow directly beneath your left shoulder and your forearm flat on the floor. Keep your legs together and fully extended.
Step 2: Exhale, brace your core, and lift your hips. Maintain a neutral pelvis so that your head, shoulders, back, hips, and ankles form a straight line. Avoid letting your hips sag or rise too high. Place your right hand on your hip or extend it straight upward, and keep your gaze forward.
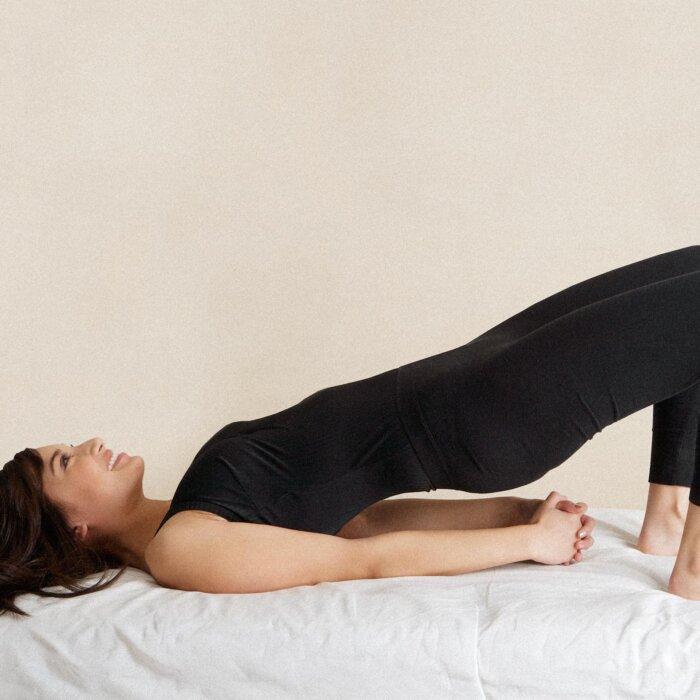
10. Glute Bridge Hold
This static hold strengthens the glutes and core while helping improve hip stability and posture.
Step 1: Lie on your back with your knees bent to approximately 90 degrees, feet hip-width apart and flat on the floor, and arms resting alongside your body.
Step 2: Exhale and squeeze your glutes to lift your hips until your body forms a straight line from your shoulders to knees. Hold for 30 seconds. Avoid overusing or straining your lower back.
11. Glute Bridge
The glute bridge strengthens the glutes, core, and hamstrings while promoting controlled hip movement.
Step 1: Lie on your back with your knees bent to approximately 90 degrees, feet hip-width apart and flat on the floor, and arms resting alongside your body.
Step 2: Exhale and squeeze your glutes to lift your hips until your body forms a straight line from your shoulders to your knees. Slowly lower your hips back down and repeat.
12. Rocking Knee Hug
This gentle movement helps relax the muscles of the back while providing a light massage along the spine at the end of the workout.
Step 1: Lie on your back with your knees bent and pulled toward your chest. Wrap your arms around your knees.
Step 2: Use the momentum of your legs and your back muscles to gently rock your body back and forth along your spine, massaging the muscles of your back and helping to relax the spine.
Hsu recommends performing the routine two to three times per week. Beginners can start with fewer repetitions or shorter holds and gradually increase the difficulty as their strength improves. Focus on slow, controlled movements and proper form rather than speed. If an exercise causes pain—particularly in the lower back, neck, or joints—stop and consult a healthcare professional before continuing.
Amber Yang
Amber Yang is a certified personal trainer. She met all the requirements of the American Council on Exercise to develop and implement personalized exercise programs. She worked as a marketing manager for natural skin care products for years and as a health and beauty reporter and editor for ten years. She is also the host and producer of the YouTube programs "Amber Running Green" and "Amber Health Interview."