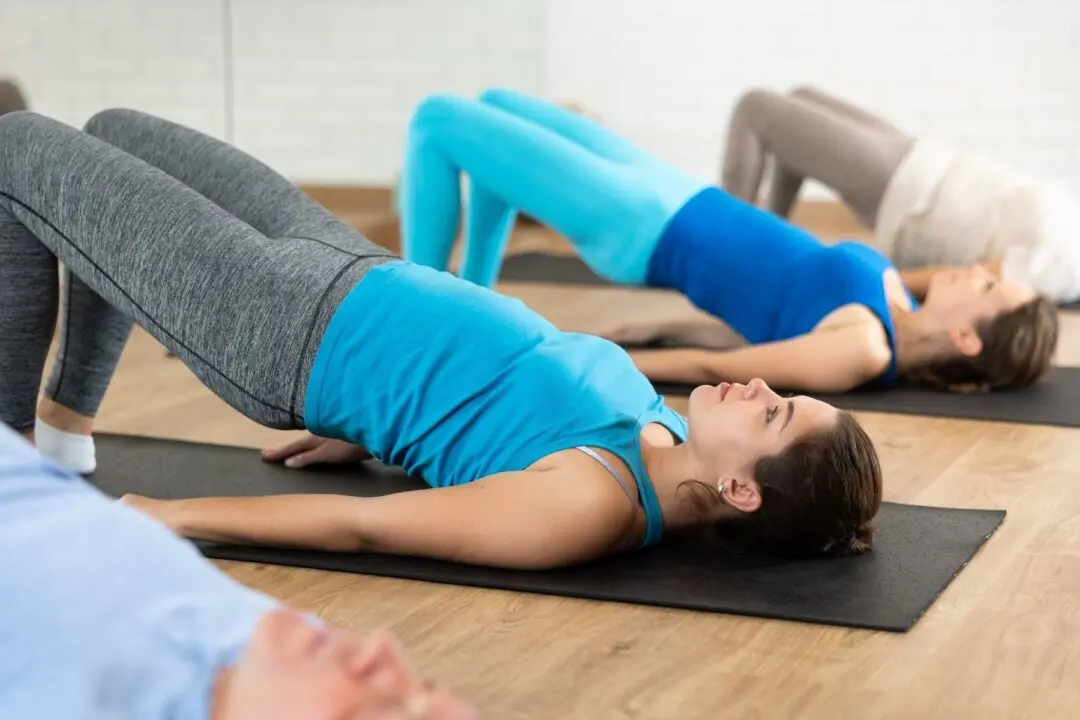
Many people think core training is all about sculpting visible abs. In reality, a strong core is one of the best investments you can make for your overall health. It helps stabilize the spine, improve posture and balance, reduce the risk of injury, and make everyday activities—from carrying groceries to climbing stairs—feel easier.
Whether you’re an athlete, an office worker who sits for long hours, or simply looking to stay active as you age, strengthening your core can improve the way your body moves.
Among all core exercises, the plank remains one of the most effective because it strengthens not only the abdominal muscles you can see but also the deep muscles that support your spine.
Why Your Deep Core Matters
The “core” includes much more than the six-pack muscles (rectus abdominis). It also consists of the transverse abdominis, oblique muscles, multifidus, diaphragm, pelvic floor muscles, and other muscles surrounding the spine and pelvis.
These deep muscles function like a natural corset, stabilizing the spine during nearly every movement. When they’re weak, the body compensates with poor posture and inefficient movement patterns, increasing the risk of back pain and injury.
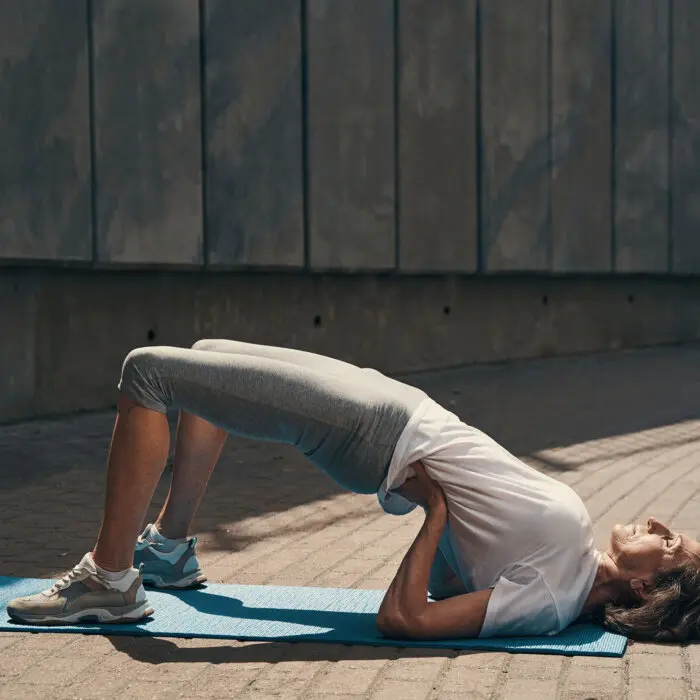
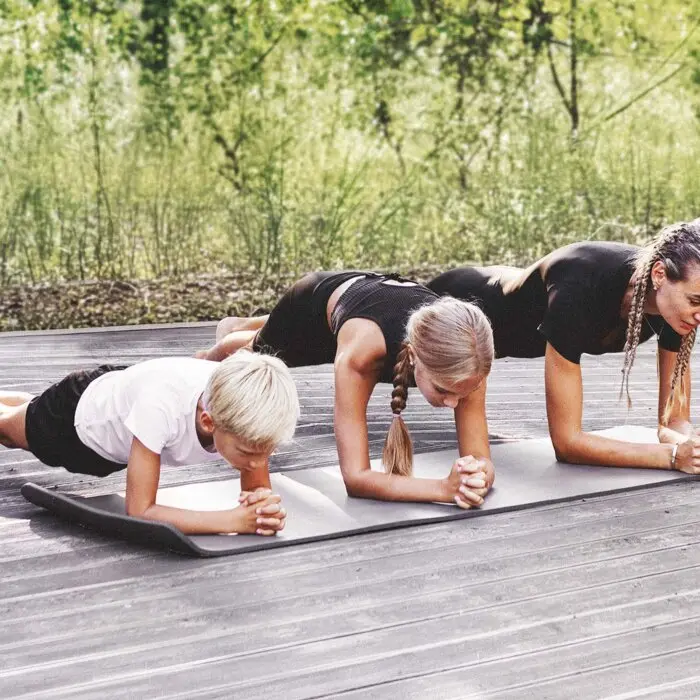
Unlike crunches, which mainly strengthen the superficial abdominal muscles through repeated bending of the spine, planks are an isometric exercise. Your muscles contract without movement, teaching your body to resist unwanted motion and maintain spinal stability—the way your core functions during daily life.
Two Common Plank Mistakes
A correct plank begins with proper alignment.
Maintain a straight line from your head through your shoulders, back, hips, and heels. Engage your abdominal muscles and glutes while keeping your pelvis in a neutral position. Rather than holding your breath, breathe naturally while maintaining gentle intra-abdominal pressure, allowing your abdomen to expand evenly in all directions.
This breathing pattern helps activate the transverse abdominis and the multifidus muscles that stabilize the spine.
Even a simple exercise like the plank can lose its effectiveness if performed incorrectly.
A sagging lower back usually means the deep core muscles aren’t fully engaged. Instead of strengthening the core, this places excessive stress on the lumbar spine and may lead to discomfort or lower back pain.
If you notice your hips dropping, lower your knees to the floor and reset your position. Before lifting back into the plank, gently tuck your pelvis, tighten your abdominal muscles, squeeze your glutes, and establish steady breathing to create core stability.
Lifting the hips turns the exercise into more of a shoulder-supported position, reducing the workload on the core.
Keep your shoulders directly over your elbows (or wrists during a high plank), and maintain a straight line from head to heels. Beginners may find it helpful to practice in front of a mirror or record themselves to check their alignment.
It’s also common to experience arm fatigue during the first few weeks of training. As your strength improves, this discomfort typically decreases.
After mastering the standard plank, don’t overlook training the internal and external oblique muscles. Incorporating side planks and their variations can provide a more comprehensive approach to strengthening the entire core musculature.
12 Plank and Crunch Core Training Moves
I’ve designed a 12-plank-and-crunch variation set that combines deep core stabilization training with abdominal muscle sculpting to help improve core strength and overall body control. This workout combines planks, side planks, leg raises, and crunches to train both deep core stability and superficial abdominal strength, helping you build a stronger, more stable, and more defined core.
1. Leg Raises
Step 2: Inhale, engage your lower abdomen, and slowly lift both legs to approximately 90 degrees.
Step 3: Exhale and slowly lower your legs back down until they’re close to the floor but not touching. Throughout the movement, keep your abdomen tight and your lower back pressed against the floor.
2. Reverse Crunches
Step 1: Lie flat on the ground with your hands placed beside your body or under your hips for support. Keep your legs together and straight.
Step 2: Inhale, engage your lower abdomen, and lift your legs above 90 degrees, curling your abdomen upward—your feet may even reach toward the area above your head.
Step 3: Exhale and slowly lower your legs until they’re close to the floor but not touching. Throughout the movement, keep your abdomen tight and your lower back pressed against the floor.
3. Leg Raise Hold
Step 1: Lie flat on the floor with your hands beside your body or under your hips for support. Keep your legs together and straight.
Step 2: Inhale, engage your lower abdomen, and slowly lift your legs to approximately 45 degrees.
Step 3: Hold the position without moving. Continue keeping your abdomen tightened while maintaining natural breathing.
4. Leg Raise Crunch
Step 1: Lie flat on the floor with your hands beside your body. Keep your legs together and straight.
Step 2: Lift your legs to approximately a 45-degree angle while maintaining continuous abdominal tension.
Step 3: Exhale, lift your head and shoulders to perform a crunch; inhale and slowly return to the starting position.
5. Right Side Plank
Step 1: Lie on your right side. Position your right elbow directly beneath your right shoulder, with your forearm flat against the floor. Keep your legs together and straight.
Step 2: Exhale, engage your core, and lift your hips. Maintain a neutral pelvis so your body forms a straight line from head through shoulders, back, hips, to ankles. Avoid letting your lower back sag or your hips rise too high. Your left hand can rest on your hip or extend straight upward. Look straight ahead.
6. Right Side Plank Hip Dips
Step 1: Lie on your right side. Position your right elbow directly beneath your right shoulder, with your forearm flat against the floor. Keep your right leg on the floor and your left leg straight.
Step 2: Exhale, support yourself with your right elbow and right knee, engage your core, and lift your hips. Maintain a neutral pelvis so your body forms a straight line from head through shoulders, back, hips, to ankles.
Step 3: Inhale and slowly lower your hips back to the floor. Repeat steps 2 and 3.
7. Right Side Plank Crunch
Step 1: Lie on your right side. Position your right elbow directly beneath your right shoulder, with your forearm flat against the floor. Keep your right leg on the floor and your left leg straight.
Step 2: Support yourself with your right elbow and right knee. Engage your core and lift your hips, keeping your pelvis neutral, so that your entire body—from head, shoulder, back, and hips to your ankles—forms a straight line.
Step 3: Exhale as you extend your left arm and left leg outward; inhale as you bend your left arm and left leg, bringing your elbow and knee to lightly touch.
8. High Plank
Step 1: Start on your hands and knees in a tabletop position. Your hands should be directly beneath your shoulders, and your knees directly beneath your hips.
Step 2: Extend your legs backward with your toes on the ground, lifting your body up. Tighten your core and glutes, maintain a neutral pelvis, and keep your body in a straight line from head to heels.
9. Left Side Plank
Step 1: Lie on your left side. Position your left elbow directly under your left shoulder, with your forearm flat on the ground, and keep your feet together and legs straight.
Step 2: Exhale and engage your core to lift your hips, keeping your pelvis neutral. Your body—from head, shoulder, back, and hips to your ankles—should form a straight line. Avoid letting your lower back sag or your hips lift too high. Your right hand can rest on your waist or be raised vertically, with your gaze straight ahead.
10. Left Side Plank Hip Dips
Step 1: Lie on your left side . Position your left elbow directly under your left shoulder, with your forearm flat on the ground. Keep your left leg on the floor and your right leg straight.
Step 2: Exhale and support yourself with your left elbow and left knee. Engage your core and lift your hips, keeping your pelvis neutral so your body—from head, shoulder, back, hips to ankles—forms a straight line.
Step 3: Inhale as you slowly lower your hips back toward the floor. Repeat the movements from step 2 and Step 3.
11. Left Side Plank Crunch
Step 1: Lie on your left side. Position your left elbow directly under your left shoulder, with your forearm flat on the ground. Keep your left leg on the floor and your right leg straight.
Step 2: Support yourself with your left elbow and left knee. Engage your core and lift your hips, keeping your pelvis neutral so that your body—from head, shoulder, back, hips to ankles—forms a straight line.
Step 3: Exhale as you extend your right arm and right leg outward; inhale as you bend your right arm and right leg, bringing your elbow and knee to lightly touch.
12. Forearm Plank
Step 1: Place both elbows and knees on the floor, with elbows directly under your shoulders and knees directly under your hips.
Step 2: Extend your legs straight back, toes on the floor, and lift your body. Engage your core and glutes, keep your pelvis neutral, and maintain a straight line from head to heels.