Everyone covets a dancer’s six-pack. This beautifully etched muscle is the rectus abdominis, and it gets a lot of attention from people wanting to strengthen their abs.
While that is fine, the rectus abdominis is actually an outer core muscle, so it does not participate in spinal stability like the deeper core muscles do. Therefore, doing thousands of crunches to work this muscle may give you a nicer-looking stomach, but at the cost of a healthy spine and sacrificing true core strength.
The core comprises the whole trunk, from the hips to the shoulders. Dancers need to move effortlessly in all directions. To achieve optimal movement without unnecessary muscular tension, there must be a proper sequencing of the core musculature.
One of the first muscles to fire or engage, in addition to the diaphragm (see Step 1 below), should be the transversus abdominis, not the rectus abdominis.
The transversus abdominis is the deepest core muscle and the only one to wrap around the whole abdomen, acting like a girdle to connect ribs, pelvis, and lower spine. Without the proper contraction of this muscle, the nervous system fails to recruit the rest of the core musculature and the muscles of the extremities properly, causing things to go awry—not just in dancers, but in everyone.
If you would like to move with grace and control, and at the same time get a flatter stomach and protect your lower back, the steps below may help you start on the right path. For more help, I highly recommend seeking the guidance of a Dynamic Neuromuscular Stabilization or Neurokinetic Therapy practitioner.
Step 1: Breath Control
The transversus abdominis is tightly interconnected with the diaphragm, the dome-shaped muscle that separates the thoracic cavity, where the heart and lungs lie, from the abdomen. Because of this connection, proper breathing is imperative for training.
In the ideal contraction of the diaphragm, the entire muscle pushes down into the abdominal cavity. This expands the lower rib cage and the abdominal wall in all directions. Without a proper diaphragm contraction, the intra-abdominal pressure created during the breathing process will not reach all the way down to the lower lumbar spine (lower back) to create the stabilization needed for movement.
1. Begin by lying on your back in a neutral pelvic position (hip bones on the same plane). Inhale through your nose, sending the breath into your belly and the sides and back of your rib cage to create intra-abdominal pressure. Aim for a full 360-degree fill, like blowing up a balloon. Keep your chest relaxed.
2. Slowly exhale through a relaxed mouth. Try to increase the length of the exhale, as this is when oxygen is delivered to the cells. Make sure to maintain the intra-abdominal pressure you created on the inhale.
Step 2: Rib Cage Alignment
Now that you are breathing better, add some movement in the upper body. Continue to use the breath to maintain the proper spinal alignment.
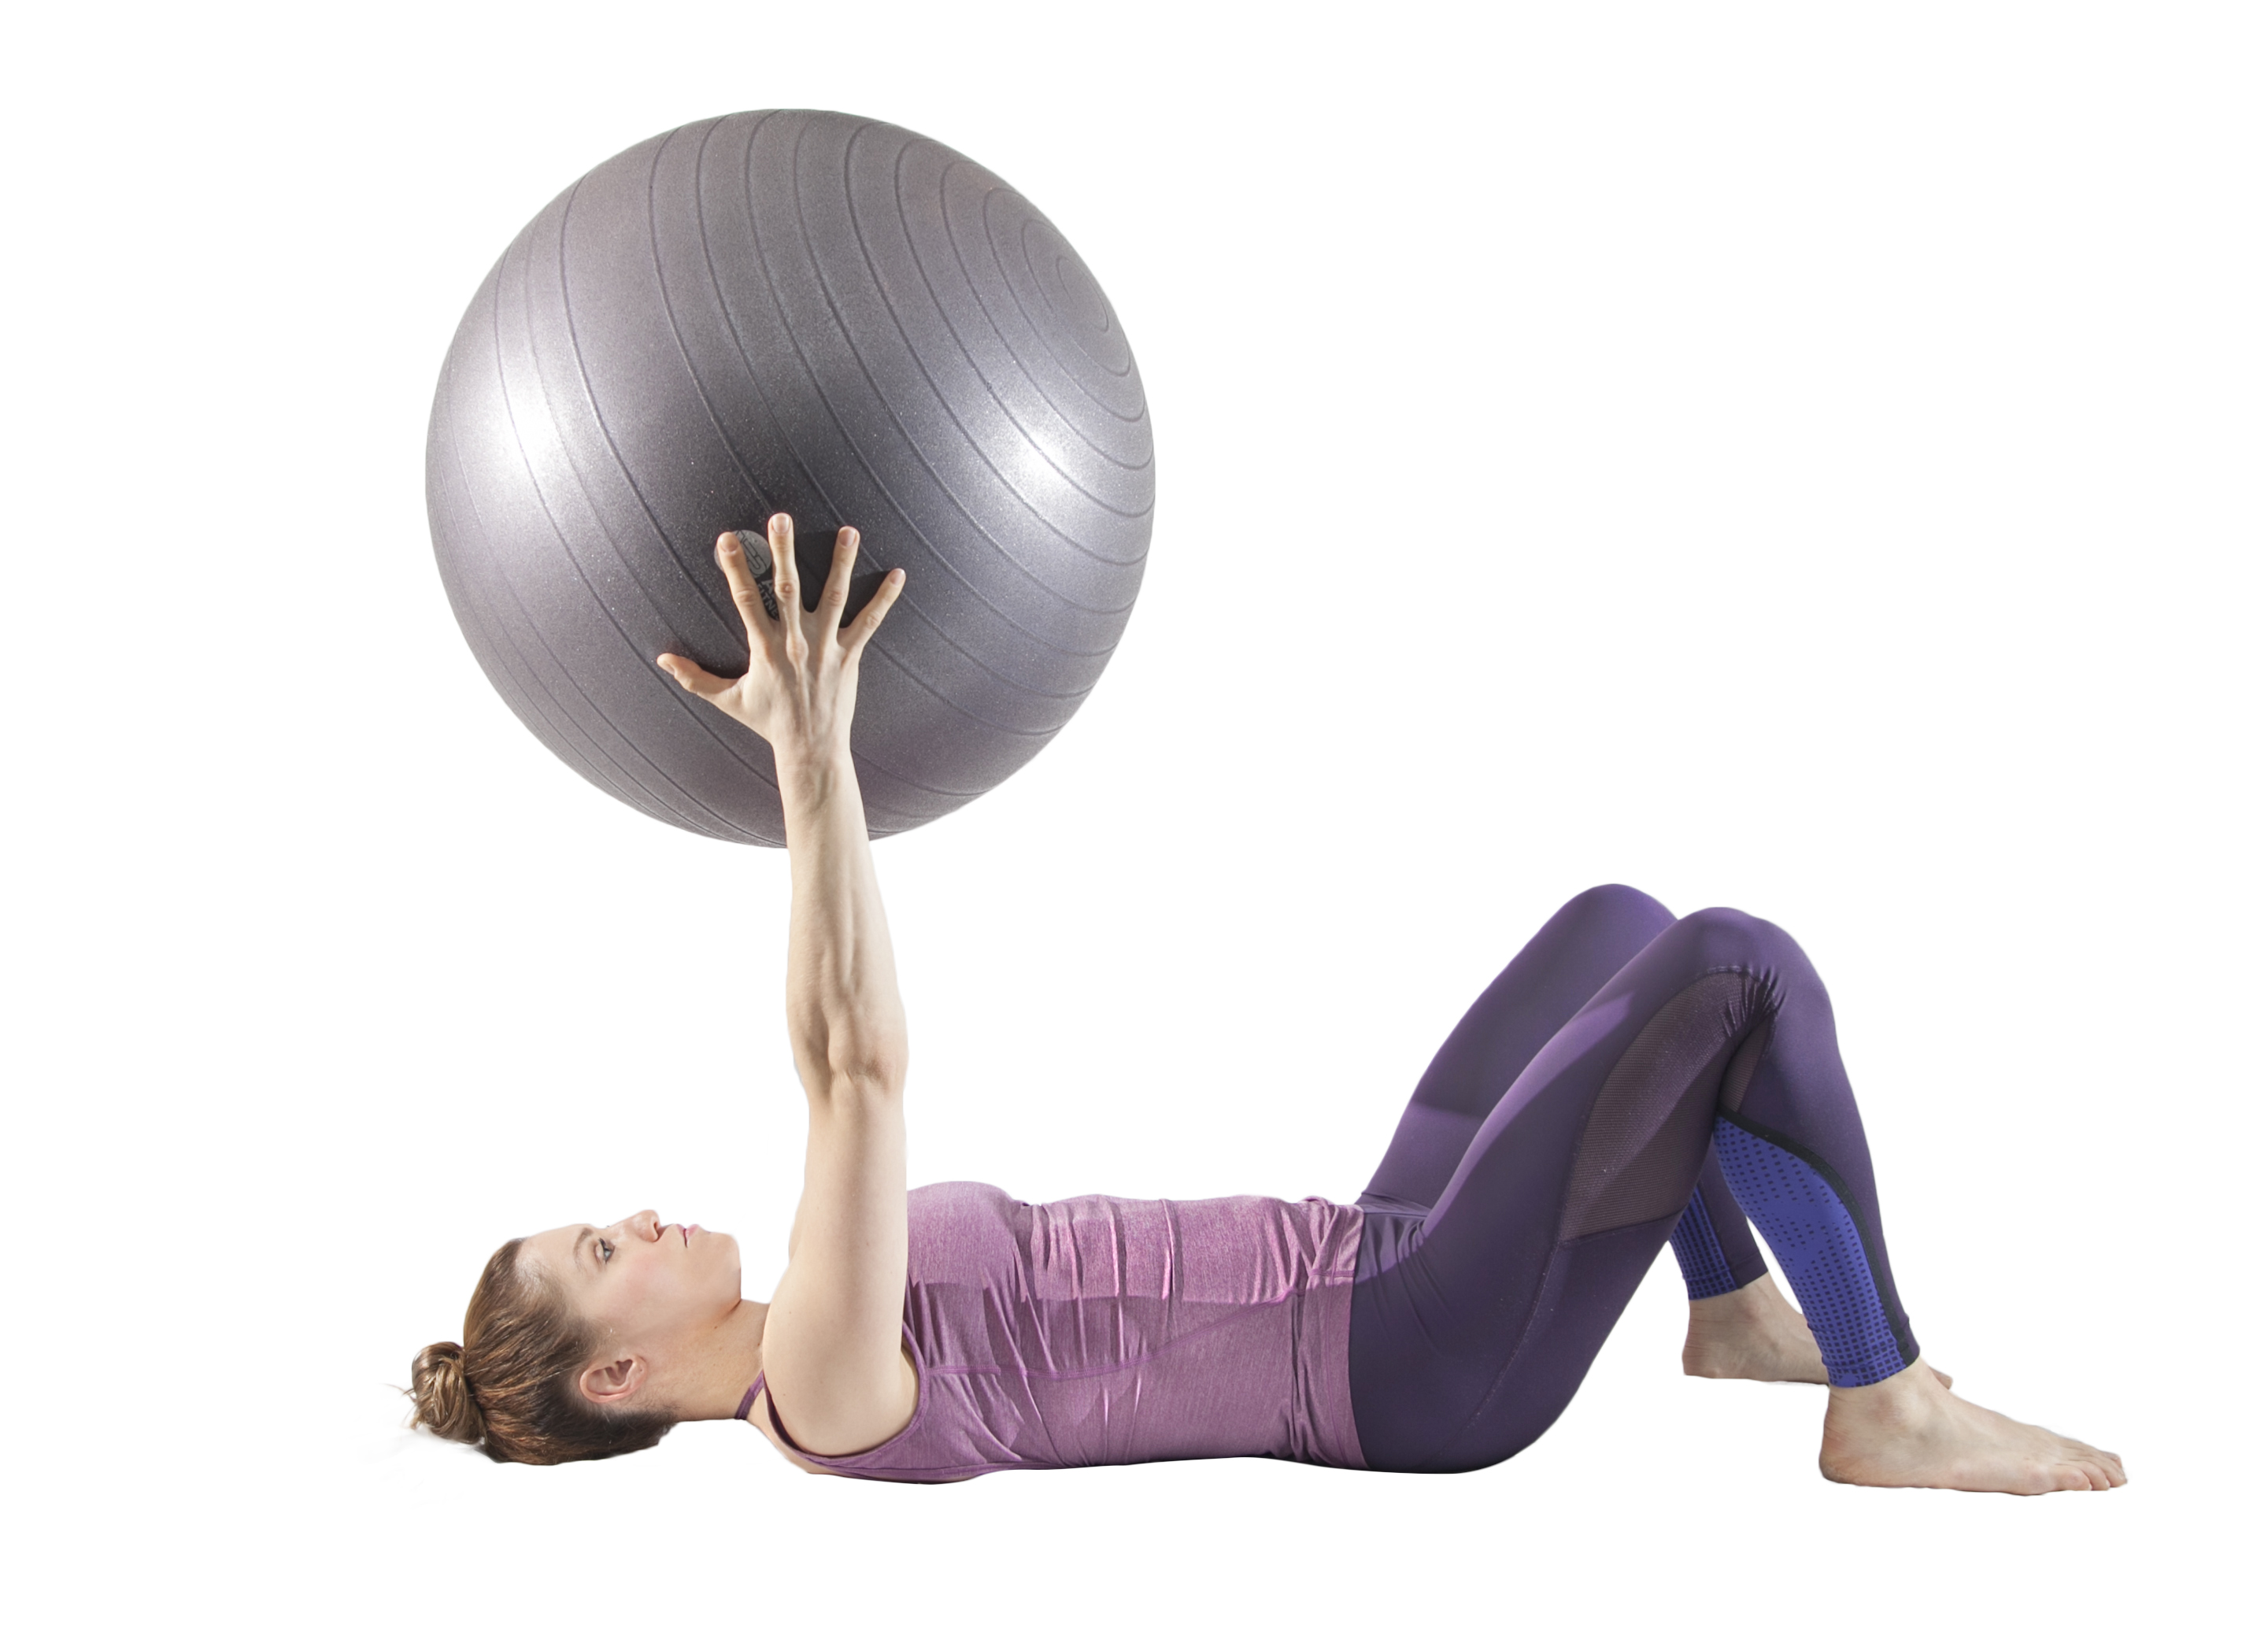
1. Lying on your back, hold a stability ball between your hands and extend the arms straight up to the ceiling.
2. As you exhale, stretch the arms overhead as far as possible, without arching the middle back. You can also try placing a towel under the upper back, keeping it tightly in place.
Return to the starting position on the inhale and repeat.
Step Three: Putting It Together
The previous exercises still apply, but now you'll add movement of the lower extremities.
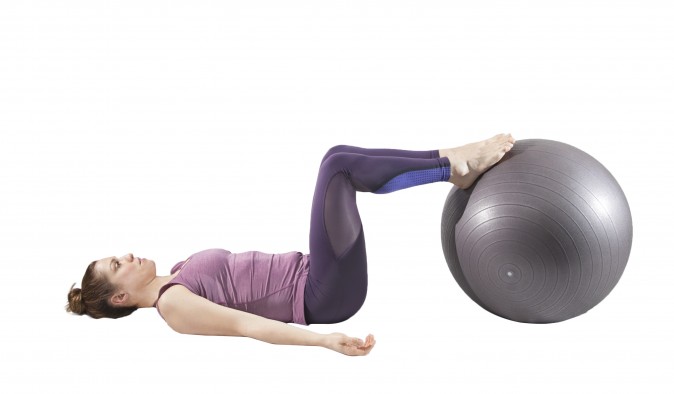
1. Lying on your back, place heels on a stability ball and keep the legs relaxed.
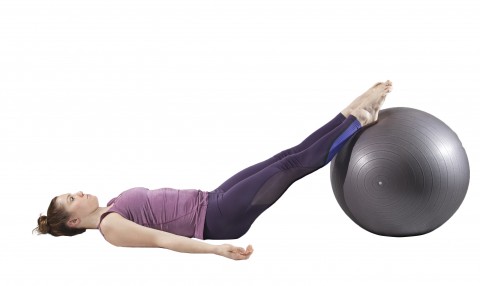
2. Gently press the ball away and back toward you, as you focus on your breath and maintain intra-abdominal pressure to stabilize the trunk.
Step Four: Proper Core Activation
These two exercises require rotary stability: multiplane trunk stability during a synchronized upper and lower extremity motion. This will get your core ready for more complex movements.
Dead Bug
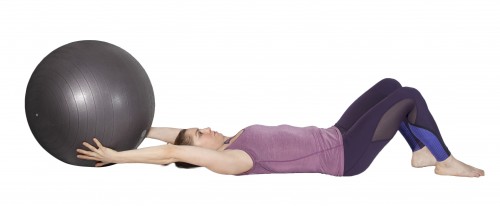
1. Place the stability ball between both legs and two hands. Press both knees and hands into the ball. Make sure your pelvis is in the neutral position.
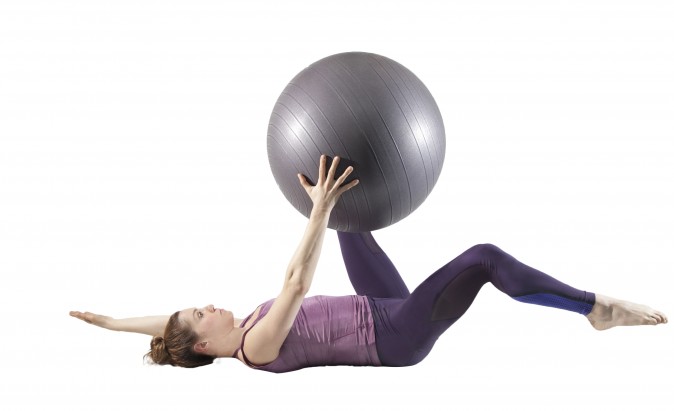
2. Maintain proper use of the breath as you move one arm and the opposite leg away from the ball. Continue to press the knee and hand that did not move into the ball.
3. Return to center and repeat with the other arm and leg.
Bird-Dog
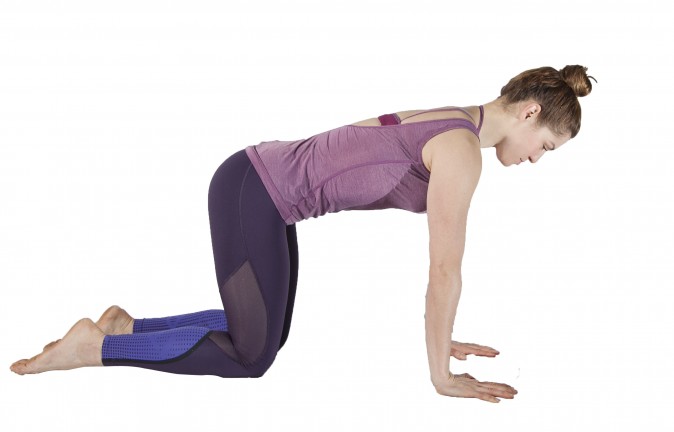
1. Begin on all fours, which will challenge you more to maintain a stable lower spine.
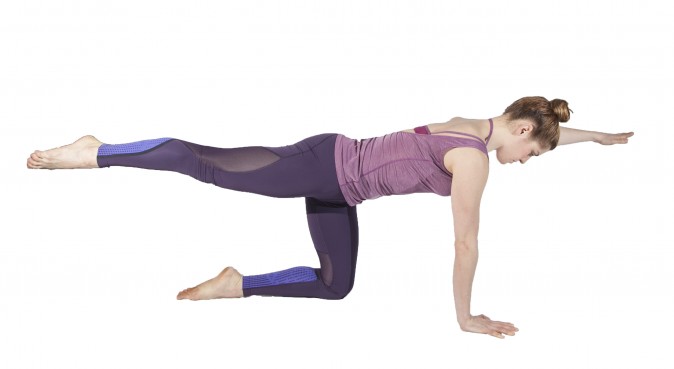
2. Raise the opposite arm and leg off the floor for two seconds. While in this position, check to make sure you maintain your breath and intra-abdominal pressure.
3. Switch sides.
Ashley Whitson is an ACE-certified personal trainer, Pilates certified instructor, pre/postnatal exercise specialist, Functional Movement Systems professional, Neurokinetic Therapy practitioner, and professional dancer in New York. For more information, see AshleyWhitsonPersonalTrainernyc.com.
Photo: SamiraBouaou/Epoch Times