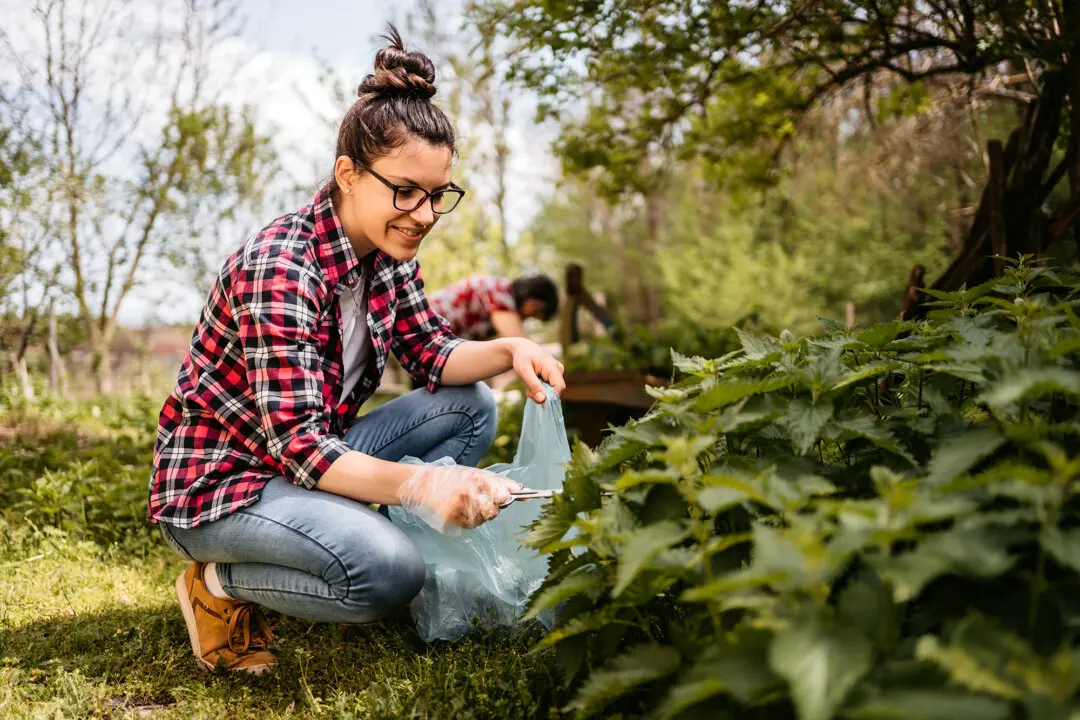
In the old days, before you could hop in a car and head to the supermarket, winter meant hunger. Everything you needed to survive the cold, dark days of winter when fields lay fallow had to be harvested in the fall and preserved. There was no takeout, no frozen food section, no meal kits delivered to your door, and no fresh berries trucked from thousands of miles away. You had a hand in making everything you ate, and preserving the harvest was essential, lest bellies go empty during hard times. Before canning, one of the best ways to preserve food was to ferment it.
Health Benefits
Historically, preserving food was the impetus for fermentation; nowadays, you’ll find much more interest in its health benefits. As it turns out, not only does fermentation preserve food, but it also transforms it into a nutritional powerhouse. Fermented foods are rich in beneficial bacteria. Those microorganisms responsible for turning sweet milk into tangy yogurt or cucumbers into sour pickles are also good for the gut. Moreover, as they metabolize all the carbohydrates in fruits, vegetables, and milk, they also release beneficial nutrients, such as B vitamins. That means fermented foods are often more nutritious than their fresh counterparts.It’s for this reason that researchers have described fermented foods as “functional foods.” The term functional food was coined in Japan during the early 1980s, and researchers use it to describe foods that convey greater benefits than nutritional value alone. Oats and their ability to support healthy cholesterol levels are one example. Another well-known functional food is cold-water fish, such as salmon, which is rich in omega-3 fatty acids. Research suggests that these healthy fats support heart health, reduce inflammation, and support cognitive function. More than basic nutrition, these foods convey greater benefits, such as reducing one’s risk of disease.
Because of their benefits and long history of use, fermented foods are an important, if not essential, element of the human diet. Sadly, they’re largely lacking in the modern diet. Since fresh food and packaged, processed foods are so readily accessible, there’s little need to preserve foods as our ancestors did. Yet fermented foods are still worth making, and it’s a lot easier than you might expect.
How to Get Started
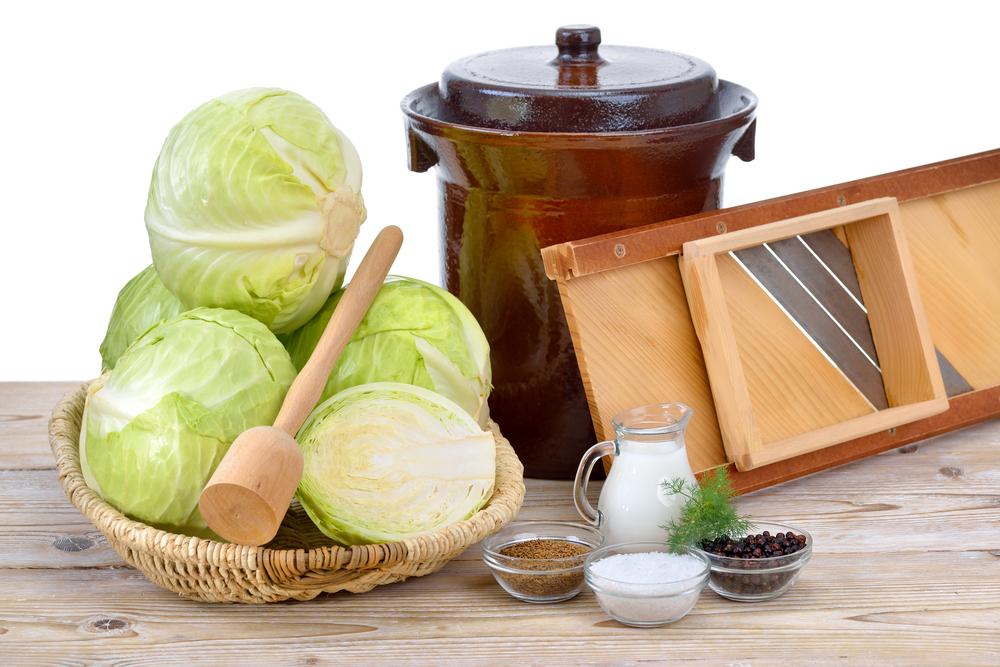
Fermented vegetables are among the easiest foods to make yourself, but it takes a little know-how and a lot of patience. Sauerkraut and pickles, because they’re simple and fairly well liked, are good projects for fermentation newcomers.To get started, you’ll need vegetables, salt, and a container. A mason jar with a tight-fitting lid works fine, but committed fermentation enthusiasts typically graduate to dedicated crocks or jars fitted with airlocks or lids designed specifically for fermentation.
Salt is essential when fermenting vegetables because it helps give them flavor, keeps them crisp, and creates an environment that supports the growth of good bacteria. For most vegetables, you’ll use about 2 percent salt by weight, although peppers can benefit from a higher ratio (up to about 3.5 percent). For sauerkraut, as with similar shredded vegetable ferments, you’ll combine the salt with fresh cabbage in a bowl. The cabbage will release liquid, which combines with the salt to create a brine; it all goes into a sealed jar, and the good bacteria do their work. For sour pickles and similar brined vegetables, you’ll pack a jar with the vegetables and then cover them with a saltwater brine.
With time, beneficial bacteria will metabolize the carbohydrates in your vegetables, pickling them. It can take a few weeks for small batches and several months for large ones. For safety, always keep the vegetables completely submerged in the brine. Additionally, seal the jar tightly to prevent airflow, which encourages mold growth. Carbon dioxide builds up during fermentation, so using an airlock or fermentation seal is helpful, or you can open the jar briefly every day to allow the carbon dioxide buildup to escape.
After the recommended amount of time, taste your ferment, and when it tastes pleasantly sour, it’s ready for the fridge. Discard any jars that smell putrid rather than sour, have a viscous texture, or have visible signs of mold. Stick to these tips and well-established recipes, and have fun.
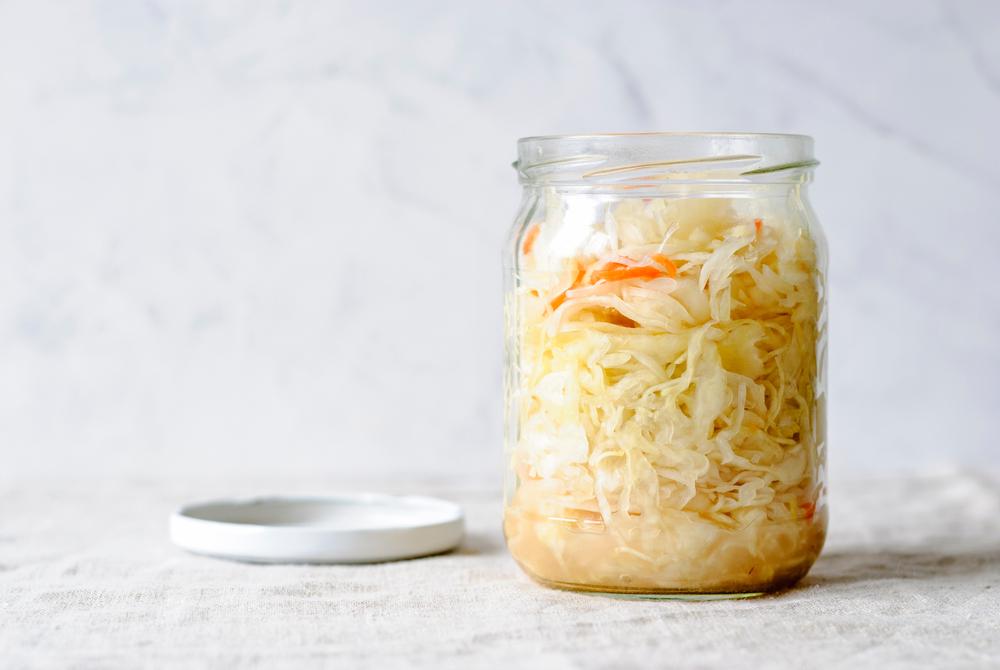
Sauerkraut
Sour and richly complex, sauerkraut is a vibrant fermented food with deep flavor. While making sauerkraut at home can seem complicated, it’s marvelously easy. And you only need two ingredients: cabbage and salt.Makes about 1 quart
- 2 pounds cabbage (from 1 head)
- 4 teaspoons fine salt
- 1 quart-sized mason jar with lid
Toss cabbage and salt together in a large mixing bowl and let rest for about 20 minutes, or until the cabbage begins to soften and release a little juice. Then squeeze the cabbage with your hands to soften it even further and help it to release more juice.
When the cabbage has become limp and has released ample juice, transfer it to your jar. Pack the sauerkraut tightly into your jar, using a kraut pounder or a wooden spoon, so that the cabbage continues to release its liquid and no air bubbles remain.
Continue packing the cabbage into the container until it is completely submerged in its liquid. Wedge the reserved cabbage leaf over the shredded cabbage so that all the vegetables remain completely submerged in brine. Seal the jar tightly, and set it in a small bowl to catch any overflowing juices. Burp the jar daily to release excess gas.
Allow the cabbage to ferment at room temperature and away from direct sunlight for at least two weeks or until sour enough for your liking. Transfer to the fridge, where it will keep for six months to a year.
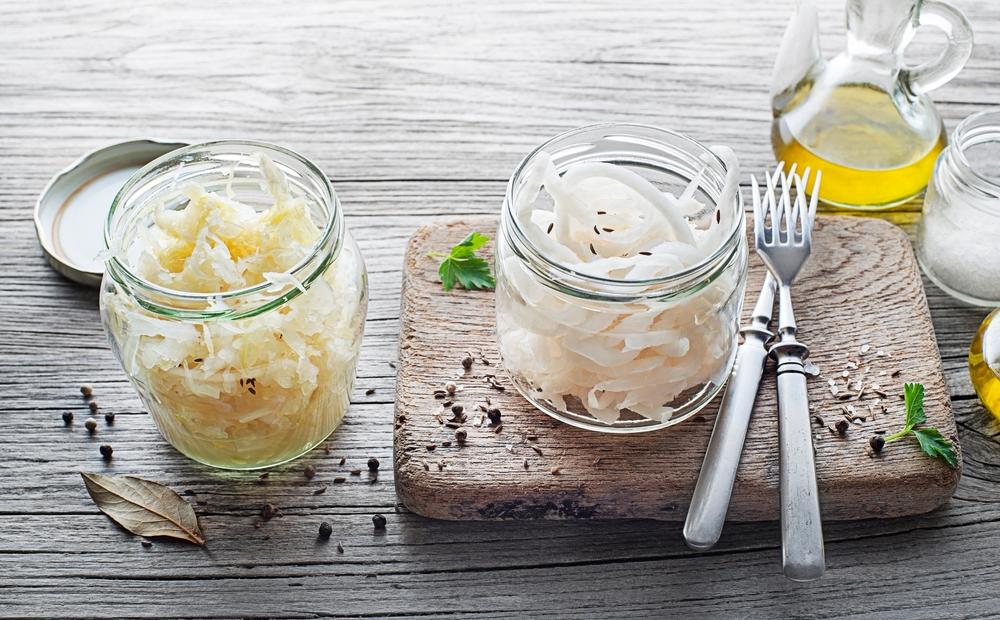
Sauerruben
Turnips are delicious when fermented. They take on a pleasant sour punch that’s brightened by the lightest touch of caraway. Serve sauerruben on its own or over sausages.Makes about 1 quart
- 2 pounds turnips, trimmed of root tip and stems
- 1 tablespoon caraway seeds
- 4 teaspoons fine salt
- 1 quart-sized mason jar with lid
- Glass fermentation weight (optional)
Toss turnips, caraway seeds, and salt together in a large mixing bowl and let rest for about 20 minutes or until the shredded turnips begin to release their juice. Then, squeeze the shredded turnips tightly with your hands to soften them even further and help them to release more juice.
Transfer the turnips to your jar when they become limp and juicy. Pack the turnips tightly into your jar, using a kraut pounder or a wooden spoon, so they continue releasing liquid and no air bubbles remain.
Continue packing the turnips into the container until completely submerged in their brine. Weigh down the turnips with a glass fermentation weight if available. Seal the jar tightly, and set it in a small bowl to catch any overflowing juices. Burp the jar daily to release excess gas.
Allow the turnips to ferment at room temperature and away from direct sunlight for at least two weeks or until sour enough for your liking. Transfer to the fridge, where it will keep for at least six months to a year.
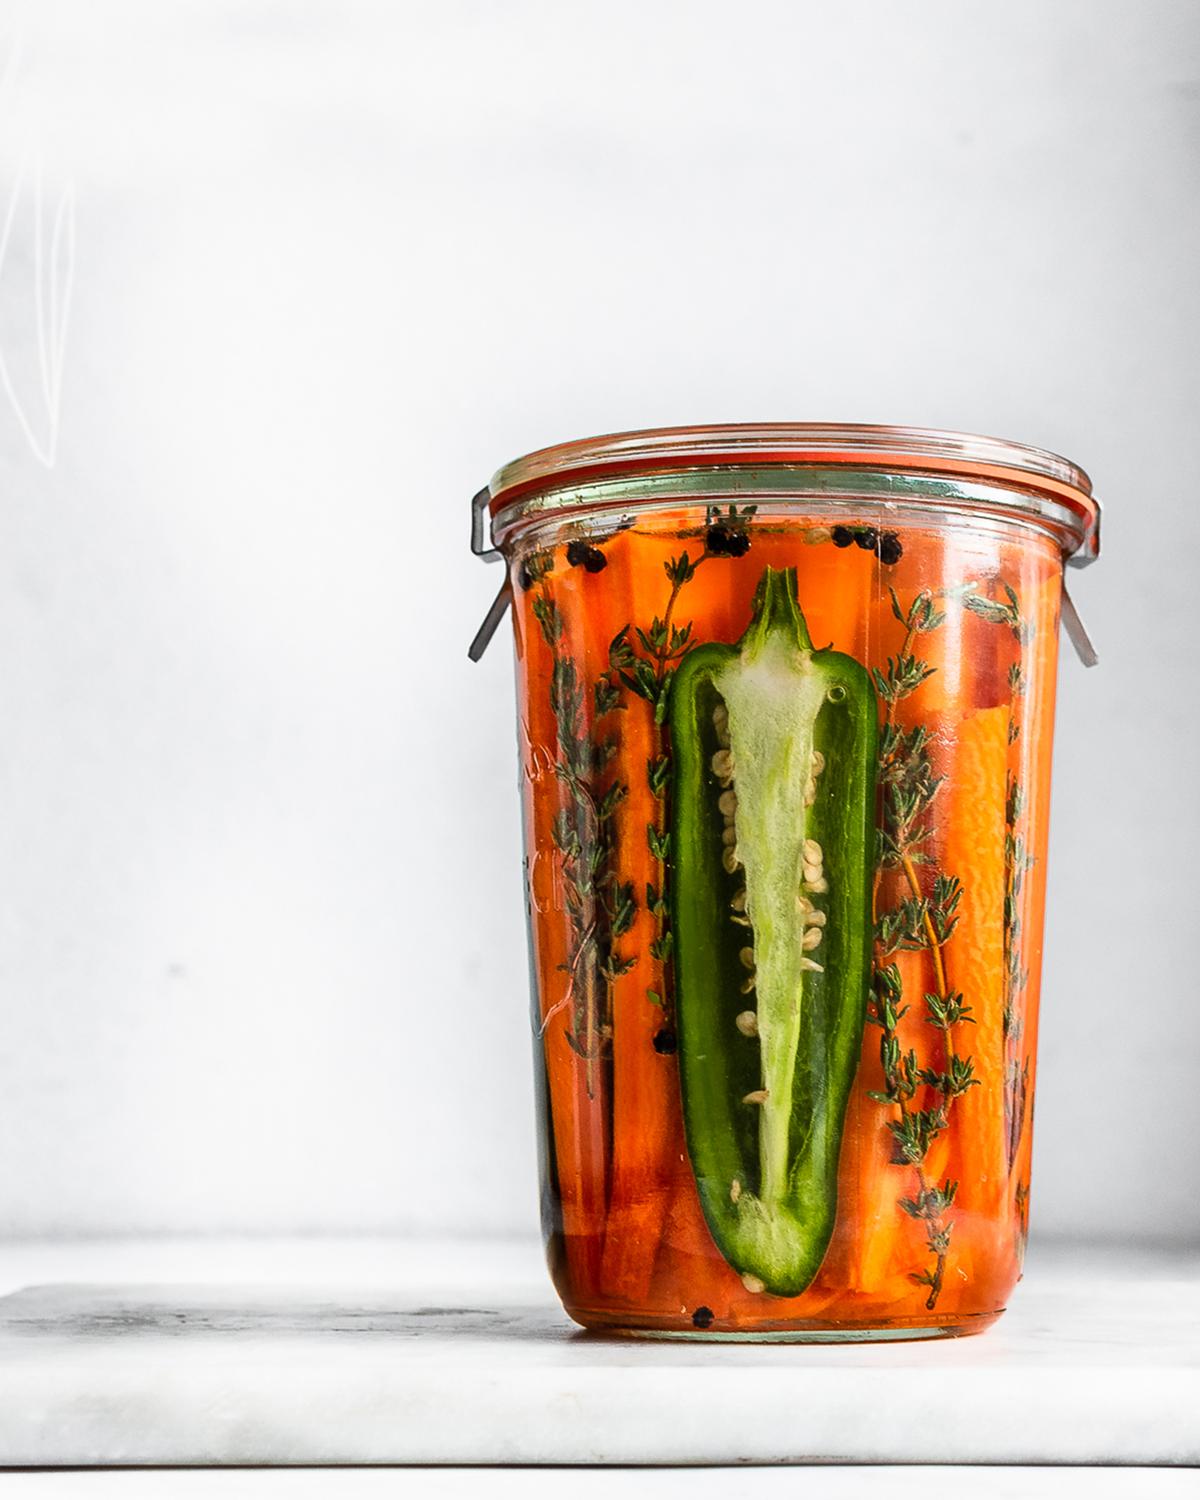
Carrot Pickles
Thyme and black pepper give these fermented carrots a pleasant herbal aroma, while a single jalapeño and plenty of garlic give it a kick. Like most fermented vegetable recipes, this one is super simple to make.Makes about 1 quart
- 6 medium carrots
- 1 jalapeño
- 4 medium garlic cloves
- 6 fresh thyme sprigs
- 1 teaspoon black peppercorns
- 2 cups room temperature water
- 1 tablespoon fine salt
- 1 quart-sized mason jar with lid
- Glass fermentation weight, optional
Whisk the salt into the water, then pour it over the vegetables.
Place a glass weight over the vegetables so that they remain submerged under brine, and seal the jar tightly. Allow the carrots to ferment for about two weeks, burp the jar daily, then transfer them to the refrigerator, where they'll keep for up to six months.