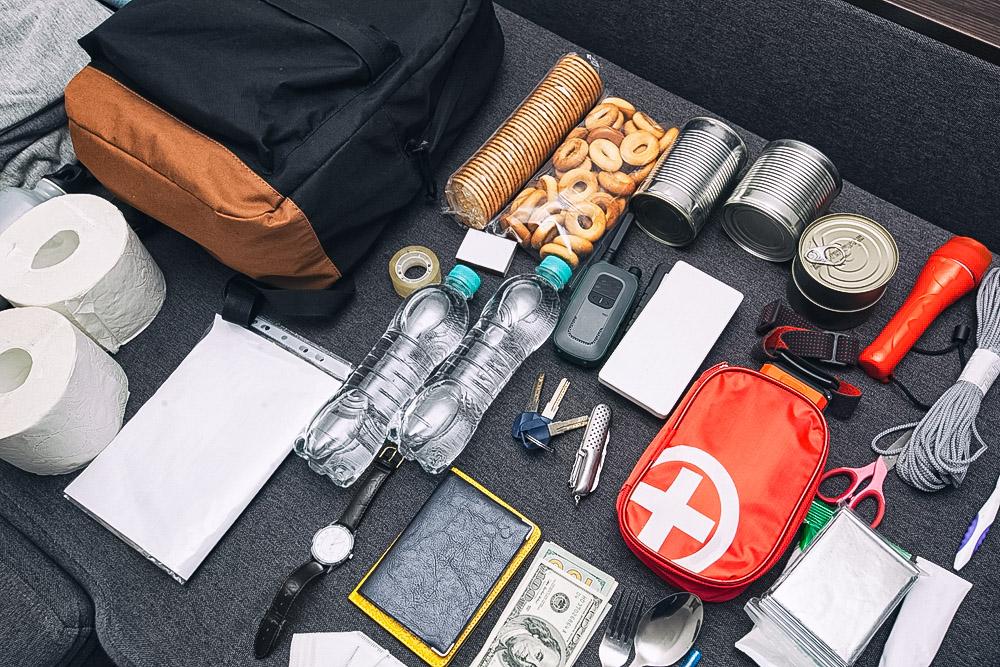
Growing nutritious, fresh produce isn’t nearly as easy as Instagram and Pinterest photos might have you believe. Every tomato and pound of zucchini requires outdoor space, a suitable climate and weather, gardening know-how, and sometimes a deep pocketbook.
A Beginner-Friendly Staple
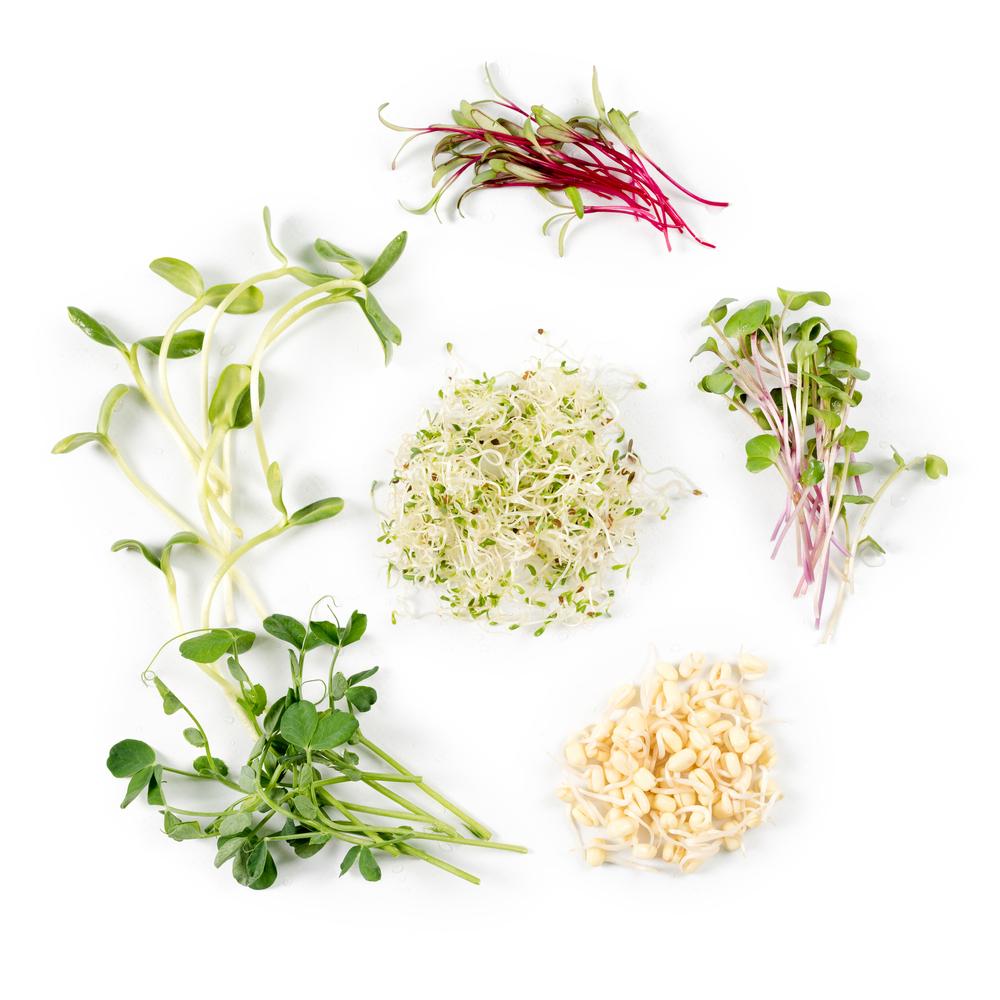
Microgreens, sometimes called baby greens, are small sprouts grown from seeds. These tiny seedlings have just started to emerge from their protective shell and are ready to eat when their first leaves appear. Sprouted seeds are ready to eat even sooner, just as soon as the initial sprout emerges from a seed.Growing microgreens and sprouting seeds require no previous experience, and if you’re an impatient gardener, your harvest can be ready in as soon as five or six days. These budget-friendly projects are inexpensive, and supplies can be used repeatedly, with seeds being the only recurring expense.
Even better, you can grow microgreens and sprout seeds throughout the year, regardless of the season, and they can be grown anywhere. There’s no need for acreage, a backyard, or even a patio. Your microgreens and sprouted seeds will thrive just about anywhere inside your home.
Pleasing Pantry Additions
For the emergency food storage pantry, these miniature versions of fresh produce will add variety to your meals and another layer of all-important nutrients. Even if you’ve planned a well-rounded supply of food for emergencies with plenty of protein and other highly nutritious foods, baby greens and sprouted seeds give you another way to enrich your food supply in a crisis. It’s also a practical way to ensure that your family always has a supply of fresh produce in a time of food shortages.Preparing the Microgreens Project
Microgreens provide a massive boost of concentrated nutrients and antioxidants and require only a few supplies. Start with one or two varieties of the easiest seeds to grow, such as sunflowers, peas, arugula, wheat, or “salad mix.” Each of these has its own distinct flavor, and you’ll quickly discover your favorites. Be sure to buy seeds that are “food grade” to avoid pesticides or other contaminants. This applies to seeds used for sprouting, as well.For this project, you’ll need a shallow container about 1 to 2 inches deep, a growing medium, and a cover for the container. The container can be as simple as a baking sheet. However, the ones specifically designed for growing microgreens have molded ridges on the bottom to allow for even water flow.
Get Your Hands Dirty
The growing process is quite straightforward. Begin by soaking your choice of seeds in water to prepare them for germination. Follow specific instructions for soaking if included in the seed packaging, since not every variety requires pre-soaking. Spread your choice of growing medium on the bottom of the container. Then, pour 1/2 cup of water evenly over the surface. Allow the water to soak into the medium for a few minutes until the entire surface is evenly damp.Harvest Time
In most cases, microgreens are ready to harvest when they reach 2 to 3 inches in height. However, keep an eye on the leaf growth, as this is the best indicator of when to harvest. The first leaves you’ll see are the cotyledons, followed by a set of true leaves; your microgreens will be at their tastiest at either point. Then, with a clean pair of scissors, cut the greens about an inch from the soil.Sprouts Are Simple
Seed sprouting is an even simpler process with a much faster time to harvest. You’ll be able to eat your sprouted seeds as soon as you notice that the seed casings, or hulls, begin to fall away with rinsing. This can happen in as little as four days and is the perfect way to introduce the miracle of seeds to children.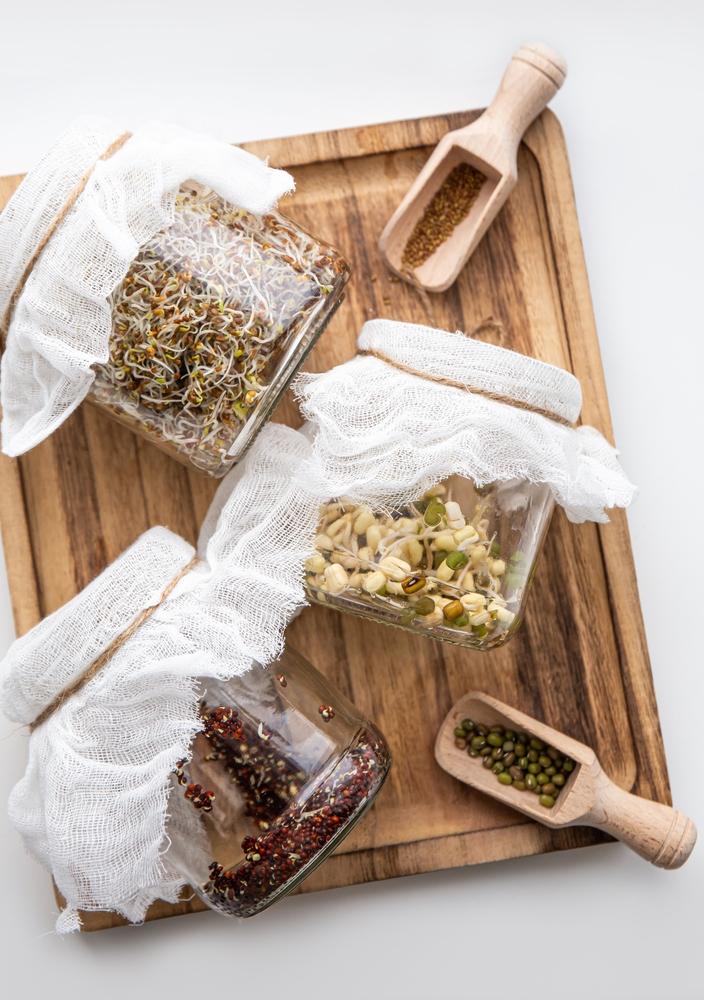
FotoHelin/Shutterstock
Start Sprouting!
The only supplies required are seeds and a quart-sized (or larger) jar with a screen lid. This is something you can purchase or make yourself with a canning jar rim and a circular screen made from plastic mesh or layers of cheesecloth. You’ll be rinsing and draining the seeds twice a day, so it’s important to have a lid that allows for very easy and complete drainage.Begin with an initial soaking of the seeds for 8 to 12 hours or according to the seed package instructions. Smaller seeds need less soaking time. A good rule of thumb is to use at least twice as much water as you have seeds. Once the soaking time is over, drain the jar and then refill with fresh water for thorough rinsing. Swirl the seeds around in the water, and then drain again. You’ll repeat this process of rinsing and draining twice a day.
There’s no need for any particular type of lighting, and the handiest location for your seed sprouting jar is right next to the kitchen sink.
Your sprouted seeds should never be slimy or have an “off” smell. If that happens, it indicates the possible presence of bacteria, and the sprouts should be thrown out.
You might also notice that your jar is so full of sprouts that it’s difficult to rinse and drain thoroughly. In that case, you added too many seeds to the jar—an easy mistake for a beginner! A simple solution is to remove a portion of the sprouts and put them in a second sprouting jar to allow all sprouts enough room for air circulation.