I come from a long line of women born and bred for city life—“ladies who lunch” is what they call us. A suburban homeschooling mom, I had a typical middle-class American lifestyle, and I had never really given any thought to being prepared for an emergency bigger than a quick trip to the ER.
Then in early 2009, the Great Recession put our family construction business in peril. I realized that I needed to return to some of the frugal habits of my great-grandmother.
Today, my family has at least six or seven months’ worth of food in our emergency pantry. When money has been tight, it’s been helpful to have weeks’ worth of groceries without spending additional money on food. During the pandemic’s supply-chain issues and shortages, we only had to go to our pantry to get what we needed.
Getting Started
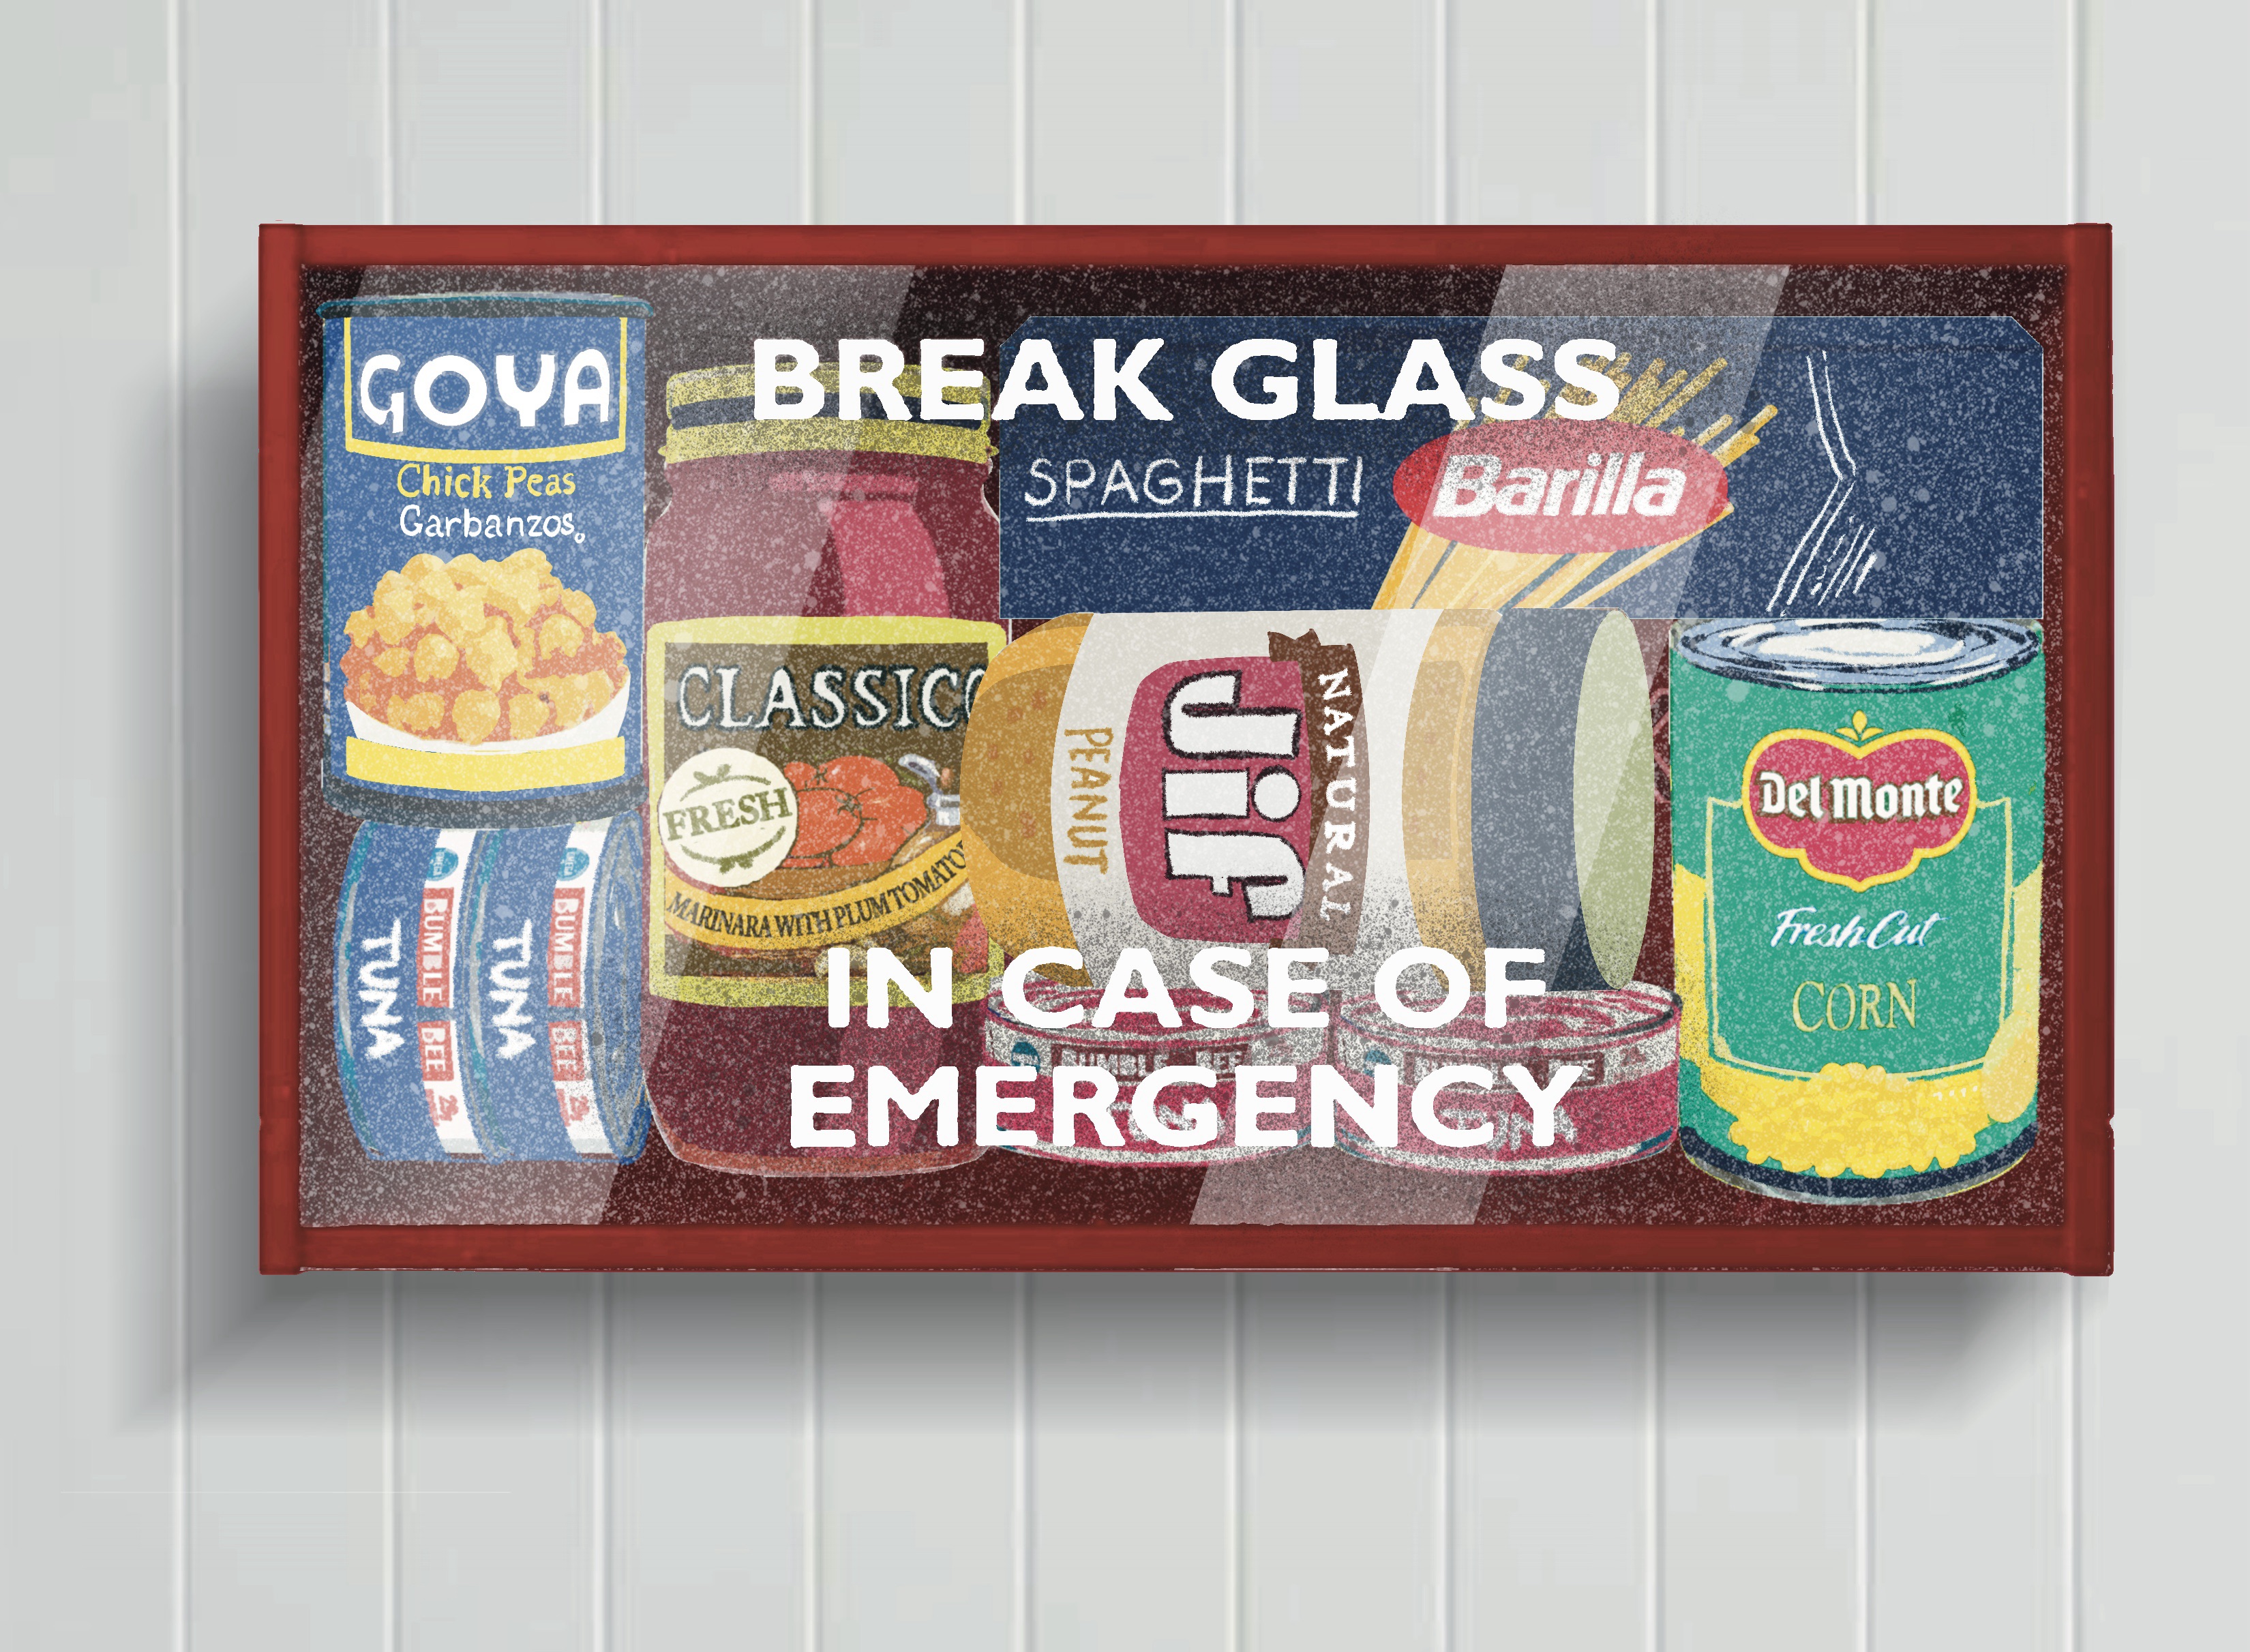
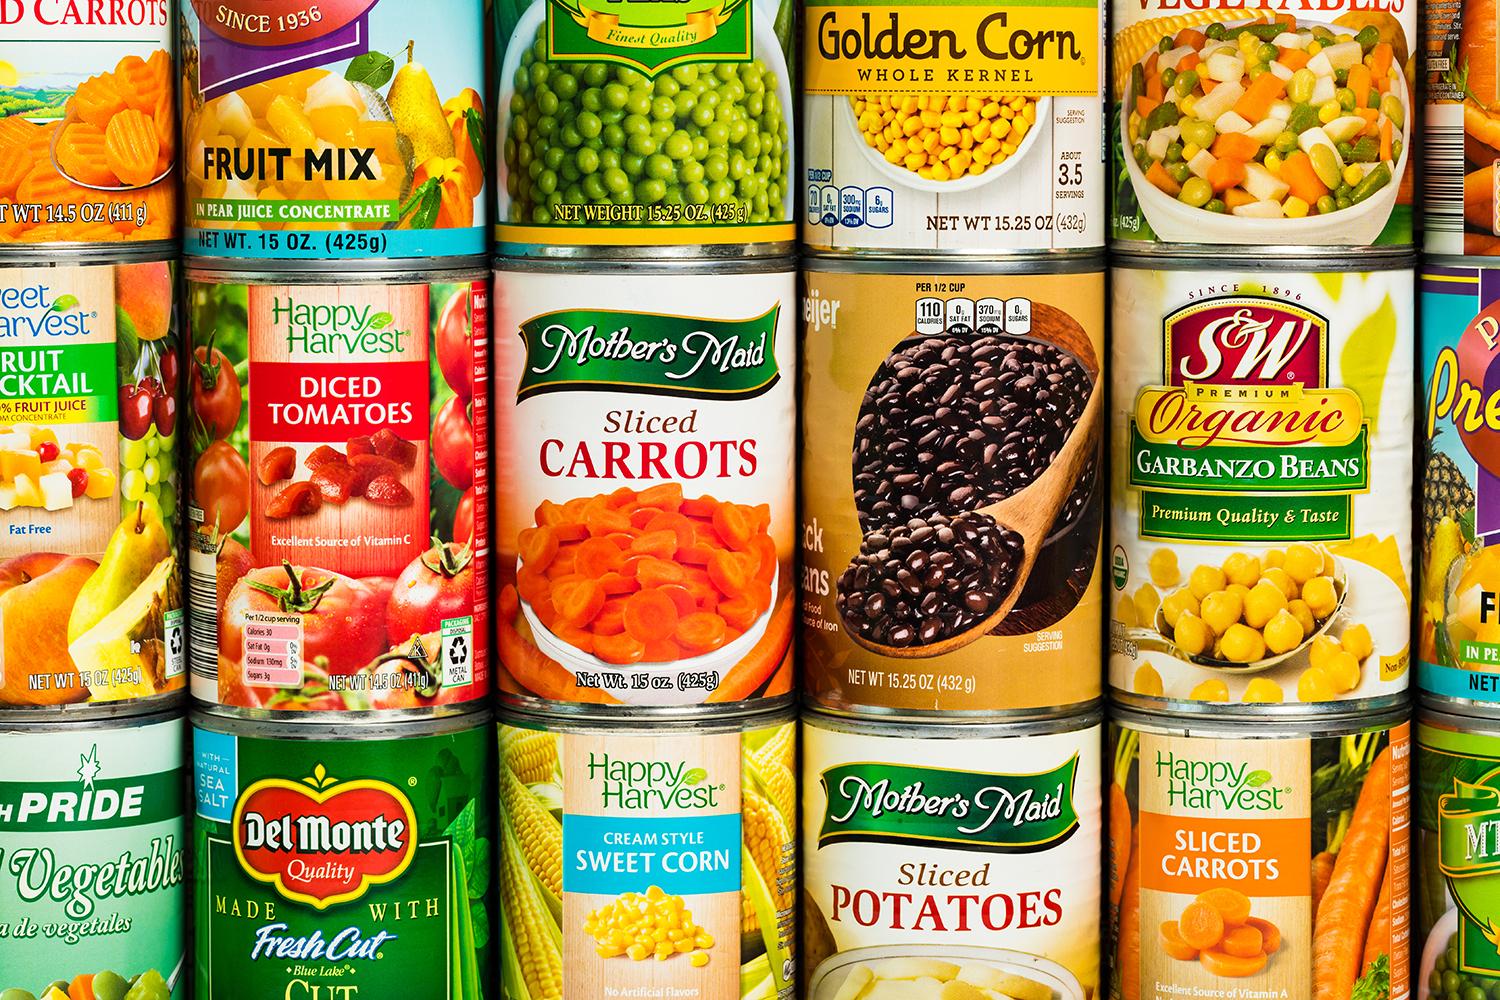
When we first began building an emergency food supply, I stocked up without any plan. I just knew what we typically ate, and bought a lot of it, based on what I could afford at the grocery store.I'll never forget my first official stocking-up trip to our local Kroger. My husband and I each had a shopping cart and simply began filling them up. I knew that canned food had a very long shelf life, so much of what we bought was that. I considered what my kids, then 9 and 11, liked to eat, and bought boxes of Cheerios, Oreos, and their favorite granola bars. I clipped coupons and shopped sales. Soon, we’d filled two shelving units in a spare bedroom with canned food, bags of rice and beans, boxes of pasta (especially the blue boxes of macaroni and cheese), and jars of marinara sauce.
In retrospect, this wasn’t a bad idea. My kids were already familiar with the foods, the food was affordable, and I could make my purchases in person on regular trips to the grocery store. Most importantly, it got us started. It’s easy to overthink this process, get intimidated by too much information, and not take action.
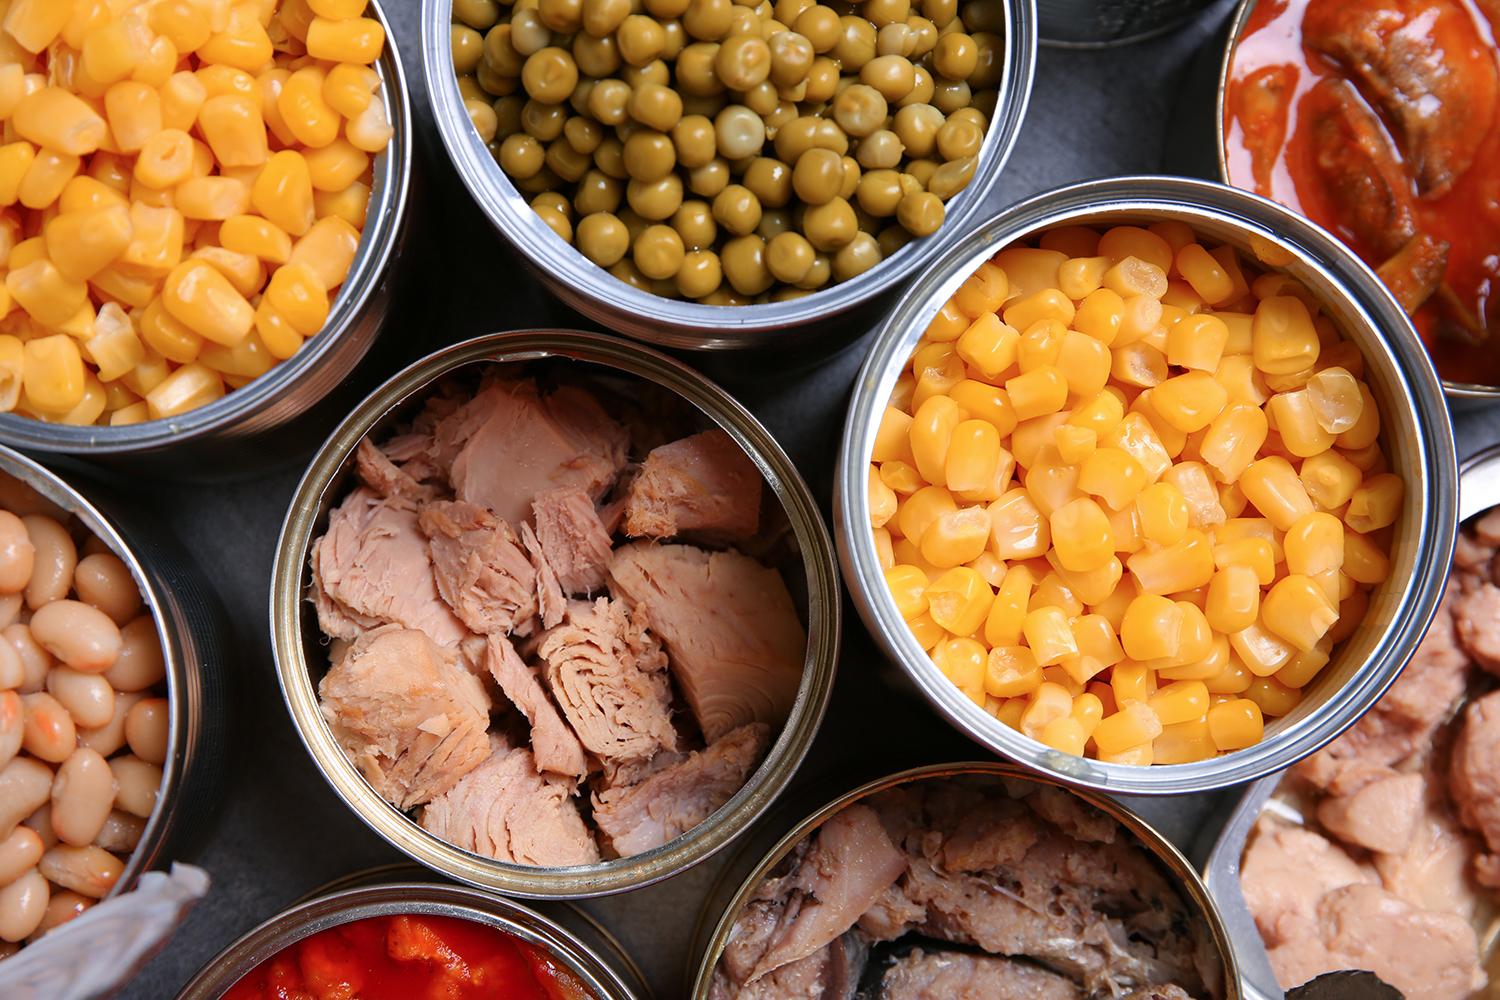
Looking back, some of the handiest canned foods I bought were tuna, chicken, soups, and different varieties of vegetables. I only wish I hadn’t wasted money on convenience and snack foods. Breakfast cereals and cookies don’t have long shelf lives, and it was too easy for my kids to get into our pantry room and snack on their favorites! (They assumed that any time they were hungry, it was an “emergency.”)
The Next Level
I remember the day I stood before my then-four shelving units of food storage and counted how many jars of marinara sauce I had (45). It occurred to me that we would use the last of those jars one day, and I would need a way to make it from scratch. I decided to stock up on more individual ingredients instead of convenience foods.I did this by adding freeze-dried food, which can have a shelf life of over 20 years—depending on how it’s stored—and retains nearly all its nutrients.
I also stocked up on several varieties of freeze-dried meals—such as freeze-dried lasagna and turkey tetrazzini—but I mostly bought individual ingredients including freeze-dried corn and strawberries. I wanted to have a variety of building blocks that I could use for any recipe.
Freeze-dried food can be expensive, and unless you invest thousands in your own freeze dryer, it must be ordered online. I was stocking up during a recession, when our family’s income was down and I had a tight budget, so I made a master list of the foods I wanted, estimated how much we would need for at least 30 days’ worth of meals, and spread it out across scheduled monthly shipments.
Reflections
Did I have a grand plan for this? A spreadsheet with columns for calories, nutrients, and serving sizes? No. That works for some people, but not me. When it’s time to make dinner at my house, I look at what’s in my pantry, fridge, and freezer and use whatever’s on hand. I figured that if I had a variety of foods, I could make just about anything I wanted. I have always kept things very simple. If some catastrophe is going on outside the four walls of my house, the last thing I want to do is make complicated meals!Adding a few additional cans of food and kitchen staples each time I went shopping, and having freeze-dried food ordered and delivered on a monthly basis, helped not only complete my food-storage goals, but also spread out the expense over months and years.
Your Turn: How Much Should You Stock Up On?
A starting goal of having enough food to last 30 days is achievable for almost everyone. In my case, I kept an eye on how many meals I could make with the food I had accumulated—how many pasta meals, how many oatmeal breakfasts, how many chili and rice meals, and so on.I was stocking up only for my family of four, but other variables that affect how much you might need include the number of people you need to feed and their ages; the storage space you have available; and your budget.
Expect needs and tastes to change, then adjust as you go. As our kids grew into hungry young adults and we grew more health-conscious, I pivoted away from wheat and toward healthier freeze-dried food and coconut oil, instead of seed oils. Plus, the kids had long outgrown canned ravioli.
My 3 Layers of Food Storage
As I learned more about what types of food were best for stocking up, I developed my own system that focuses on three different layers or categories. Each one plays an important role.Layer 1: Almost Ready-to-Eat Foods
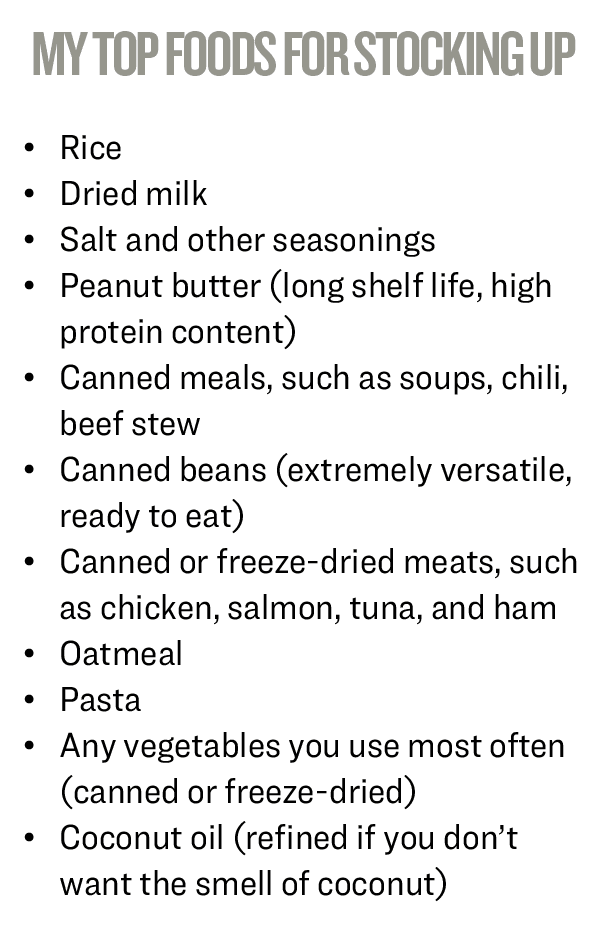
The first layer is how I got started. These foods need minimal prep and can be found at any grocery store. Think canned soups and chili, canned tuna, or jars of marinara sauce with boxes of spaghetti. Better yet, there’s no learning curve: Unlike learning how to cook with freeze-dried foods or grind wheat to make bread from scratch, there’s no mystery involved with opening and heating a can of soup. These are great for building up your pantry.Layer 2: Individual Cooking Staples
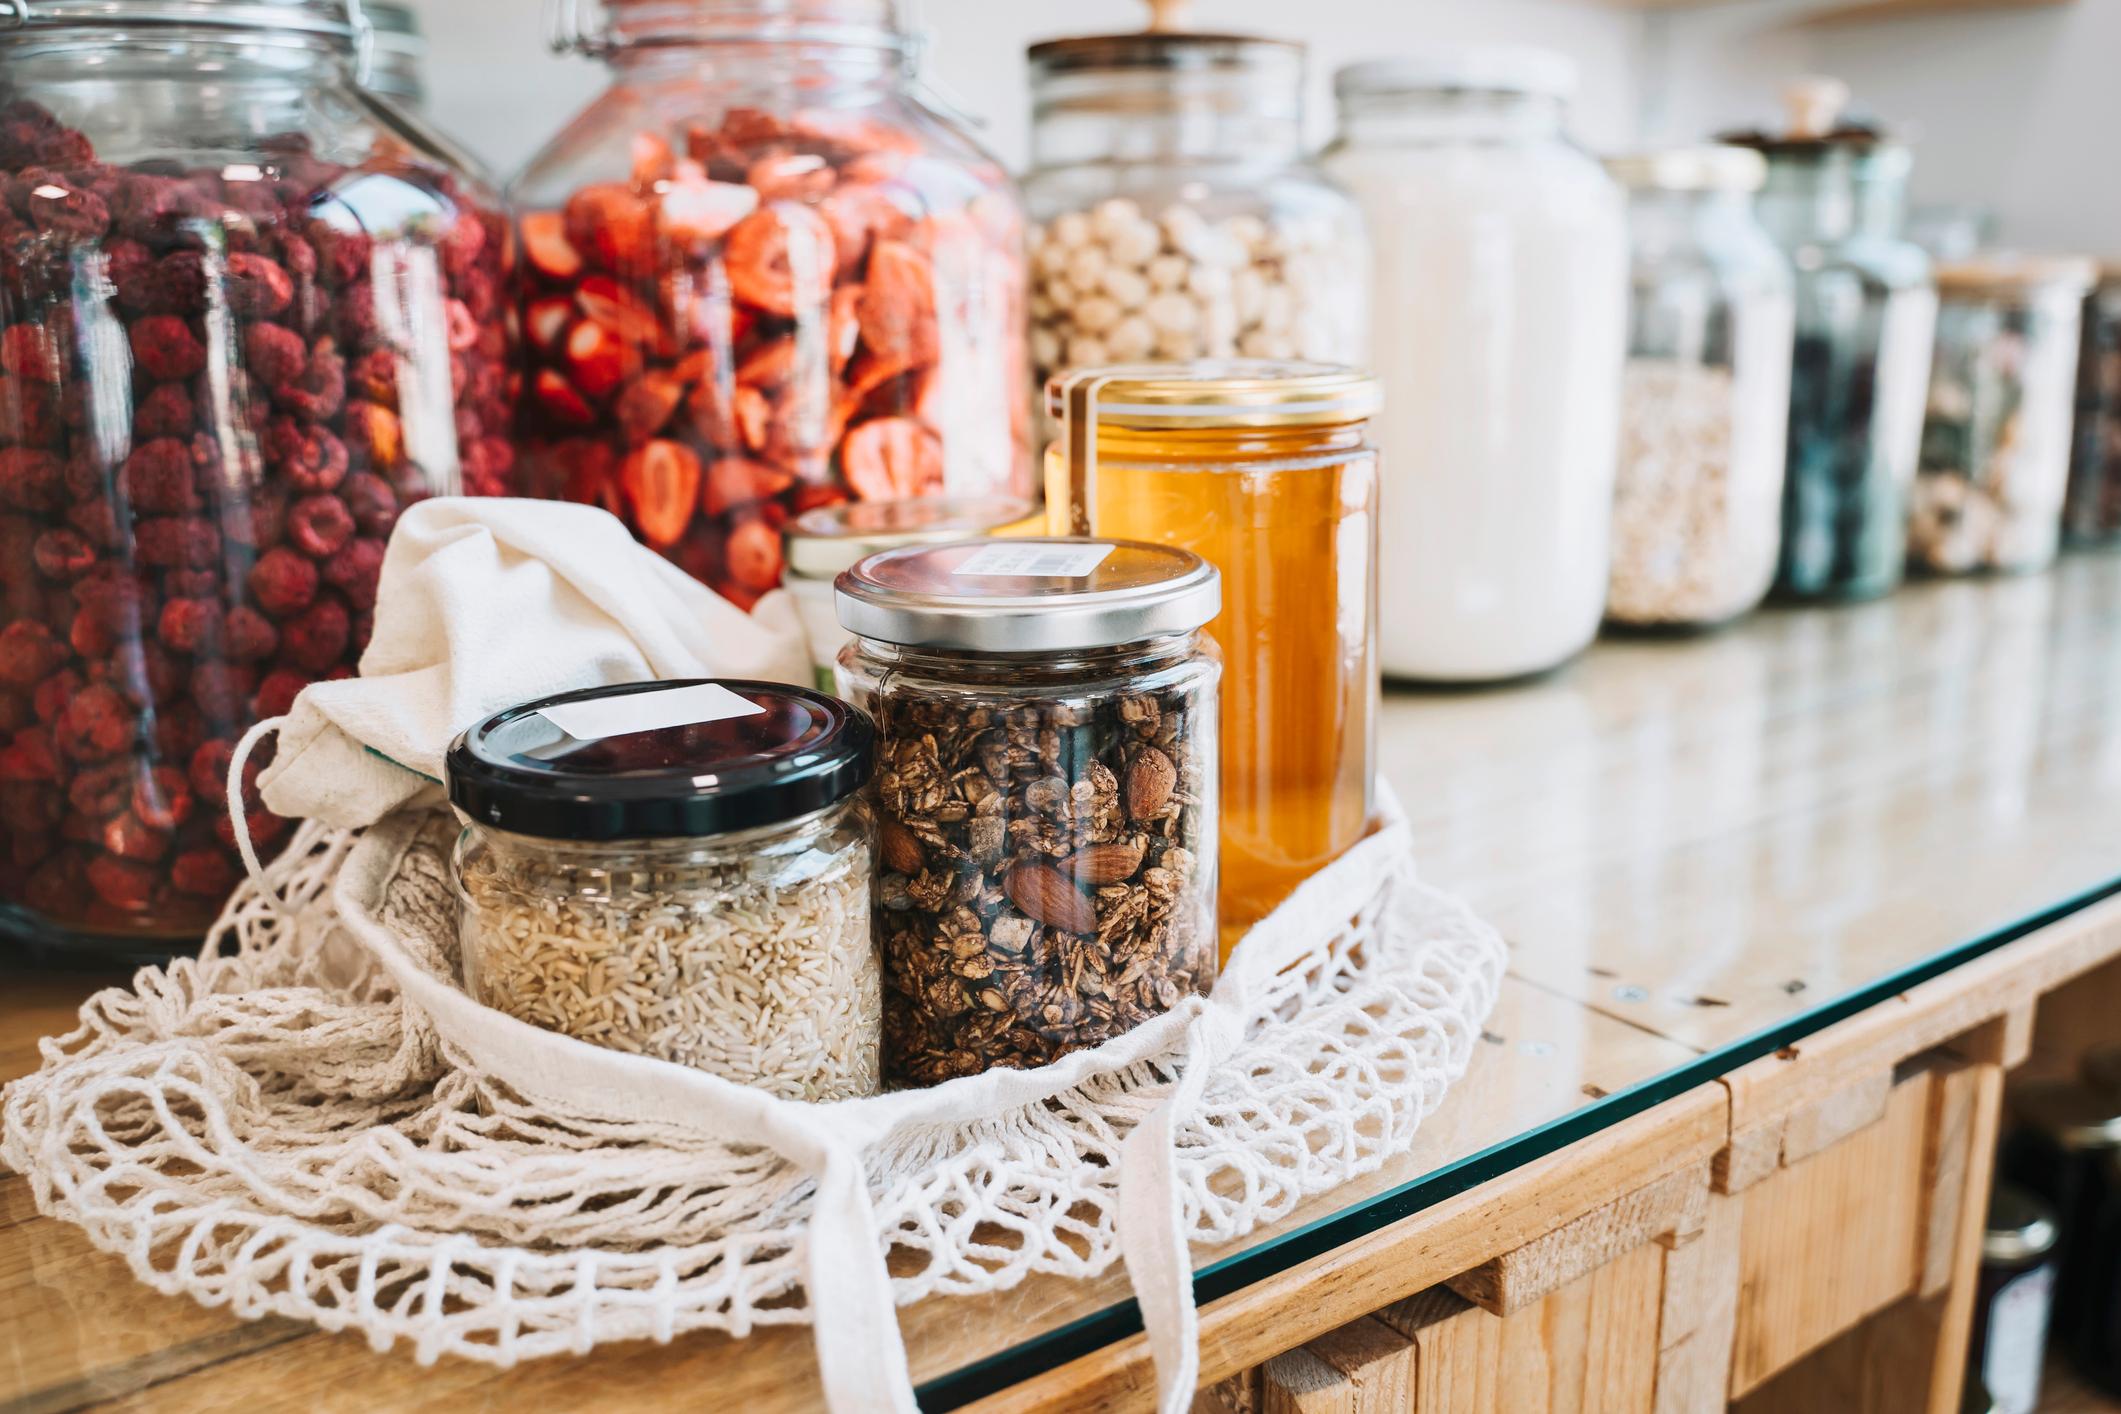
The second layer is individual ingredients that you’ll need to cook and combine with other foods to make a meal. These include kitchen staples such as sugar, flour, cornmeal, and seasonings; inexpensive meal foundations (and meal-stretchers) such as dried beans, rice, macaroni, oatmeal, and other grains; and freeze-dried and dehydrated ingredients, including fruits, vegetables, and meat. With a broad selection of these foods, you can make hundreds of healthy meals. Since you’ll want bigger quantities of these ingredients, you may want to buy in bulk online; I stocked up from Thrive Life, Azure Standard, and Rainy Day Foods.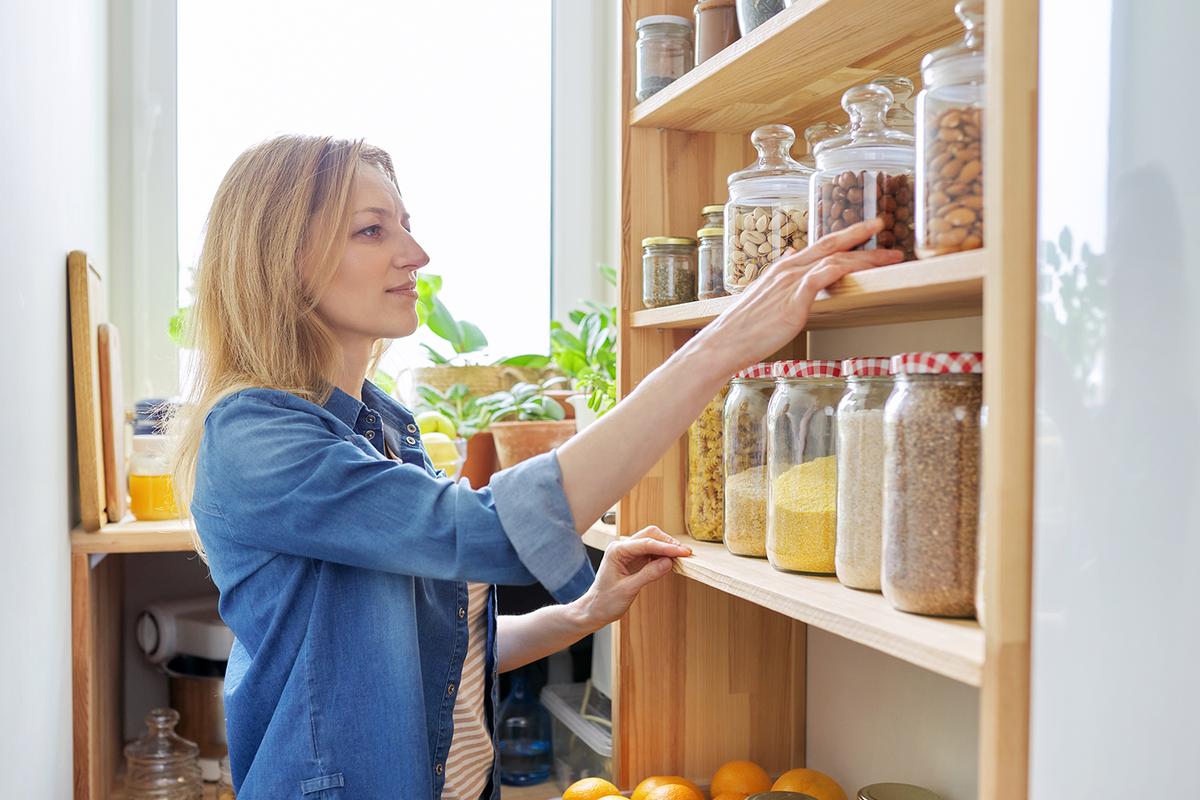
Layer 3: Freeze-Dried Meals
Still, this layer is handy for super-quick meals you can easily prepare during an emergency. It’s also worth having these meals for an evacuation because they are lightweight. You can easily throw several weeks’ worth into a large plastic bin as you rush out the door. In the days following Hurricane Harvey flooding in my Texas town, these meals were helpful when we needed a quick bite, and our small generator was our only power source.
One downside is that these packets are pricey, and if you have a family or even one big eater, you’ll most likely need two pouches for a satisfying meal.
A Few Final Tips
I highly recommend stocking up on oils, although healthy oils should be a priority. They’re essential for a healthy body but also increase calories and satiety. Add a couple of tablespoons of oil, butter, or any other fat to a meal, and it’s immediately more satiating. The downside of most oils is their short shelf life. You can extend this by storing them in the refrigerator or freezer, or by vacuum-sealing jars of butter.

Be sure to rotate the food in your emergency pantry, occasionally using up older food and replacing it with new purchases. In the beginning, I threw out a good deal of food that had simply become old. Age affects a food’s color, texture, and nutrients, even if it’s still safe to eat. No one likes mushy canned tuna.
The most important point is to get started and expand on what you already have. Stock up a little at a time, and soon your emergency pantry will be ready to feed your family for 30 days or more.