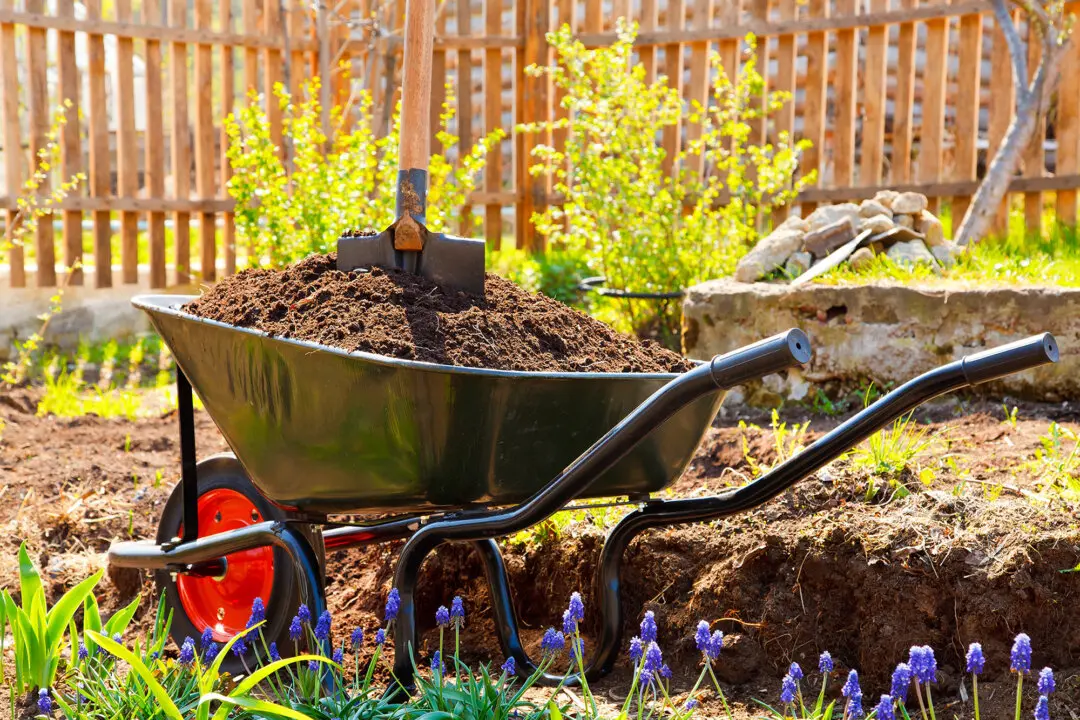
Summer is a time of freshly picked and eaten garden delights. Fall is the time to store some of them to enjoy in the coming months or even years.
Properly stored produce begins with properly harvested fruits and vegetables. Pick the fruits carefully to avoid damage, just like you would handle Grandma’s prized Christmas ornaments; you'll want to avoid bruising, breaking, or even just nicking them, as any damage can lead to decay at the damage site.
The Terms
“Cool and dry,” “cold and dry,” and “cold and moist” are terms commonly used when discussing winter storage, but what do they actually mean?Cool and dry refers to environments with a temperature range of 50 degrees to 60 degrees Fahrenheit and relative humidity at 60 percent. Most home basements fall into this category. Vegetables such as winter squash and pumpkins stored in a basement need room to breathe—yes, they’re actually still “alive”—in order to maintain quality. They also need to be protected from bugs and rodents.
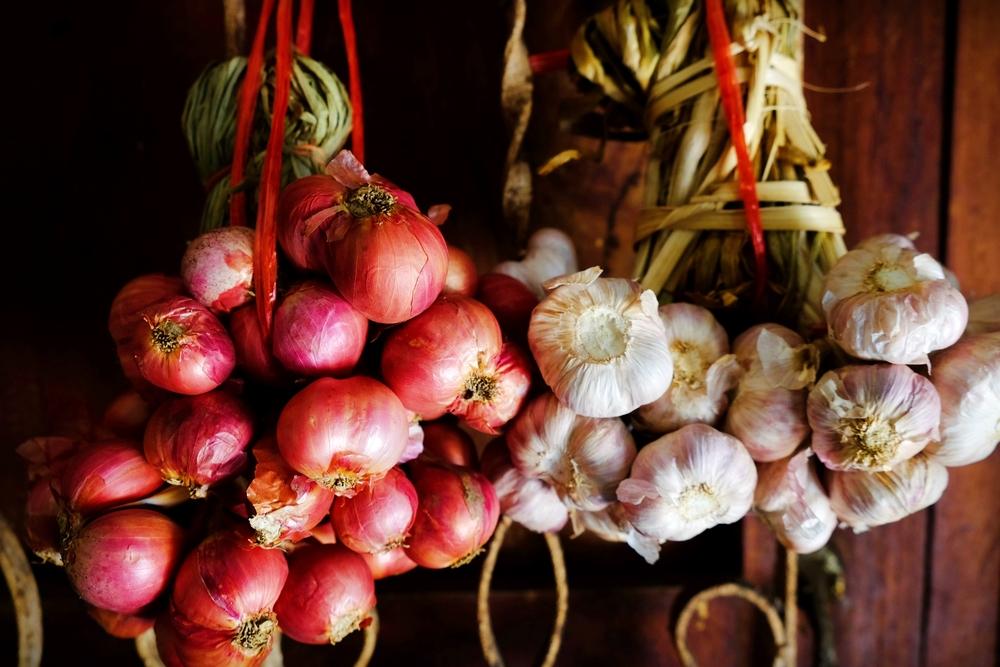
Cold and dry refers to a temperature range of 32 degrees to 40 degrees F with 65 percent relative humidity, as is found in a refrigerator. Garlic and onions will last a long time in a fridge, but plan to use other produce much sooner. Storing it in perforated plastic bags or perforated plastic boxes (the ones saved from grocery store produce work just fine) will increase their lifespan. Non-perforated storage increases humidity, which leads to condensation, mold, and bacteria.
Cold and moist storage has been used for centuries in the form of root cellars—where temperatures are 32 degrees to 40 degrees F (32 degrees F being the ideal) with 95 percent relative humidity—to store potatoes, beets, carrots, turnips, radishes, and rutabagas. As with basements, the produce needs to breathe and to be protected from rodents and bugs.


No root cellar? Substitute wood or even cardboard boxes filled with children’s play sand. Resist the temptation to use those ever-so-handy plastic totes, as they don’t breathe. Spread a layer of sand, then a layer of vegetables, and cover with more sand; repeat. Store the boxes in a basement, shed, garage, or other room in which the temperatures get cold but don’t drop below freezing. Apples should be stored away from other produce, as the ethylene gas that they give off would cause ripening and, therefore, rotting.
There are exceptions to those rules: Tomatoes, cucumbers, and peppers need a cool (55 degrees F) and moist environment. If there’s no appropriate basement location, store them on the kitchen counter. Either way, expect items in this category to last for less than a week, or plan to can, dry, or otherwise preserve them.
To Clean Or Not To Clean
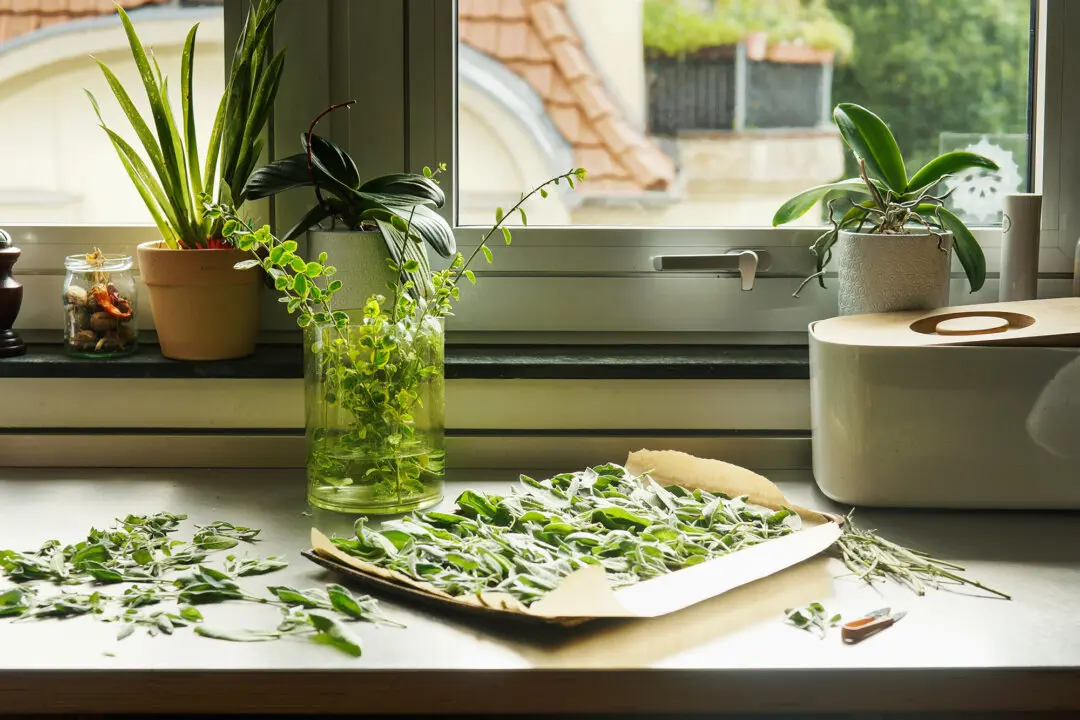
While we know to wash produce before eating it, harvesting can be a different situation. Many fruits and veggies can be washed after harvest but not onions and garlic or white potatoes and sweet potatoes. Remove the garden dirt by shaking, rubbing, or brushing it off with a soft brush or clean paper towel, preferably while you’re still outside to keep the mess down. Berries also shouldn’t be cleaned until they’re ready to be eaten.The Cure
Curing is what it sounds like: It allows vegetables to heal from minor harvesting injuries and, more importantly, thickens their skin to keep the interior moist and create a protective barrier that helps it to resist microbial infection. Onions are some of the easiest to cure, needing only a week or two of hanging in warm, dry conditions out of sunlight (this last part is critical for all curing). Garlic is also hung, but depending on the local climate, it could take from two to four weeks to fully cure.For potatoes, the curing process begins before harvesting. Stop watering two weeks before harvest to let the skins start to set in the ground. After harvesting, set white potatoes out in an area with temperatures of 45 degrees to 60 degrees F and 85 percent to 95 percent humidity for two weeks. Sweet potatoes need a temperature of 85 degrees F with 90 percent to 95 percent humidity for four weeks.
Pumpkins and winter squash also need curing. Pumpkins need temperatures of 80 degrees to 85 degrees F with 80 percent humidity for 10 to 14 days. Winter squash needs temperatures of 80 degrees to 90 degrees F for three to five days. Corn is one of the easiest crops to cure. Remove the husk, and place it and the pumpkins and squash in a warm, dry environment with good ventilation, such as a basement. Let it sit for a week; it’s ready when about half of the kernels can be easily twisted off by hand.
Bon appétit!