The chances are good that you did not prepare the trim surface properly before painting the trim. Paint attaches itself to the trim both by mechanical means (locks into the tiny pores and grooves) and chemically (sticks to the trim like tape). A clean, dry surface is imperative.
It is not a lot different from applying makeup in the morning. Treat your trim the way you'd treat your skin. You wouldn’t just splash a little cold water on your face and start applying the makeup. Makeup looks much better and stays on longer if you start with a thoroughly clean face.
Pressure washing is an excellent method to clean the surface, but it should be done only by a professional, if at all. An inexperienced user can easily damage the wood surface and drive water deep into the wood and behind it with a pressure washer. This will make your peeling problems worse.
Do not plan on painting the trim the same day that you clean it. It must dry for several days. Also, it will probably take several days to properly clean it. If you are not a patient person and you want instant gratification, do not even start the job, or you will be doing it again in two years.


Scraping off the old, peeling paint is the first step. A stiff, flat putty knife works well. Pull scrapers that have shallow U-shaped blades are often easier and less tiring to use. These are particularly good for cutting through old oil-based paint with minimal effort. Always wear goggles.
You can buy expensive cleaning chemicals, but a mild solution of dishwashing liquid works great. Use either a large scrub brush or a grout sponge. You can find both at any home center store. Don’t be timid. Really put some elbow grease into it. You will not harm the trim.
Using a garden hose, rinse off the trim, and let it dry for at least two days before beginning to paint. Inspect it again. The aggressive washing will most likely loosen a few more spots. Scrape those spots to remove all the loose paint.
You may or may not need to prime the trim. If there is a solid coating of paint on most of it, you really need to prime only the bare spots. The heads of any rusty nails need to be touched up with a spot of rust-inhibiting primer. Countersink them a little and use filler over them.
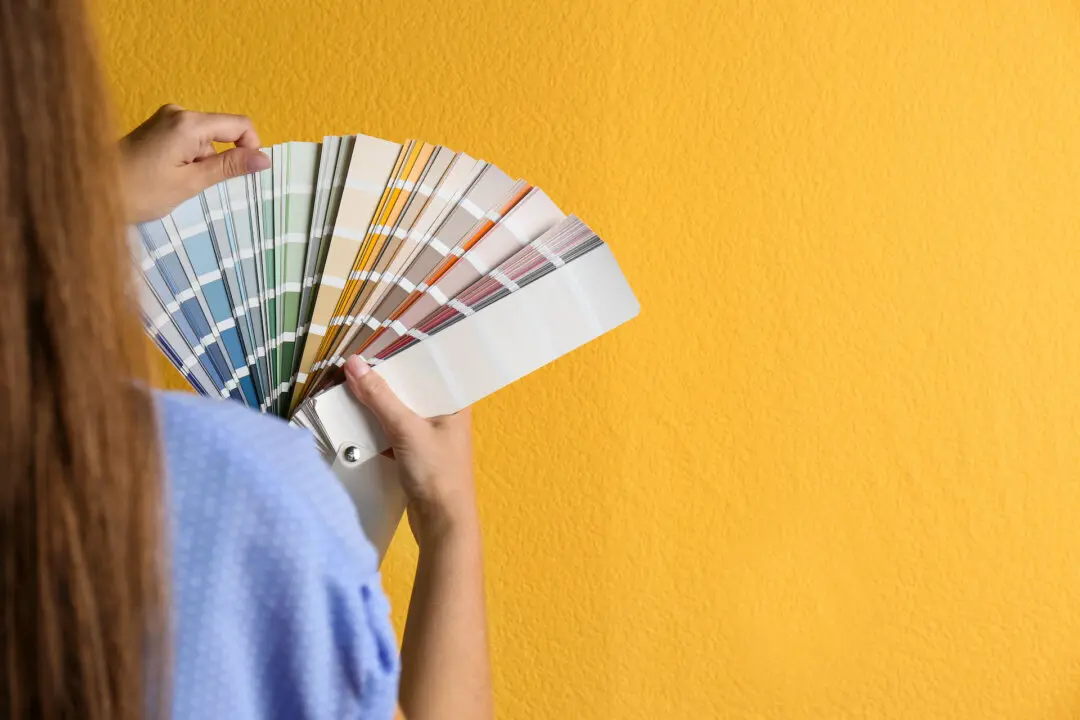
Select the proper type of primer. This depends on the type of exterior finish paint that you plan to use. The best paint is 100 percent acrylic. It costs more than the bargain basement brand, but it is worth it. Make sure the can says “100 percent acrylic,” not just acrylic.
The instructions on the can of finish paint will indicate the recommended primer. The same paint store should carry the recommended primer. Read the instructions carefully. The time period between applying the primer and the finish coat is critical for proper adhesion.
The evening is the best time to paint. The temperature will not be terribly hot, and the painted trim will not be exposed to the afternoon sun. Drying that is too rapid from the excessive heat is not good.