Among the many modern amenities we take for granted, soap has to be the one we come into contact with the most. Think about your showers, or how often you wash your hands. It’s a cruel twist of irony, then, to find out that modern soap isn’t always beneficial for your skin.
Most soap found in supermarkets contains any number of harmful chemicals, including parabens, sodium lauryl sulfate, triclosan, dioxane, and even formaldehyde. So, what’s the alternative?
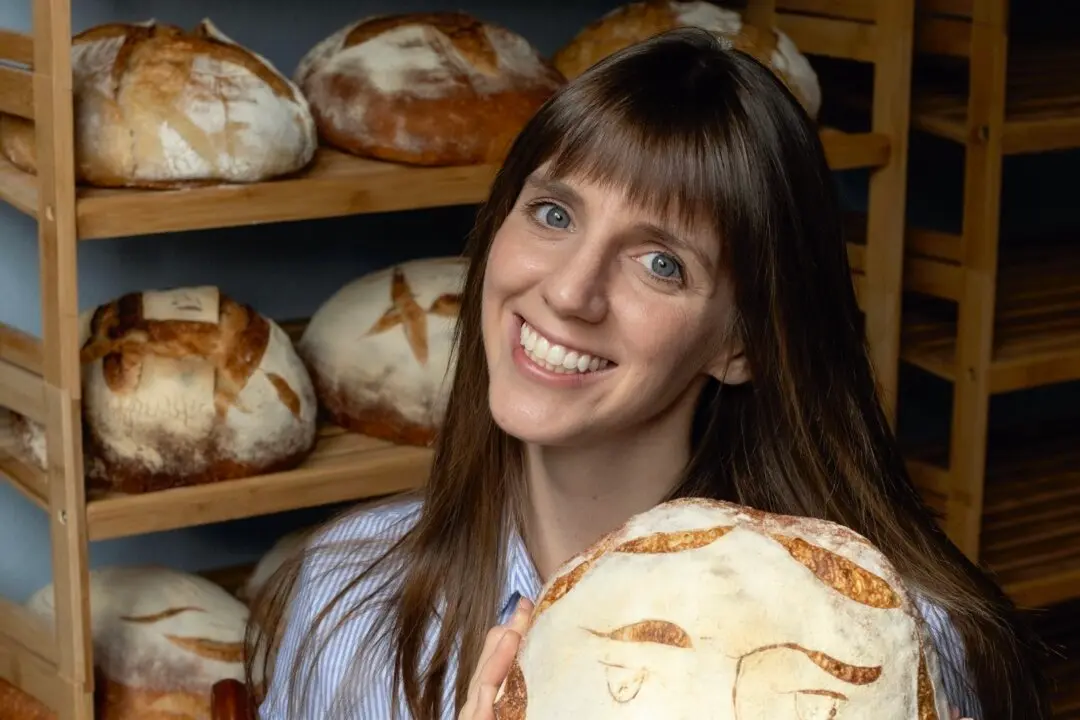
“The soap in a hospital is not exactly kind and nourishing to your skin,” Ms. Hollar said. “I actually wound up with extreme topical eczema.”
Once she and the babies got home, Ms. Hollar did everything she could think of to help her hands.
“I tried every lotion that was available on the market. I couldn’t find anything that would help,” she said.

Why Not Make Your Own?
By the time her fourth son was born in 2012, Ms. Hollar was well into her all-natural skincare routine. But it was a suggestion from her husband that got the ball rolling on her passion for soapmaking.His mother had made soap for his family when he was growing up. So, he suggested to his wife: “Why not try making your own?”
Ms. Hollar was cautious at first. She had never made solid bars of soap before. However, in the summer of 2013, she finally gave it a go. She fell in love with it.
“I was really, really nervous. I did it on our back porch. And it worked! It made soap! And I was so stoked!” she said. Almost immediately after she made the first batch, the family saw dramatic improvements to their skin. Ms. Hollar’s eczema vanished, and her husband’s constantly dry, cracked, and itchy hands became hydrated and smooth.
A Business Is Born
As a result of her new passion, Ms. Hollar found herself with a lot of surplus that she didn’t know what to do with. She started Bumblewood, an all-natural skincare company. Though her early batches of soap were lard-based, her southern California clientele preferred a vegetarian approach. Ms. Hollar needed a new recipe.She dove into the chemistry of soap making, discovering that each oil or butter used has its own acidic qualities. For example, because beef tallow is so high in stearic acid, the soap made from it is firmer. Coconut oil’s acidic makeup yields lots of froth and bubbles, while the oleic acid in olive oil provides a smooth, creamy, bubble-less lather. Extensive research helped Ms. Hollar develop the perfect recipe.
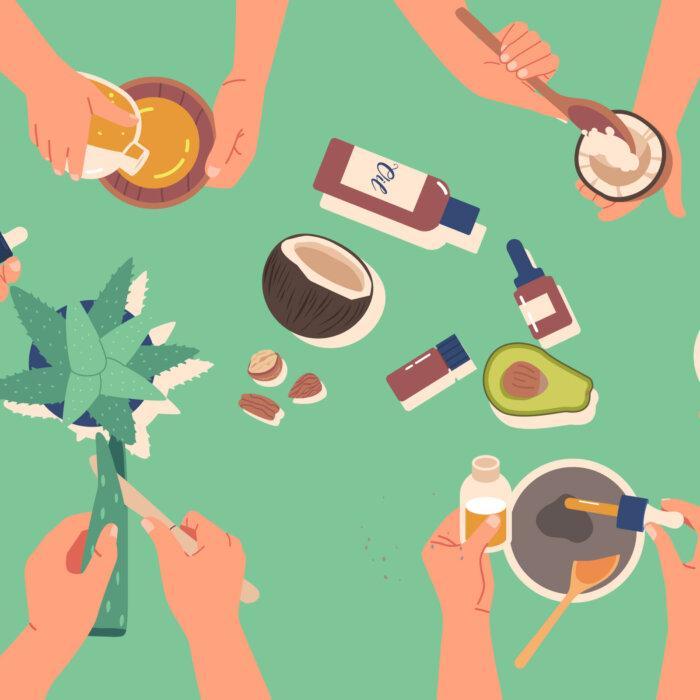
Bumblewood soaps are a combination of palm, coconut, olive, and almond oils, and shea butter, mixed with various scents and ingredients like coffee grounds or oatmeal. The result is a bubbly, long-lasting, smooth-lather soap that sells like hotcakes.
Try It Yourself
Ms. Hollar produces all of her soap entirely in her own kitchen, with easy-to-find ingredients and simple kitchen equipment.“I went to Big Lots and bought a stainless steel stockpot, a plastic pitcher for lye, and a cheap immersion blender,” Ms. Hollar said. “The materials have gotten more expensive, because inflation’s a thing, but you can still find affordable ingredients. Small amounts of coconut oil or olive oil aren’t going to break the bank.”
Lye is an important component of the soapmaking process, though Ms. Hollar has found it can be a source of trepidation for many beginners. Too much lye, and the soap is harsh on the skin. Too little lye, and the oils won’t saponify properly.
“It took a lot of fear out, because it was already calculated for me,” she said.
Don’t be afraid if you accidentally spill some after it’s mixed.
“Because lye, sodium hydroxide, is a super alkaline solution, to combat that you need something incredibly acidic, like vinegar, which neutralizes the lye to the point where you can safely clean it up,” Ms. Hollar said. “Thinking realistically about the possible dangers takes a lot of the fear out of soap making.”
If soap making is something you’ve longed to do, Ms. Hollar thinks you should go for it.
Meg Hollar’s Basic Soap Recipe
Safety Notes: Wear rubber/nitrile gloves and a long-sleeved shirt and pants to prevent lye from contacting skin. Lye on skin should be flushed immediately with clean water. If it is a very large spill, flush the area, and then visit urgent care to make sure no serious damage has been done. Refer to a standard material safety data sheet for instructions on safely handling lye.The fumes created when lye and water are mixed are corrosive and irritating if inhaled, so be sure to mix them outside or in a bathroom with good ventilation and the exhaust fan running.
All equipment used should remain separate from those used to prepare food.
- 4.5 ounces lye (sodium hydroxide)
- 12 ounces water
- 24 ounces coconut oil
- 5 ounces castor oil
- 3.5 ounces olive oil
- 2 ounces essential or fragrance oil of choice (optional)
- A scale that measures in fractions of ounces
- 2 to 3 mason jars for measuring lye and essential oils
- Heat-proof plastic pitcher for mixing lye and water
- 1-gallon stainless steel pot
- Instant-read thermometer
- Stick blender or whisk
- Silicone spatula
- 2-pound silicone loaf molds, or mold(s) in the shape of your choice (Ms. Hollar recommends molds made by Nurture Soap)
Weigh out the lye in a mason jar. Weigh out the required amount of water into the plastic pitcher.
In a well-ventilated area, such as outside or in a bathroom with an exhaust fan, carefully and slowly mix the lye into the water. This will “smoke” a bit. Don’t breathe the fumes! Set aside to cool to about 110 degrees F. This can be done faster by placing it in a sink or basin of cool water.
Weigh out the coconut, castor, and olive oils into the stainless pot. Set over the stove and gently melt and heat oils to 110 degrees F.
When both the oils and the lye mixture are the same temperature, slowly add the lye mixture into the oils in the pot. The temperature plays into how fast the ingredients are going to saponify.
With either a whisk or a stick blender, blend together the lye and oils, stirring until a light pudding consistency is achieved. This stage is known as trace, when saponification is complete and the acids and alkalis are completely combined.
If desired, add any essential or fragrance oils. Scent measurements depend on the type of soap you’re making. For example, if you’re using peppermint essential oil, 1 ounce per 5-pound batch is sufficient. If you’re using orange or something more light and floral, 2 to 3 ounces may be required. You can also add hard ingredients such as coffee grounds, charcoal, oatmeal, and honey.
Slowly pour soap mixture into mold(s).
Set in a safe place away from drafts, cover with some parchment or freezer paper, and then a towel. This helps the soap cool at a consistent temperature. You don’t want the corners to cool off faster than the middle, otherwise they might crumble.
Let sit for 24 hours, after which the soap can be unmolded and sliced.
Let soap cure in open air for 4 to 6 weeks, until hardened and mellowed.