While you can head to the grocery store at any time to pick up a carton of fresh milk, it wasn’t always that way. Milk, for most of human history, was a seasonal food, much like strawberries, tomatoes, or winter squash. Its availability was cyclical, governed by the time of the year.
When spring arrived, the world awoke from its winter slumber, and verdant pastures grew rapidly with fresh grass. Ewes bore their lambs. Cows bore their calves. The returning light brought warmth that fostered new life. For dairying peoples, spring meant plenty of fresh milk, and that abundance would last well through summer before the weather grew cool again, the pastures fell dormant, and the cows dried off for the winter before spring arrived anew.
Functional Foods
Culturing milk does more than simply preserve it: Fermentation unlocks a host of benefits. Cultured milk, just like other fermented foods, is a rich source of beneficial bacteria that help to nourish gut health, leading to a cascading effect on systemic wellness. As milk ferments, the live cultures metabolize lactose (the sugar naturally present in milk) and produce beneficial acids and B vitamins.While you can buy these foods at most supermarkets, it’s easy and often more affordable to make your own. You might just find it more rewarding, too.
3 Recipes to Try
These recipes for yogurt, Swedish filmjolk, and kefir offer an introduction into the world of homemade cultured dairy. They all begin with fresh milk and a starter culture, which gives cultured dairy foods their characteristic flavor and texture. Some benefit from consistent warmth—these are thermophilic (heat-loving) yogurts. Others culture well at room temperature.
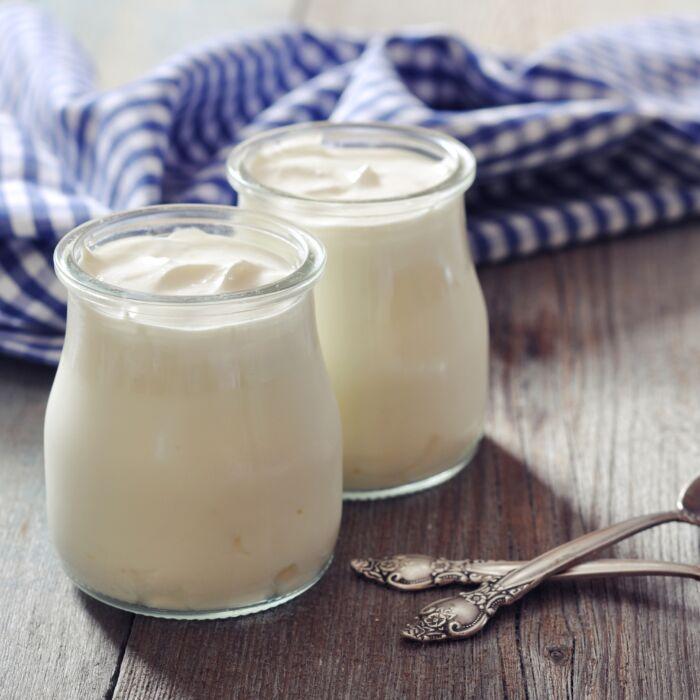
The term “yogurt” first entered the English language from Turkish. The word comes from the ancient Turkish root “yog,” meaning “thickened” or “condensed.” Most yogurts that you find at the grocery store are made by mixing fresh milk with a starter and letting it culture at about 110 degrees F for 6 to 12 hours. As it cultures, the milk’s proteins coagulate and thicken until what was once liquid is now spoonable and slightly thickened.
Filmjolk is a traditional Swedish cultured dairy food similar to yogurt. It’s smooth and creamy, and just like yogurt, people often eat it for breakfast with berries and cereals such as muesli. It’s generally milder than yogurt, with a smooth, buttery character. In contrast to yogurt, which needs an elevated temperature to culture properly, filmjolk cultures well at room temperature, which makes it easier for many people to prepare.
Making your own yogurt and kefir is an invitation to rediscover the intricate connection between food, culture, and well-being. It’s a timeless practice that is easier than you think and links you to a rich heritage that spans generations.
Getting Started
Do I need to buy a special starter?
It depends. To make yogurt, no. You can find heirloom packaged starters online and in many grocery stores—but the best starter for yogurt is simply plain yogurt, with live cultures and without additives or thickeners, that you can find in the dairy section of any grocery store.Do I need special equipment?
Again, it depends—but not really. A thermometer is handy to make sure that you’re heating and cooling the milk to the correct temperature.To make yogurt, you’ll also need a way to keep your yogurt culturing at a warm, even temperature of about 110 degrees F. A yogurt maker is ideal for this purpose, but you can also pour the milk into a tightly capped mason jar and keep it warm in a sous vide water bath or even a warm thermos. Many people have had success tucking the jar of milk into an oven with the pilot light on.
What kind of milk should I use?
You can make yogurt, kefir, and other cultured dairy foods from most types of milk. Cow’s milk is the most popular choice, although goat’s and sheep’s milk also work well. Avoid using plant-based milk, as it lacks the protein structure necessary for making high-quality yogurt and typically needs modifications, such as the inclusion of thickeners, to achieve the same consistency. You can use raw, pasteurized, or ultra-high-temperature (UHT) milk for yogurt.Yogurt
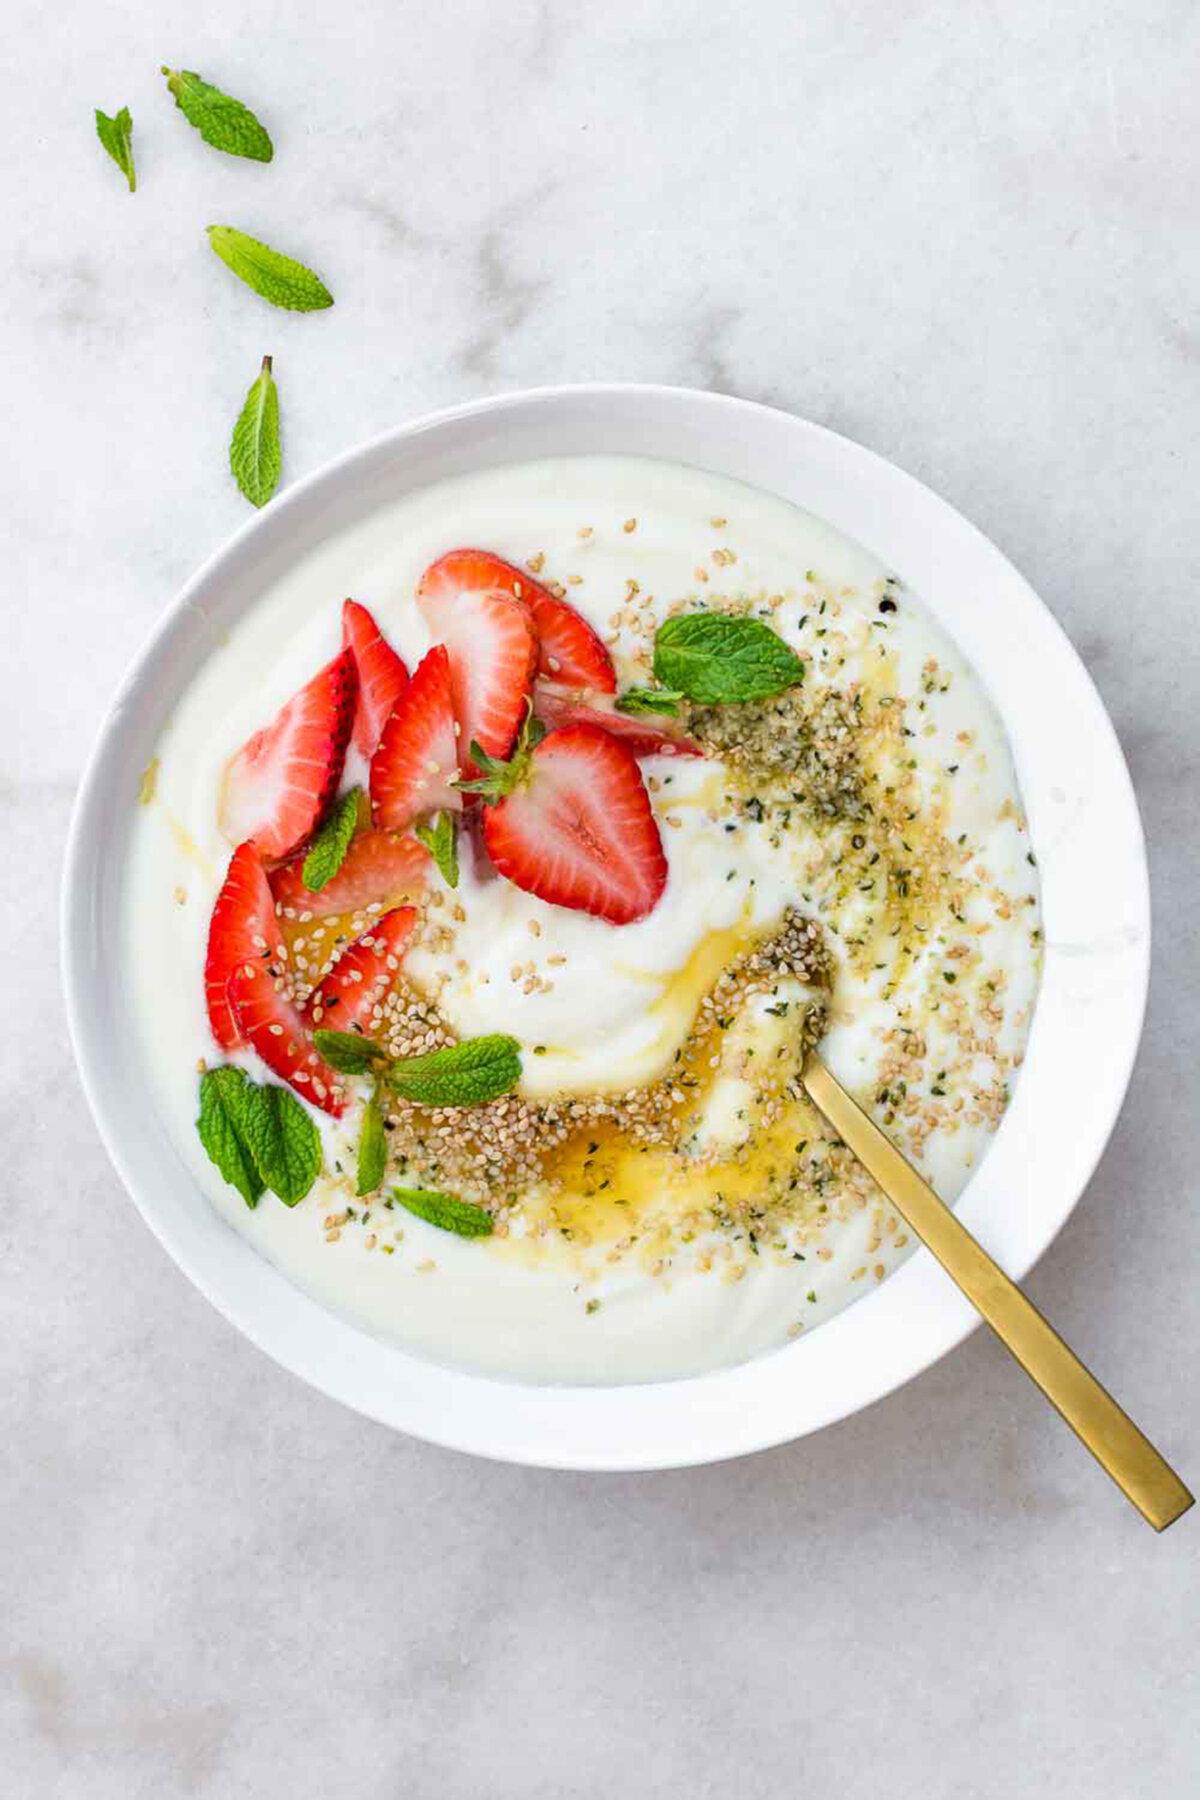
Rich, creamy, and decidedly tart, this homemade yogurt is straightforward and easy to make. Straining thickens the yogurt, while whipping it creates a fantastic, light, creamy texture.Heating the milk and letting it cool before culturing it minimizes any cross-contamination with stray microbes that can negatively impact the flavor and texture of your milk. Additionally, it reorganizes the protein structure of the milk, allowing it to thicken more easily.
A yogurt maker is ideal to keep your yogurt culturing at a warm, even temperature of about 110 degrees F. If you don’t have one, you can use a sous vide water bath, a warm thermos, or even an oven with the pilot light on.
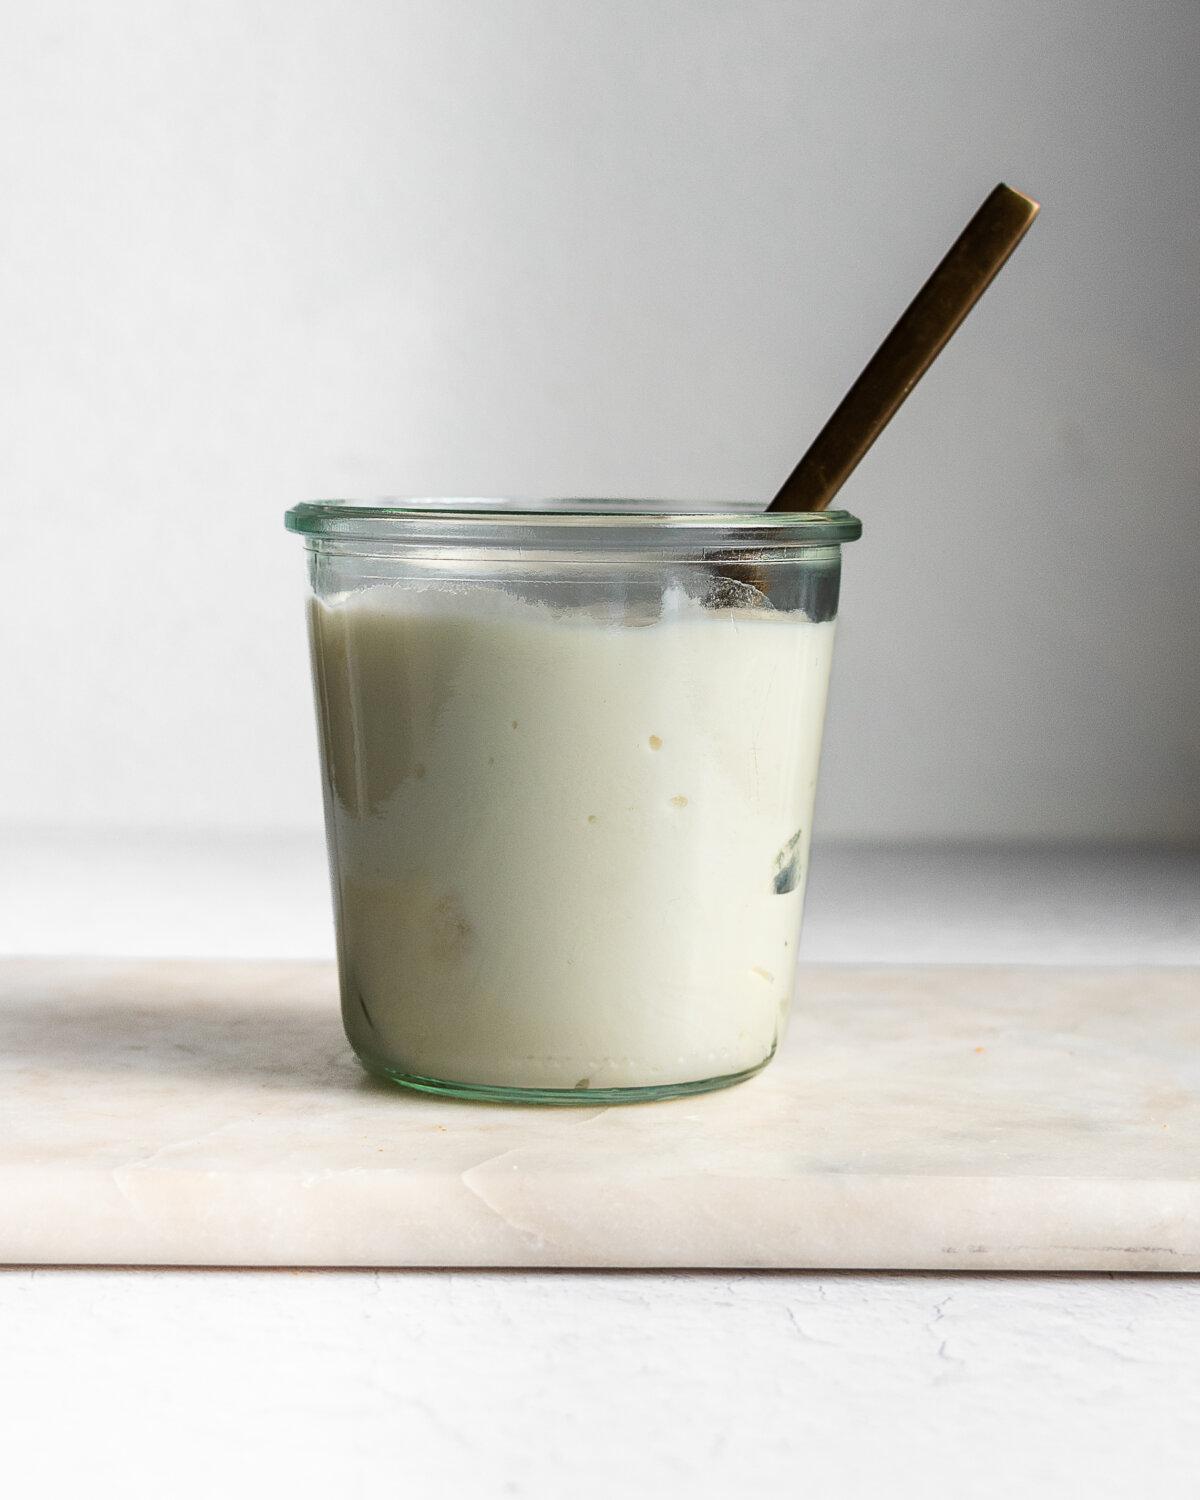
The longer you allow it to ferment, the sourer it becomes. For thick, Greek-style yogurt (sometimes called labneh), you can strain it through a fine mesh strainer lined with cheesecloth to allow some of the liquid whey to drip away.
- 6 cups milk
- 1/4 cup yogurt starter (plain yogurt, with live cultures and without additives or thickeners, store-bought or from a previous batch of homemade yogurt)
Whisk the yogurt starter into the warm milk and transfer it to your yogurt maker. If you don’t have a yogurt maker, transfer it to a tightly capped glass jar and culture it in a place with a steady, even temperature of 110 degrees F, such as in a sous vide water bath, a warm thermos, or the oven with the pilot light on. Culture the yogurt for at least 6 hours and up to 12 hours. The longer it cultures, the sourer it will taste.
Filmjolk
Filmjolk is a mildly tart yogurt that cultures at room temperature, so there’s no need for fancy yogurt makers or other equipment. It’s a good idea to heat your milk until steaming and then let it cool to room temperature, as this helps to reorganize the milk protein so that the filmjolk thickens more easily. It also helps to eliminate any competing microbes in the milk that may change the flavor or texture of the filmjolk.Once you start making filmjolk, you can maintain it by culturing it regularly. To make future batches, reserve 1/4 cup from one batch and store it in the refrigerator for up to 1 week. Then, use it as your starter for the next batch.
- 4 cups milk
- 1/4 cup filmjolk starter
Milk Kefir
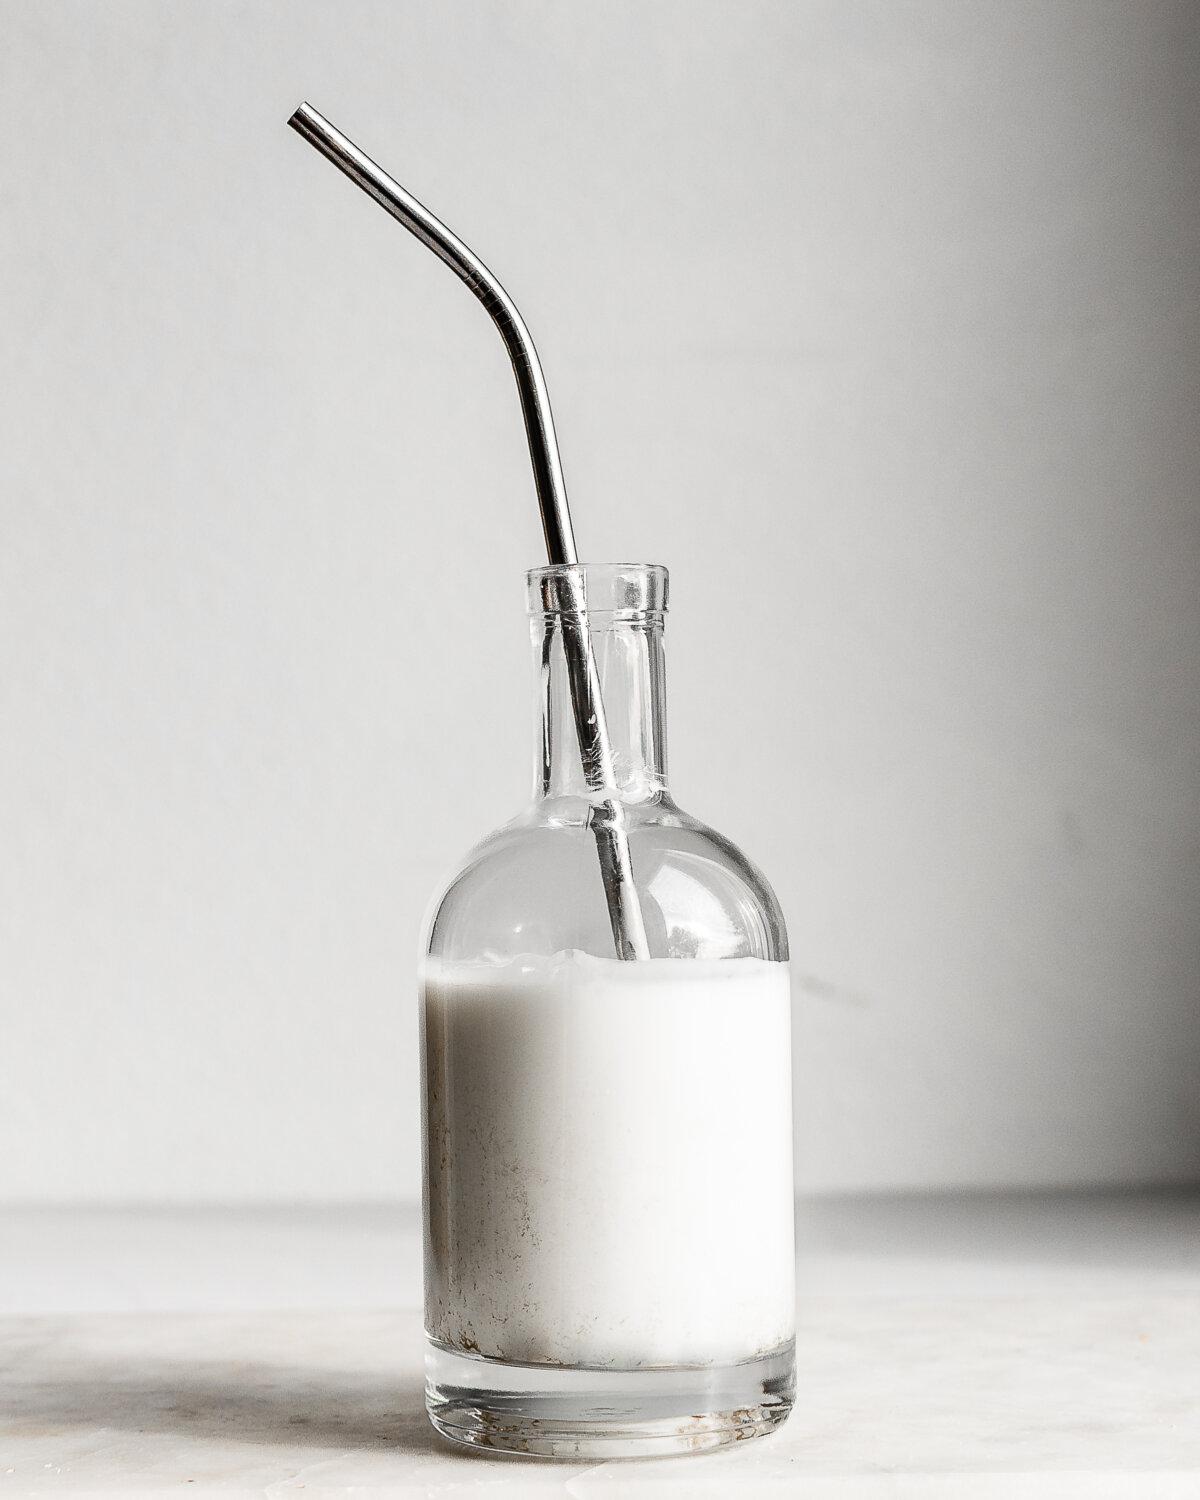
This tangy cultured drink is delicious on its own or added to smoothies, and is a good replacement for both yogurt and buttermilk in baking.To make it, you’ll need milk kefir grains. These little collections of bacteria and yeast resemble cottage cheese, with a spongy texture and opaque color. The grains are a symbiotic culture of bacteria and yeast (SCOBY) held together in a matrix. When you add them to fresh milk and let it sit overnight, they metabolize the lactose in the milk, resulting in kefir’s characteristic tangy flavor.
Once you have a starter culture, you can keep it indefinitely with light maintenance. Store them in a little jar of milk in the refrigerator, then rinse them before making your next batch of kefir. As long as you regularly make kefir, at least every 3 weeks, the grains will stay lively, and you may find that they even grow. If it has been awhile since you’ve made kefir, they can die. If so, you may notice that milk doesn’t thicken or turn sour when you add the grains to a jar, or, rarely, it smells putrid rather than pleasantly sour.
- 1 tablespoon milk kefir grains
- 4 cups milk
Strain kefir into a new jar, reserving the grains for another batch. Store in the refrigerator for up to 2 weeks.