
When I go to the coffee shop, it isn’t for the coffee. It’s to see and be seen. Maybe do some “networking,” or hold someone’s baby, or type intently on my laptop. But unless I’m buying whole beans, I’m not there for the coffee. I’m too much of a snob to let someone else brew it.
My snobbery saves me money. To feed my habit, I’d have to spend about 10 bucks a day at the espresso bar, if I didn’t do what I do. At home, I can stay caffeinated for about $15 a week with whole, freshly roasted beans.
I respect the gentle complexity of a pour over, and the dark intensity of the French press. When it’s good, the flavor is tight and focused, yet smooth. But espresso is the distilled essence of exactly what I want from coffee.
The first espresso was made in late-1800s Turin, Italy, by forcing steam through coffee grounds. Today’s machines, which can cost north of $20,000, usually use water that’s just below boiling.
But the classic stovetop moka pot, invented by Alfonso Bialett in 1933—and its many imitations—can come remarkably close. With a price point in the mid two-figures, this investment can pay for itself in about a week.
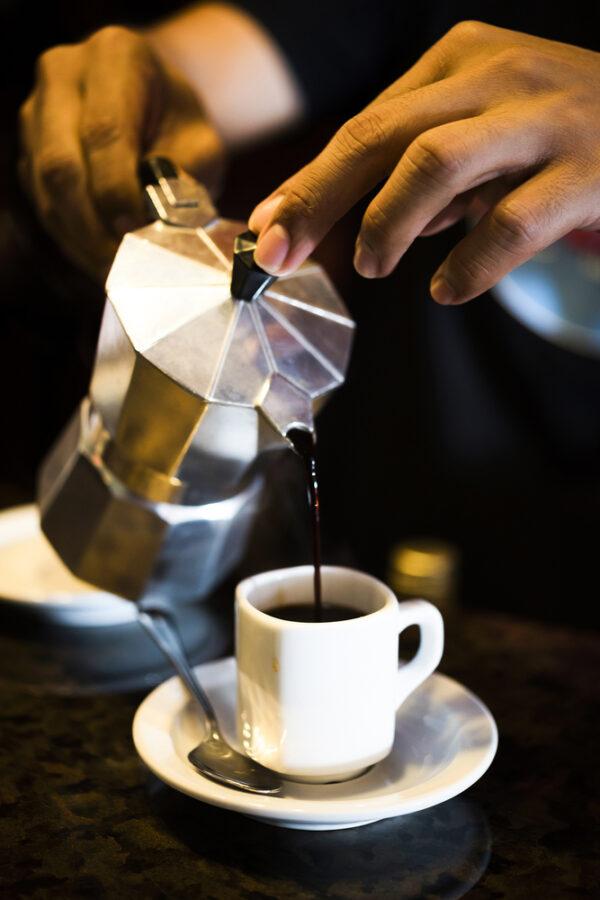
You won’t find crema at Starbucks, but an experienced barista with a decent machine should be able to coax a little crema into your shot. It appears when you have just the right amount of pressure and heat in the coffee filter, which depends on the balance of water and coffee grounds.
To be clear, visible crema is not required for a cup of espresso to be decent. Likewise, I’ve seen crema on inferior-tasting espresso.
The Parts
I started my home espresso journey with the original, octagonal-shaped aluminum Bialetti moka pot from a yard sale. Then I picked up a $35 stainless steel AMFOCUS online. I will always love that machine for being the one by my side when I made my quantum leaps, but now I’m totally into my $50 stainless BonVIVO, which is slightly larger and has a metal handle.The other thing you need is a burr grinder, which crushes the beans to a uniform size between spinning metal spools. Whether you want a coarse grind for a French press, a medium grind for drip coffee maker, or a finely-ground espresso, consistent particle size will make your equipment run properly. If you’re using the too-common spinning blade type, you might as well be hacking at your beans with a frying pan.
My Baratza Virtuoso lists for $250, and is worth every penny. It replaced my $35 Cuisinart, which got the job done, if loudly and slowly. (Luddites: Hand-held burr grinders start at about $15.)
A moka pot contains three pieces: a lower chamber to which you add water; a “filter basket” in the middle, where the grounds go; and a spouted collection chamber on top, where you watch for crema. Each moka pot is different, and I haven’t tested enough models to make any recommendations.
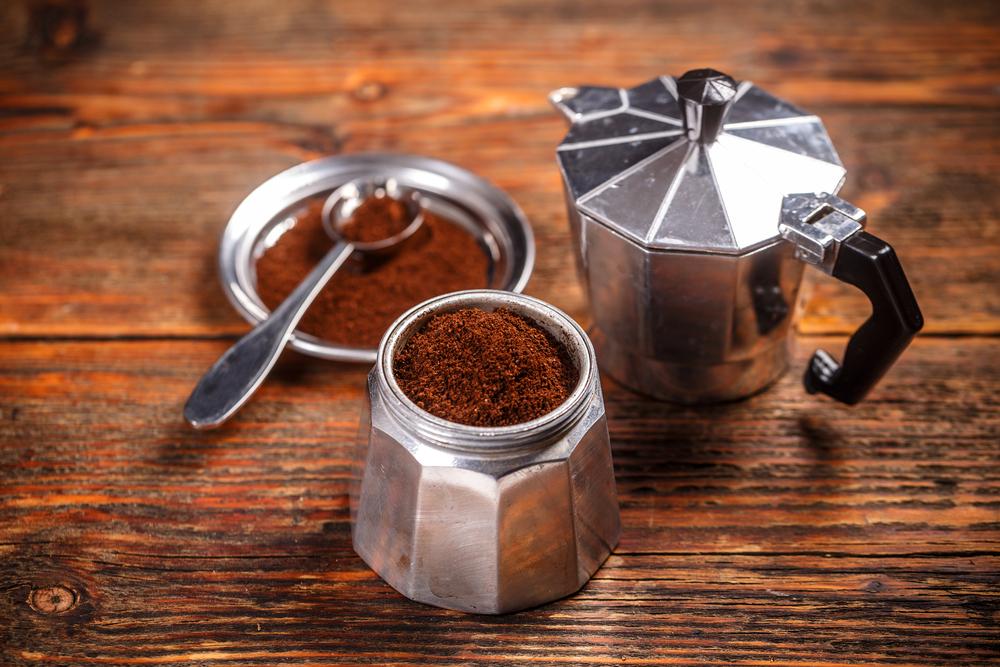
Although my grinders are different sizes, both make the best coffee with about a cup of water and three tablespoons of fine grounds, loosely added. Adjust this ratio if your moka pot is larger or smaller. For a more intense, concentrated shot, use even less water—as little as a half-cup. A pound of beans will make about 20 cups per week.
The ideal moka pot espresso has just the right amount of grounds to force up the pressure, and the right amount of water to end on a flurry of crema. Too much water and the crema will be doused with weak, off-tasting coffee, as steam continues to rush by the spent grounds. If there are too many grounds in the filter basket, steam won’t be able to push through, and so much pressure will build in the lower chamber that a little valve will start releasing steam, as the overpacked grounds burn in the filter basket. The few drops of coffee to make it through the grounds will taste of burnt plastic.
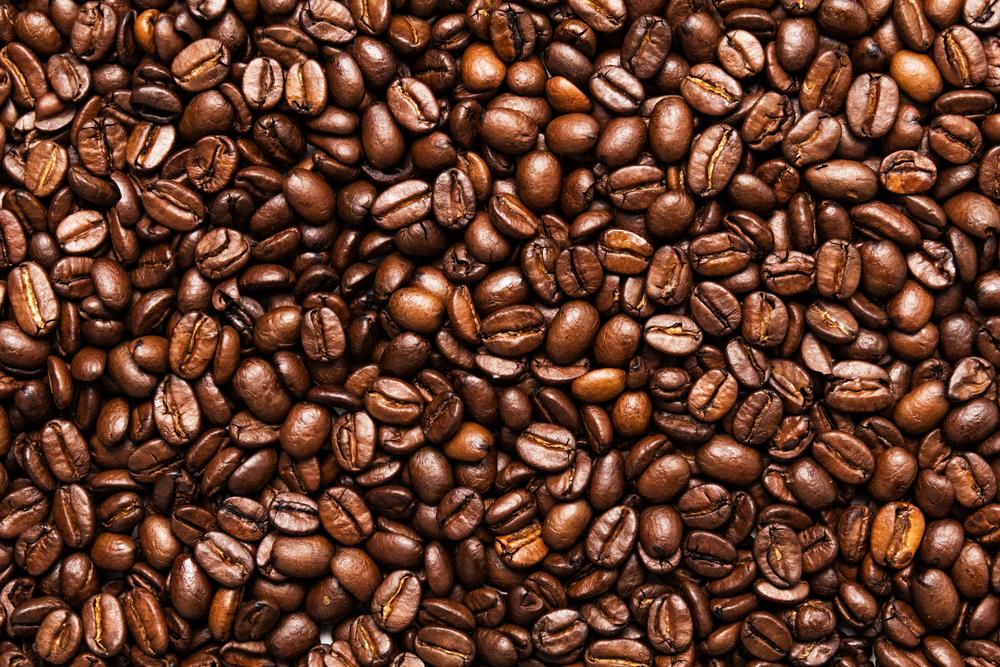
As for the beans themselves, find a local roaster you like. I like a lighter roast than most, even in my espresso, but that’s a topic for a different column.

The Process
Heat the water, pre-measured, while you grind the beans. Pour the boiled water into the lower chamber, slip in the filter basket, and carefully add the grounds, loosely, without tamping or even tapping. Shake slightly to make the grounds somewhat level. Screw on the top, using a hot pad for the base part that’s got a cup of hot water in it.Place the moka pot on the stove. If using a gas burner, don’t let the flames creep around the bottom and up the sides. As it heats, watch the little espresso machine like a hawk. The first fluid to emerge will be dilute, almost clear, but will soon darken. The crema can be fleeting, melting into the coffee almost as quickly as it emerges. But if you catch even a glimpse, then you know it will be a good cup of coffee.
When the water is mostly through, turn off the heat and pour the coffee. It may keep sputtering a little, and there will always be liquid left in the lower chamber. Let it go; we don’t want those dregs in our coffee. We only want to drink the good stuff.


