When it comes to tasks we’d rather avoid, ironing clothes ranks right up there with paying bills, searching the house for missing keys, and plunging the toilet. What if we told you that we can help you get the job done quicker, with professional-quality results, and add a bit of zen to the experience? We’ll also show you how to take this handy appliance out of the laundry room and use it for sealing plastic, removing candle wax from carpeting, and other fun uses around the house.
Choosing the Right Iron
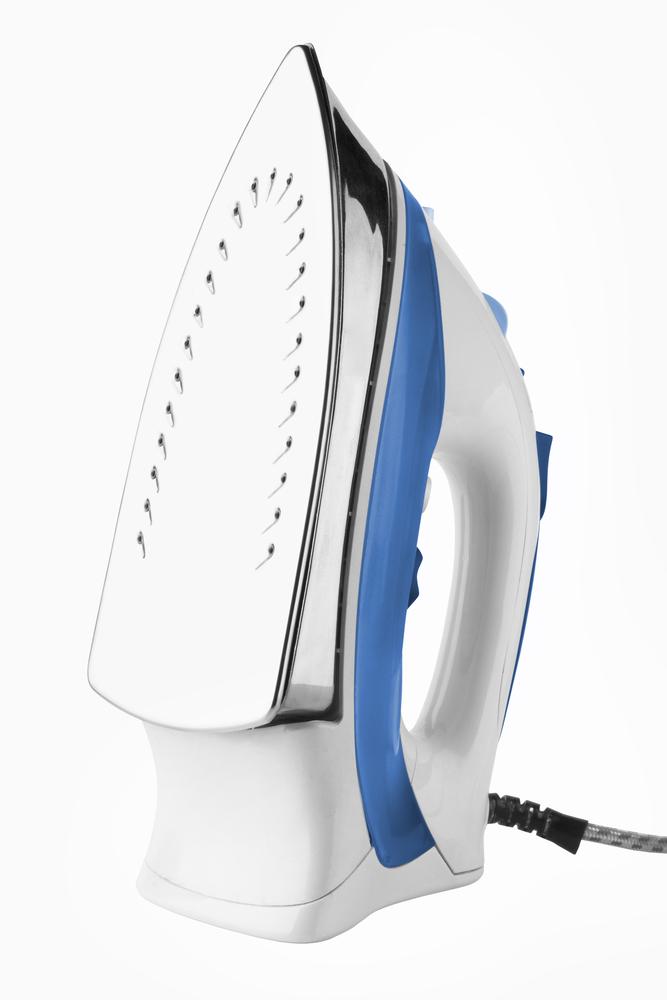
Dry irons are the least expensive and are well-suited for erasing the occasional wrinkle. However, if you iron every day or have a lot of clothing to iron, you’ll want to consider a steam iron. Steam opens up the fabric weave to remove deep-set creases.Look for one with an easy-to-fill water tank, a temperature dial, and an anti-scale feature that allows the use of tap water. The higher the wattage, the greater the heat. Common steam features include a variable steam control to regulate steam output, with an easy dial and multiple fabric settings; a burst steam to make sharp creases; and vertical steam for hanging garments and curtains. Another option is continuous steam, which is extremely effective because it softens the material fibers.
Another consideration is the soleplate, the metal part of the iron that heats. Aluminum plates heat quickly, but over long-term use, they can scratch and become sticky and difficult to clean. Ceramic plates feature a layer of ceramic bonded to the aluminum. These are durable and distribute heat efficiently, but the coating can wear or peel over time. Non-stick soleplates glide over clothing and are easy to clean and maintain.
The gold standard of soleplates is stainless steel, as it’s extremely durable and easy to clean; just wipe it off after it has cooled. Happily, stainless steel can be found on models in all price ranges.
Surface Considerations
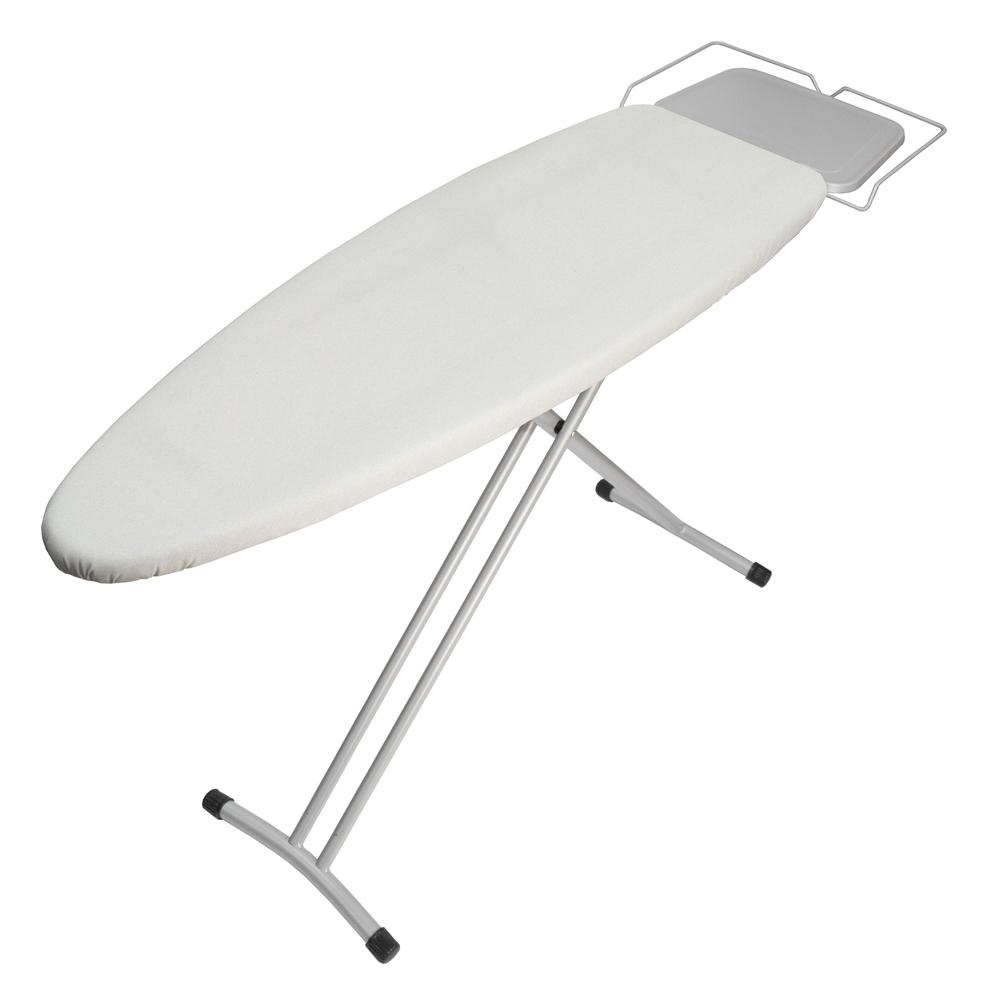
The ironing board is much more than just a flat, padded surface on which you lay your clothes. The right board—or, in fact, any proper ironing surface, for those of you who might consider using a granite kitchen countertop—needs ventilation holes that allow the hot steam from the iron to move through the clothes and then out the bottom.While professional ironing boards can be 63 inches long and 19 inches wide, you want a board that is at least 54 inches long and 15 inches wide. Look for a lightweight frame for maneuverability yet one sturdy enough to stay in place while ironing. It should adjust easily to your preferred work height, and ideally feature a heat-proof iron rest. If you have a small space, consider a tabletop or wall-mounted model.
Now let’s look at the board’s cover. Many come with a thin foam pad that you’ll want to upgrade to one with a heavy felt lining. An unbleached cotton cover will keep your clothes from sliding around, while metallic covers, which are actually fabric woven with copper, reflect the heat back onto the garment, speeding up ironing. To get the same effect from a non-metallic cover, put tinfoil, shiny side up, under the cover to double your ironing power.
Whichever cover you choose, make sure it’s nonslip. Hate to throw the original cover away? Put it under the new one for an enhanced surface.
Cleanliness Is Happiness
Dust, dirt, leftover detergent, spray starch, and melted fabric fibers are the enemy of well-pressed clothing, but it’s easy to make your iron as good as new.For starch or small amounts of dirt, rub the hot iron over a dryer sheet on a towel to remove the gunk. After it has cooled, clean off the dryer sheet’s oily residue with a damp rag. No dryer sheet? Substitute with newspaper.
It’s All in the Prep
While the iron heats up, inspect each piece of clothing for stains. There’s nothing worse than discovering the washing machine missed a spot after ironing three-quarters of a shirt.If possible, iron clothing while it’s slightly damp; you’ll be amazed by how fast the ironing goes. If the clothes are already dry, moisten them with a spray bottle or create your own wrinkle-reducing spray with 1 cup distilled water and 1 cup white vinegar. You can add 5 drops of essential oil if you like, but no more, or it may stain.
Do’s and Some Important Don’ts
If you have only a few pieces in need of ironing, don’t iron: You may be able to spray them with water, toss them in the dryer (which creates a steam action), and let the machine tumble the wrinkles away. Don’t dry large loads; smaller loads allow the dryer heat and steam to pass through the fabric more efficiently for fewer wrinkles and creases. Shake out each piece before putting it into the dryer, which will allow proper airflow and prevent the clothes from drying in tangles and twists.Helpful Heat
If you use your iron only for wrinkles and creases, you’re missing out. This versatile appliance can even cook an egg in aluminum foil—but you’re more likely to use these tips and tricks.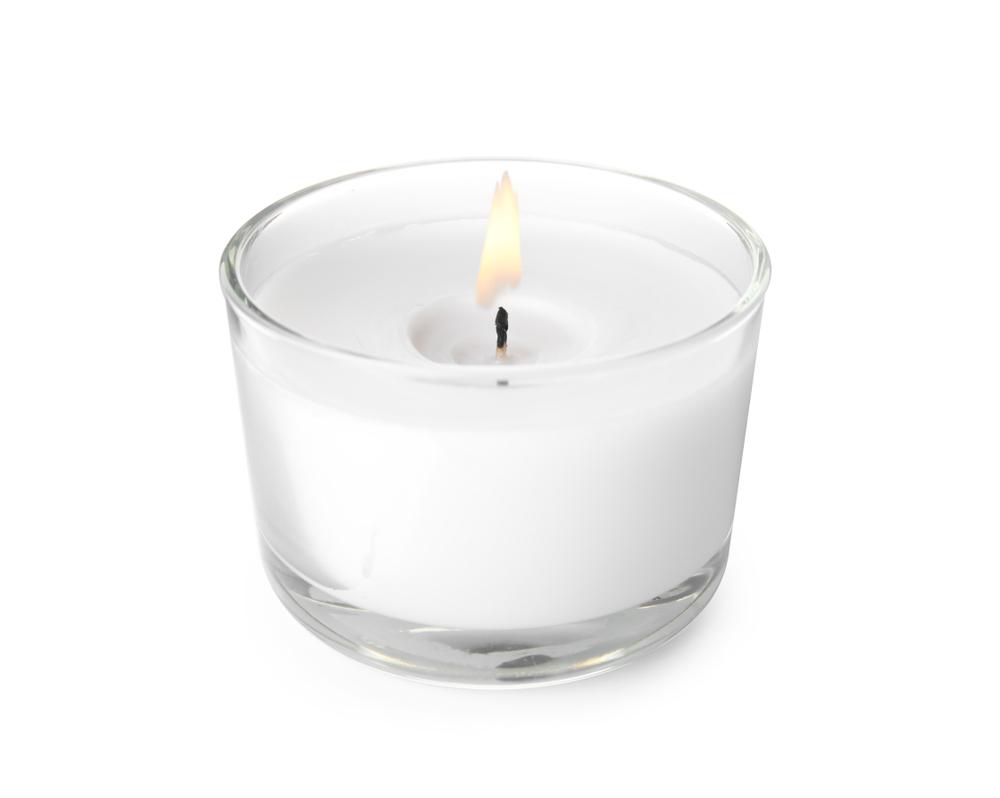
Candle Oops
Candle wax on the carpet? Scrape off what you can, place a brown paper bag over the spot, and run an iron over it to gently transfer the wax. Do this until there’s no more wax to be absorbed.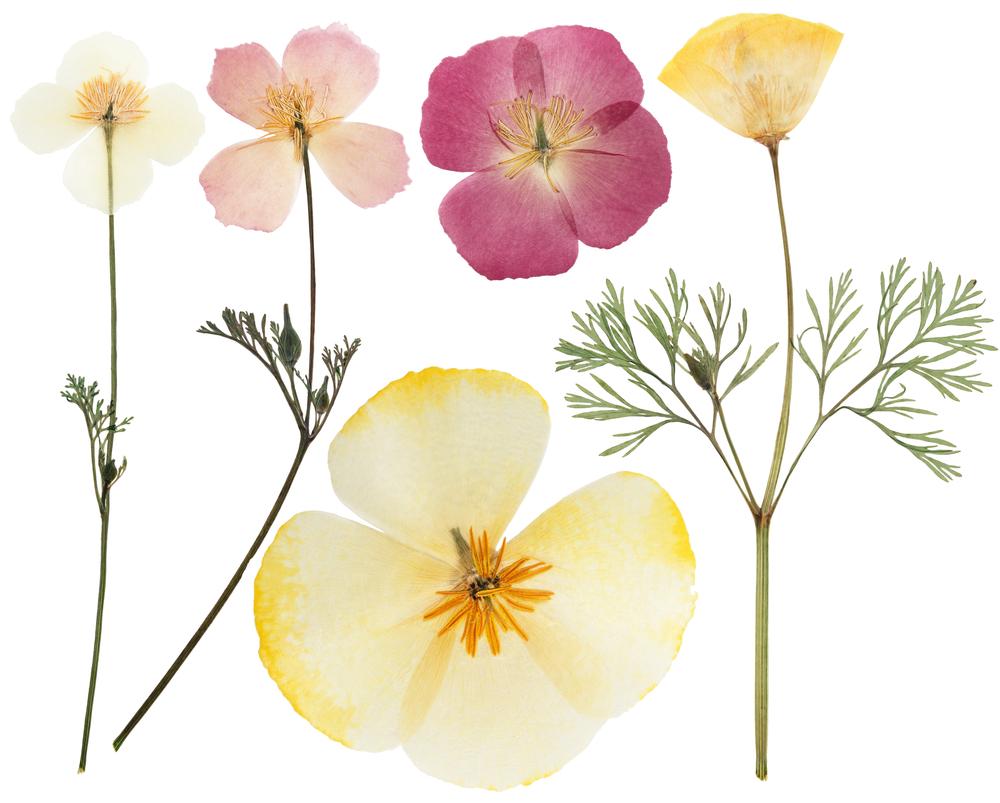
Preserve and Seal
Place flattened, dried flowers between two sheets of wax paper, cover with a paper towel, and iron them—no steam—to preserve them forever.To seal a plastic bag, wrap the end in aluminum foil, and iron gently until the plastic melts.