Upgrade Your Windows and Doors With New Wood Trim

Upgrade Your Windows and Doors With New Wood Trim
It's surprising how much window and door trim can affect the appearance and style of an entire room. (Olga_Ionina/Shutterstock)
7/1/2021
Updated:
7/1/2021
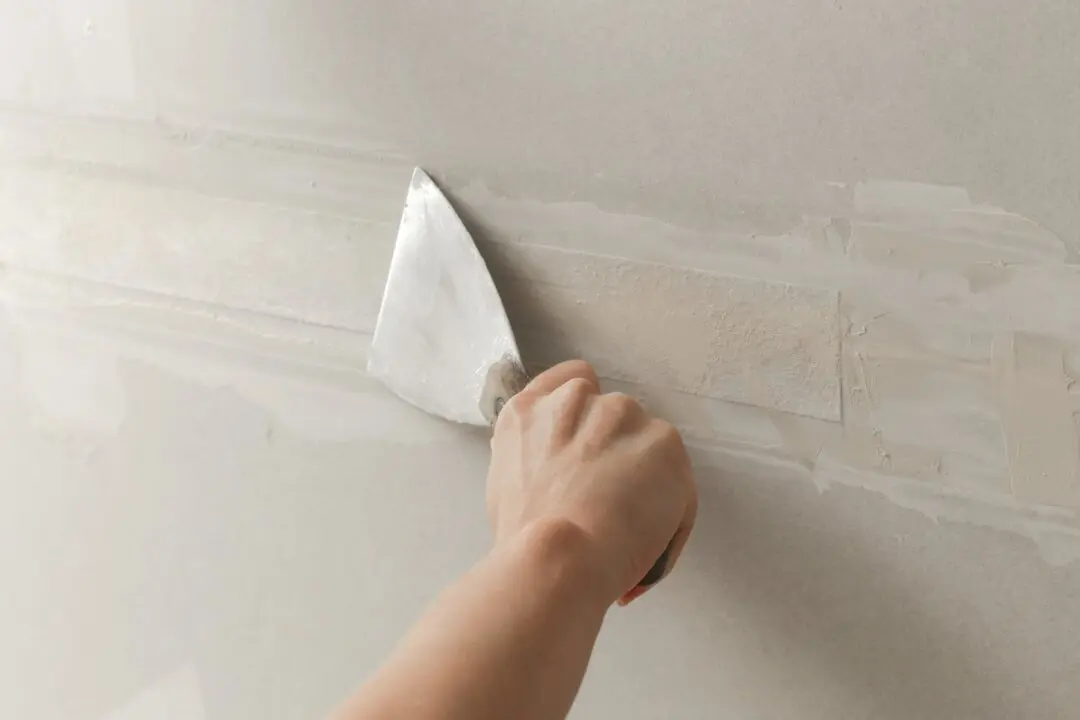
Dear James: Our window and door trim are looking dull, worn, and scratched. They are beyond just refinishing. What are the steps to removing and replacing the old wood trim myself? —Colleen W.
Dear Colleen: It is surprising how much window and door trim can affect the appearance and style of an entire room. If you’re remodeling and want to change the decor of a room, this is the ideal time to select a radically different trim styling, color, and finish.

Even homeowners who are inexperienced with woodworking should be able to remove the old trim and install new trim. With just some simple hand tools, you can make it look like a professional installation. Plan on taking your time to be sure every piece fits together properly. There’s no need to rush through the project, and you should treat each window and door as a separate, smaller project.

One reason your original trim may look bad is not just a result of wear and tear from children and pets. When some carpenters are in a hurry to finish the house, fitting the trim is one of the final tasks. Instead of carefully fitting all the pieces together properly, they just fill any gaps with caulk and paint over it. As the caulk dries and shrinks over the years, the trim starts to look bad.

There are quite a few different types of materials that can be used for trim. The newest materials are made of composites. They are excellent and durable trim materials, but you may find that standard old wood trim is easier to work with for a beginner. Wood is easy to cut and sand to get that perfect fit.

Check your local home center or lumberyard to select a trim profile that you like. Selecting a simple, relatively narrow profile is easier to work with, and it often looks classier. When buying several pieces of trim, compare the profile edges for uniformity. There may be pieces from several different production runs, and the profile thicknesses may vary slightly.

If the window or door jambs are flush with the wall, it’s easy to make standard 45-degree cuts and the trim will fit together perfectly. More often, the jambs extend out from the wall so the trim will not lay flush against the wall. In this case, a 45-degree cut will result in a gap at the joints.

If the trim will be painted, it’s not as much of a problem as if the trim is to be stained. A thin shim strip can be placed underneath the trim against the wall to make it level. Cut the trim pieces at 45 degrees. Once the trim is painted, the shim can’t be seen.

The following method also works when the trim is stained. Cut the trim pieces at 45 degrees. Place them around the window or door and notice the size of the gap at the joints. Wear heavy work gloves and use a utility knife to carve away the backside of the trim until the front edges fit together.

Use finishing nails that are long enough to penetrate at least one inch into the lumber beneath the drywall. Don’t try to hammer them flush. Use a nail set to drive the head below the wood surface and fill it with wood filler.

Send your questions to Here’s How, 6906 Royalgreen Dr., Cincinnati, OH 45244, or visit Dulley.com. To find out more about James Dulley and read features by other Creators Syndicate writers and cartoonists, visit the Creators Syndicate website at Creators.com. Copyright 2021 Creators.com
Send your questions to Here's How, 6906 Royalgreen Dr., Cincinnati, OH 45244, or visit Dulley.com. To find out more about James Dulley and read features by other Creators Syndicate writers and cartoonists, visit the Creators Syndicate website at Creators.com. Copyright 2021 Creators.com
Related Topics