Split a Large Room in 2 With a Room Divider

Split a Large Room in 2 With a Room Divider
Depending upon how much privacy and quiet you actually need, dividing the room with folding screens can be very attractive, relatively inexpensive, and quick to install. If you need more, consider a partition wall. (Unsplash)
12/9/2021
Updated:
12/9/2021
Dear James: With the COVID-19 pandemic, I want to split a big room with a wall to make a home office. How do I build a wall that will be reasonably quiet so I can concentrate? —Gerry H.
Dear Gerry: Your situation is a common one today, and who knows for how long and how many days a week we will be working from home. No wall, no matter how well designed and constructed, will be totally soundproof when the other three walls are the existing ones. If that is very important to your work, you might be disappointed.

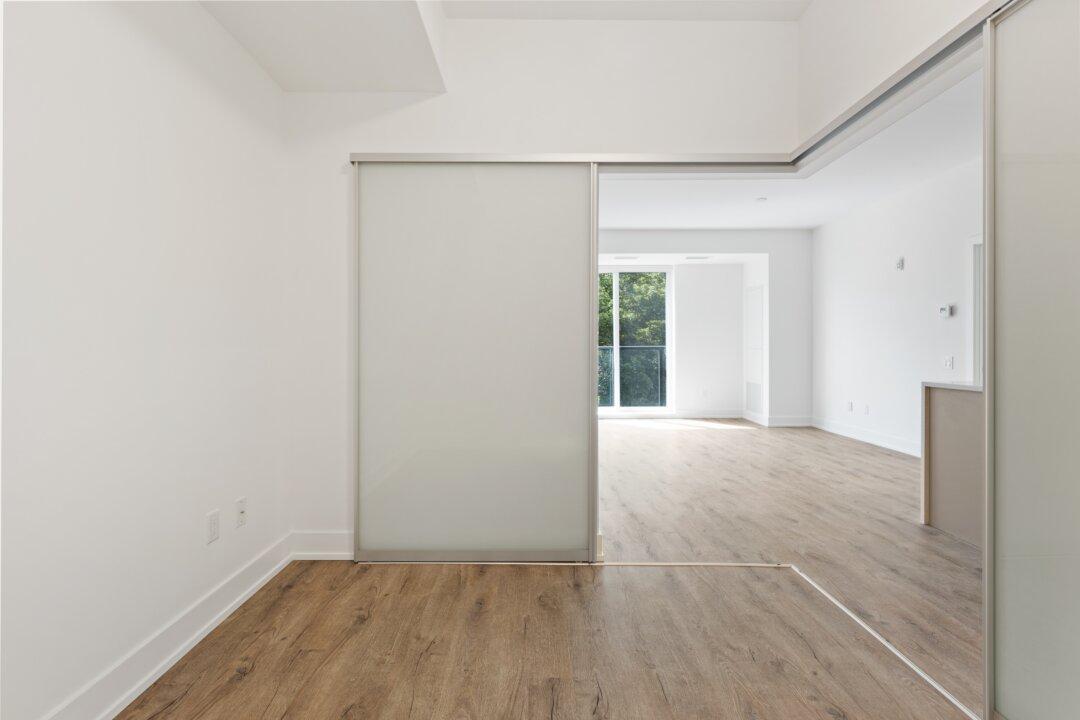
What you are talking about is typically called a divider or partition wall and it’s not a difficult DIY project. When determining where to divide the larger room, consider the location of existing electrical outlets, windows, and access to other rooms. Also, consider the traffic patterns by other family members to minimize noisy activities near your home office.

Depending upon how much privacy and quiet you actually need, dividing the room with folding screens can be very attractive, relatively inexpensive, and quick to install. The basic folding screen can be purchased and then you can cover and decorate it with fabrics, wallpaper, or just paint. Fabric tends to deaden sound the most. Folding shutters from your home center are another option.

If you really think a true partition wall will be your best option, start by marking the area using a framing square. This helps you make sure the measurements are exactly perpendicular to the existing walls. Once the wall is complete, it will be very apparent if it is at even just a slight angle.

Use a stud finder to determine the direction and location of the ceiling joists above the room. If you’re lucky, you will find the joists running perpendicular to your new wall. This allows you to simply nail the header from the new wall framing to each of the joists above it.

If ceiling joists are parallel to your new wall, try to locate the wall directly under one of them. The header can be nailed to just that one joist. If the wall is not directly under a joist, you will have to install nailing blocks between the joists on 16- or 24-inch centers.

The same holds true for the side walls, which support the new wall. Hopefully, you can locate the wall across an existing wall stud and just nail the new wall to it. If it misses a wall stud, the drywall must be opened and nailing blocks installed in the side walls too.

With all of the anchor locations in place, measure the floor-to-ceiling distance in several locations. You might be surprised how much it can vary in an older house that has settled over the years. Saw the wall studs to a length slightly less than the shortest measured height dimension less the thickness of the bottom plate and top header.

Nail the studs on 16-inch centers between the bottom plate and header to form the wall. Make a rough opening for a prehung door. Raise the wall and nail it in place around all four sides. Install the door and cover wall with drywall or paneling.

Send your questions to Here's How, 6906 Royalgreen Dr., Cincinnati, OH 45244, or visit Dulley.com. To find out more about James Dulley and read features by other Creators Syndicate writers and cartoonists, visit the Creators Syndicate website at Creators.com. Copyright 2021 Creators.com
Related Topics