Repair Shower Stall Membrane to Repair a Leak

Repair Shower Stall Membrane to Repair a Leak
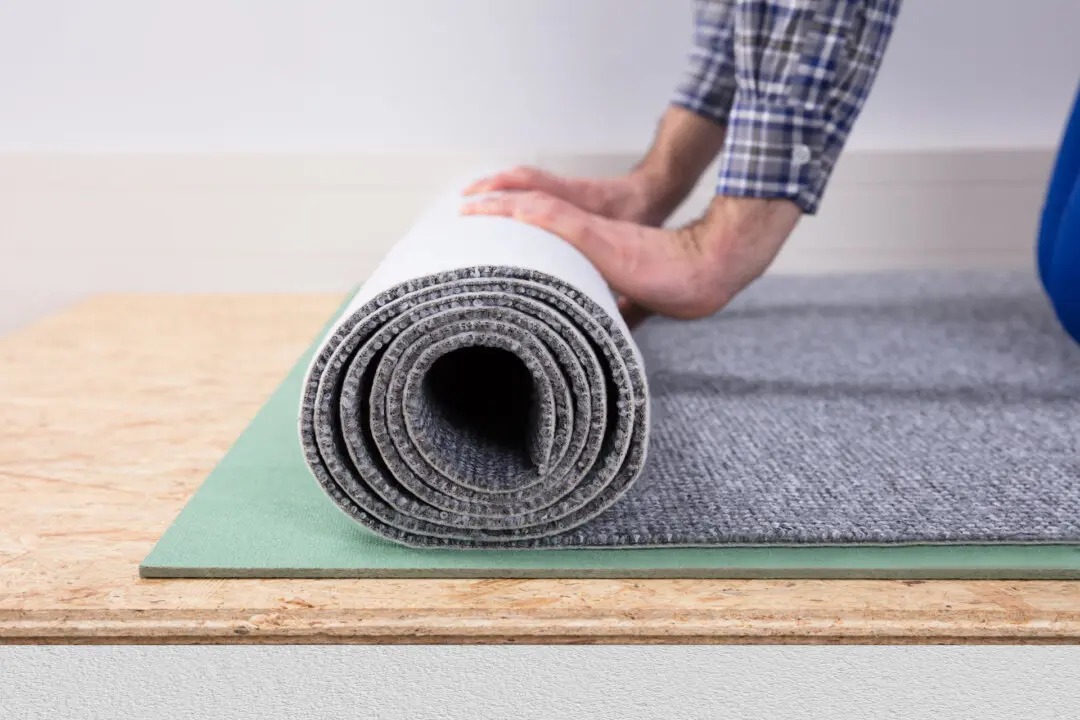
A properly built shower stall should include a properly installed waterproof membrane. (New Africa/Shutterstock)
12/30/2021
Updated:
12/30/2021
Dear James: A dark spot is forming on the ceiling below my master bathroom with a tile floor. My newer house is just past the warranty. Where should I look for the water leak? —Amy F.
Dear Amy: It seems like problems always occur just after the new house warranty expires. The basic plumbing is probably not the source, or the leak would have started from day one. The two most common causes are a leaky wax ring underneath the toilet or faulty waterproof membrane under the shower.

If the toilet was not bolted down tightly, it could wobble a little each time it is used. This can deform the wax ring over time, and it will leak a little with each flush. Try to wobble the toilet. If it wobbles, tightening it will not help. You will have to replace the wax ring, which is a simple project.

If the toilet was bolted down tightly, a leaky waterproof membrane under the shower is the likely source of the leak. Once you get into repairing the problem, you may find the builder did not even install a waterproof membrane under the shower. If there is a membrane under the shower, it had to have been installed properly to be effective.

It is a common misconception that ceramic tile floors are waterproof. Ceramic tile material itself is basically waterproof, but the grout between the tiles is somewhat porous. If the drain gets clogged with hair or someone takes a long shower, the standing water can work its way through the grout and to the subfloor below it.

It helps to understand how a shower stall should be built. First, the shower stall area is framed with lumber. Next, a waterproof plastic membrane is placed over the floor. The membrane is sealed around the drain in the floor; it should extend partially up the wall framing. This is covered with cement backer board.

The membrane is covered with a cement bed, which is higher around the edges so that it slopes down toward the drain. The ceramic tiles are placed on top of the cement bed and up the shower stall walls. Grout is wiped into the joints between the tiles.

The first step to repairing the leak in the shower stall is to remove the tiles from the walls immediately above its floor. Hopefully you can get the tiles loose without breaking them, but you may have to break the first one to get started. Using a flexible scraper should loosen the rest of them.

With the tiles removed, inspect the condition of the backer board under the tiles. If you are lucky and find spots that are damp and break apart easily, the leak may be on the side and not in the cement bed. This you should be able to repair yourself. Most likely though, the leak will be in the floor cement bed and a plumber will be required to repair it.

When the plumber has the old materials off and starts to reassemble the shower stall, make sure to leave a gap in the backer board at the corners. This gap provides space for the membrane to be folded for a nice corner that does not protrude. Also, make sure all the nail heads in the subflooring and walls are flush with the surface.

It also is important to have the drain flange recessed slightly below the floor. This keeps water from standing around the edge of the flange. Make sure the weep holes in the clamping ring do not get clogged with cement or covered with the membrane.

Send your questions to Here's How, 6906 Royalgreen Dr., Cincinnati, OH 45244, or visit Dulley.com. To find out more about James Dulley and read features by other Creators Syndicate writers and cartoonists, visit the Creators Syndicate website at Creators.com. Copyright 2021 Creators.com
Related Topics