Paint Like a Pro: Better Painting Techniques Ensure Better Results

Paint Like a Pro: Better Painting Techniques Ensure Better Results
With the right tools, techniques, and patience, you can achieve professional-level results yourself. (sirtravelalot/Shutterstock)
7/23/2022
Updated:
7/23/2022

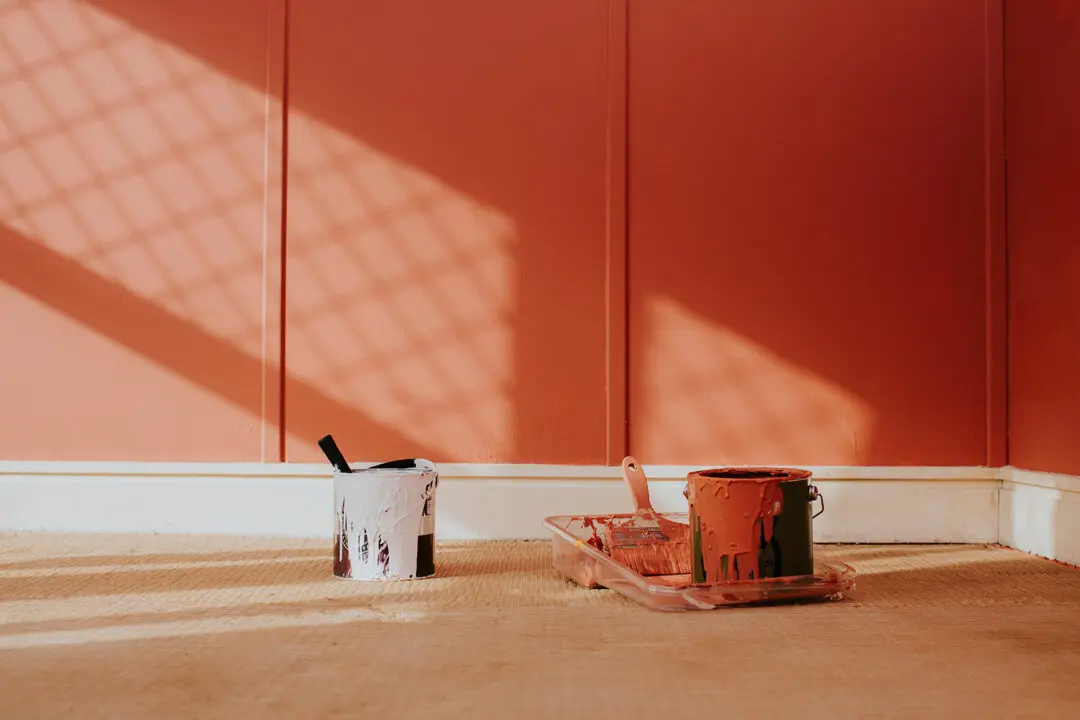
Although it may seem superficial, a new coat of paint has transformative powers.

Inside the home, light colors make a room seem bigger, bright colors make a room energized and welcoming, and pastels soothe. Years of stains, dings, and general wear and tear are completely gone at the touch of a brush or roller.

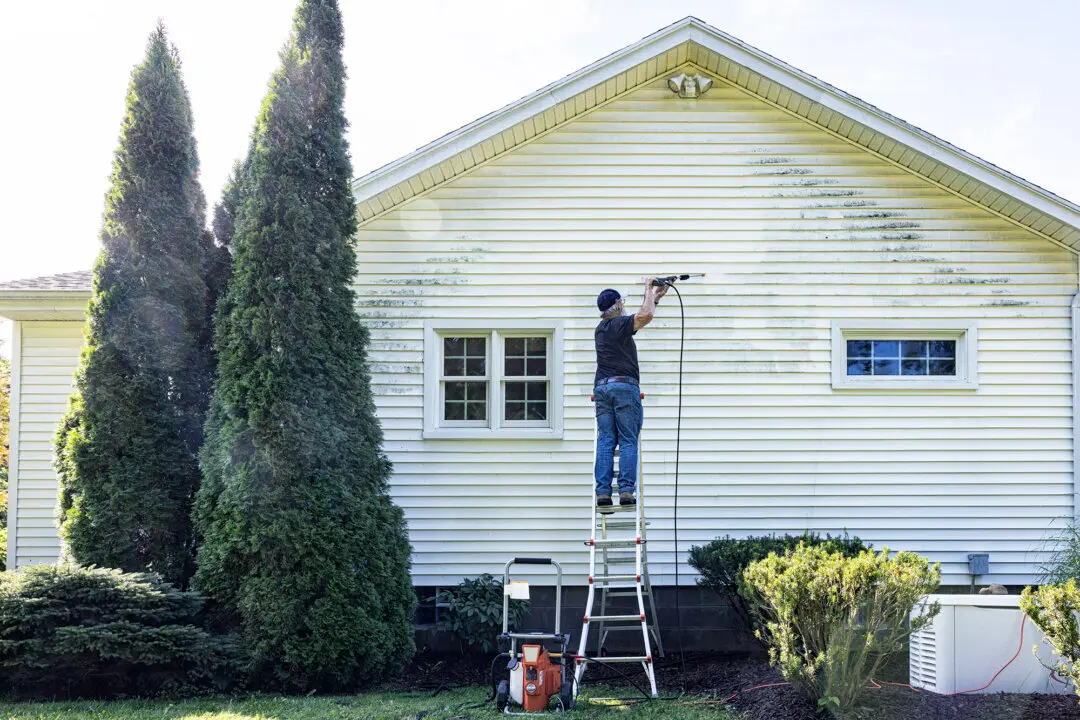
Outside, new paint represents a chance to update your home’s exterior to your current taste and style. It increases your “curb appeal” (i.e., home value) while protecting it against weather; it can even save you money because new paints seal and insulate better than older coats. Lighter colors reflect the sun’s rays, while darker colors can heat up a residence, allowing you to further fine-tune energy savings.
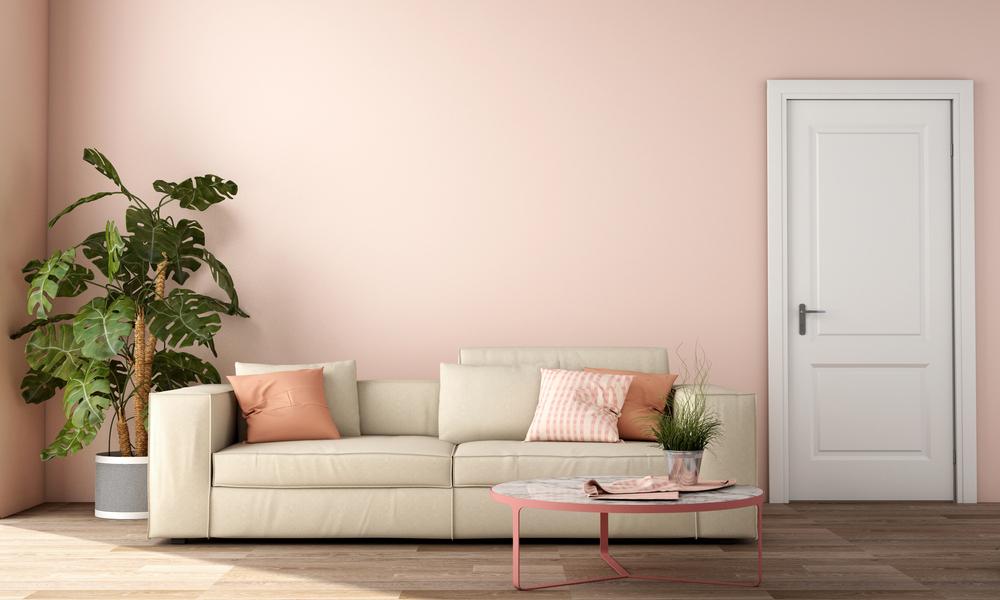
A fresh coat of paint can transform the look and feeling of your home. (Ume illustration/Shutterstock)

Pristine Surface

While prep isn’t the most fun part of the job, and there’s a temptation to skip this step—particularly if the existing walls look “perfectly fine” and you’re simply doing a color change—proper preparation of the surface is critical. In many cases, professional painters will actually spend as much time—or sometimes more—on prepping as they do on the actual painting.

It all starts with a smooth surface. Remove nails and hooks—even the ones on your exterior that you plan to reuse for next year’s holiday lights. Scrape off any chipped or peeling paint with a paint scraper. Apply spackle to holes and cracks using a putty knife, to smooth out uneven surfaces. Once the spackle has thoroughly dried, sand it smooth.

In most cases, for interior walls, wiping down the walls with warm water and a sponge afterward is all you’d need to do. To remove tough interior and exterior dirt, use a cleaning solution of trisodium phosphate, commonly known as TSP. Use it as directed, wearing proper safety gear (gloves and goggles).

On the outside of the house, a more expensive but very efficient option is to rent a pressure washer to spray away the dirt, grime, mildew, and peeling paint. Read all directions before use, and be careful not to damage the siding. Inspect the treated area afterward for any spots you may have missed.

Apply spackle as needed to ensure you start with a smooth surface. (jantsarik/Shutterstock)

Primer and Paint

Don’t skimp on your coatings. Quality paints and primers go on more smoothly and provide better coverage than the cheaper options. After all the time you just spent prepping, you don’t want to have to paint again any sooner than necessary.

Self-priming paints work well on existing walls without stains or marks. A separate primer or sealer coat is needed when you’re working with new drywall or skim-coated walls (they’ll absorb a lot of paint otherwise) or older walls with stains that might seep through, or when you’re painting a light color over a darker color.

Flat finishes work best on walls because they are good at hiding any defects or irregularities you couldn’t fix or didn’t notice until the second coat. Satin finishes are preferred for interior trim and exterior coatings, as they’re more durable and easier to wash.

Did you know that paint dries best when the temperature is between 50 and 70 degrees Fahrenheit? Turn that thermostat down.

Wipe down your walls with warm water and a sponge before you start painting. (Yaraslau Mikheyeu/Shutterstock)

Rock and Rolling

Tom Sawyer may have been able to use his ingenuity to get the neighborhood children to whitewash Aunt Polly’s fence for him, but the closest the rest of us will come to getting “help” is by choosing the right roller.

Latex paint, the most common because of its easy cleanup, requires a synthetic or polyester roller cover. Natural fiber (lambswool or mohair) is best for oil-based paints, while foam rollers are the trick to getting a beautiful finish with high-gloss paint.

For doors, trim, and cabinets, use a 3/16-inch to 1/4-inch nap (the soft surface material); for walls and ceilings, use a 3/8-inch to 1/2-inch nap; and when painting roughly textured concrete or stucco, you may want to go even thicker.

Paint rollers also come in various widths, with nine inches the most common, shorter widths for tight areas, and wider rollers used for expanded coverage.

Don't skimp on your primer and paints. (Anna Mente/Shutterstock)

The Fun Stuff

The secret to faster painting is to cover everything in the room or exterior patios and plants with dropcloths, remove fixtures (such as electrical outlets, wall lights, etc.), and start painting the edges and corners first (“cutting in”) using a brush with angled bristles. The angled design delivers a smooth, straight line along the molding and other objects. Keep the brush 1/8-inch away from the edge on the first coat; you can get closer on the second coat. An alternative is to tape the edges with painter’s tape, often called “blue tape.” It can get costly for a large area, but it’s still much less expensive than hiring a pro.

Once the edges are done, break out the roller and color inside the lines. Work in 5- to 10-foot sections, rolling in a W or N shape for a streak-free finish, being sure to avoid areas that have already started to dry, and enjoy the metamorphosis.

Choosing the right roller is key. (l i g h t p o e t/Shutterstock)

Pantry Helpers

Your next painting project can be made much more pleasant by some items you already have in your kitchen.

Vanilla

Neutralize the noxious smell of paint by adding one tablespoon of vanilla extract to a gallon of paint. It won’t affect the color of the paint, but it will make the entire project much more pleasant. You can also use essential oils to tame the paint odor.

Vegetable Oil

Got more paint on your hands than on the walls? Grab a bottle of cooking spray or vegetable oil and apply it generously to your hands. As you rub your hands together, the paint should come right off. It works on latex and oil-based paints.

Tin Foil

Cleanup is the least fun part of painting, particularly if you’re using oil-based paint. Lay a sheet of aluminum foil over the roller tray before you fill it up next time. When done, remove the foil and toss it out.
Sandy Lindsey is an award-winning writer who covers home, gardening, DIY projects, pets, and boating. She has two books with McGraw-Hill.
Related Topics