While custom closet shelving components are a solution for many storage needs, a basic wooden closet rod and shelf is a simpler one for average storage needs. A wooden hanging rod is attached to metal rod supports installed on a strip of wood or cleat and then fastened to the side and back walls of the closet. Above the rod a wooden shelf rests on the wall cleat. An additional metal bracket fastened to the cleat in the middle of the back wall can support a longer shelf. This plain vanilla version of closet shelving is a low-cost, practical solution often used to replace an older version.
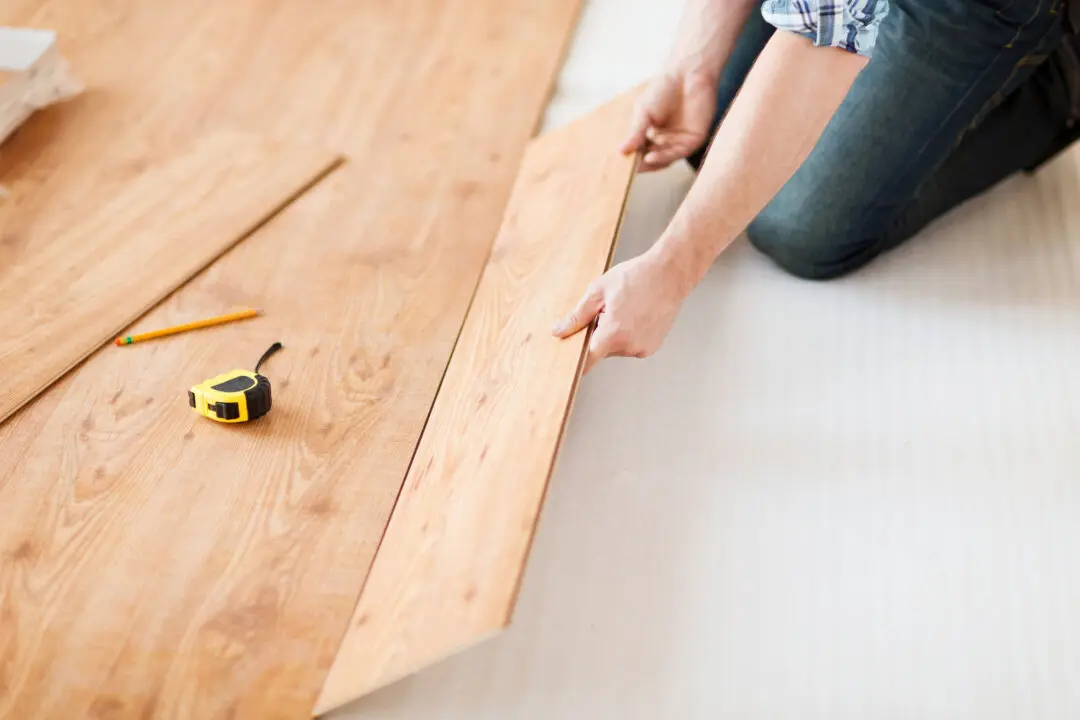
The job involves several steps: planning the layout, finding the wall studs, fastening the 1-by-4-foot cleats to the walls, installing the brackets on the cleats, and then putting the rod and the 1-by-12-foot shelf in place. You'll need a measuring tape, a stud finder, an electric drill with bits, a hammer, nails, a saw and wood screws.
To do the job a handyman will charge $107, including labor and material, to install a rod and shelf in an 8-foot-wide closet. If you’re handy and have basic carpentry tools, you can buy the material for $65, install it and save 39%.
The most difficult part of the job is before you begin the installation: cleaning out the closet and removing castoff clothing and unwanted items. To really transform a closet, first paint the walls before installing the rod and shelf. You'll find the wooden shelf, cleat and shelf-and-rod brackets sold at hardware stores and home centers.
To find more DIY project costs and to post comments and questions, visit www.diyornot.com and m.diyornot.com on smartphones.
Pro Cost — DIY Cost — Pro time — DIY Time — DIY Savings — Percent Saved
$107 — $65 — 1.2 — 2.0 — $42 — 39%