
When it comes to transplanting your seedlings to the garden or an outdoor container from indoor pots, there isn’t a definitive answer on the best timing.
It’s not how tall the plant is that determines its readiness for transplanting. The general rule of thumb is that your seedling should have four or more complete leaves, which the plant can use to sustain itself. The leaves that were the first to appear and have the shape of the seed itself are not considered complete leaves, nor are leaves that are curled or still holding onto the seed coat.
You won’t want to rush moving your plants outside. Keep an eye on your weather forecast, making sure the outside temperature is going to stay above freezing and that no monsoons are coming to drown your plants.
Harden Off Your Seedlings
Since your seedlings have lived their entire lives indoors, they need to be acclimated to the harsh realities of living outside, or they will go into shock.For the next five days, set your tray of seedlings outside in partial sun for a few hours each day. On the first day, I recommend starting by placing your plants outside in partial sun for two hours and then bringing them back inside. Give them plenty of water and let them rest until the next day. On day two, put them in partial sun for four hours, and then bring them back inside, give them plenty to drink, and let them rest. Follow this pattern, adding two hours each day, until day five, when the seedlings will be outside for 10 hours.
Loosen the Soil and Plant Your Seedlings
If you have been following along in our Growing Gardeners series, you should remember from last week’s article how important it is that your seedlings have the food necessary to grow strong and healthy. That means that before transplanting them, you should have first prepared your soil by amending it with compost.The amending process also loosens the soil, and is a better alternative to the extreme option of tilling. Tilling does loosen the soil, but it also destroys the homes of all the life within it, and dries it out.
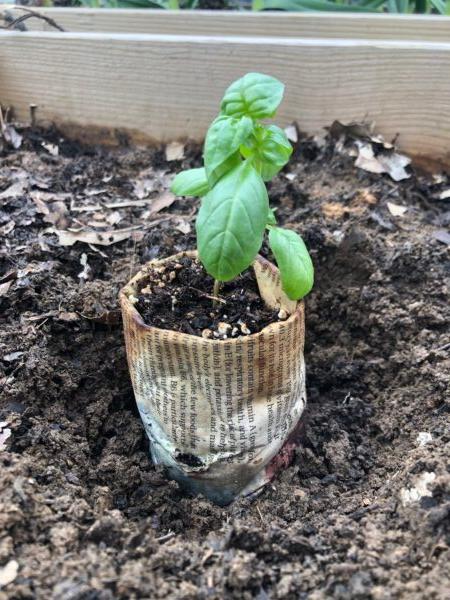
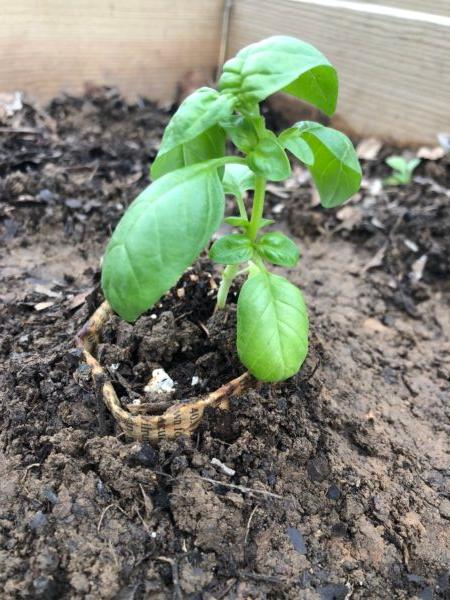
Make sure the base of the seedling is even with or higher than the level of the soil around the pot, so that the next rain doesn’t drown it. Use the soil from the hole you dug to fill around the edges of your pot so it fits snugly in the hole. Water the plant and all the soil you loosened around it to help it settle. That’s it—you have the start of a garden!
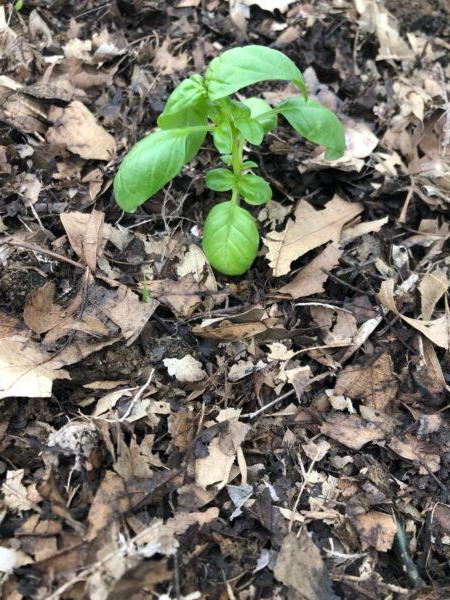
Continue planting the rest of your seedlings, paying attention to the spacing instructions on your seed packet. You don’t have to do it all in one day: Spread out the messy fun of working in the soil with your budding gardener.
Keep your plants watered, as the wind and the sun will dry out the surrounding soil faster than you think possible. Consider covering the soil with a 2-inch-thick layer of mulch, to provide a buffer against the sun’s hot rays and help protect all the living organisms in your garden. Simply cover the soil with leaves, grass clippings, or even entire sheets of newspaper, surrounding your seedlings all the way to the base of their stems.
Looking Ahead
This is an exciting time in the life of a garden, but the work of caring for it has only just begun. So make it fun: The excitement of a garden will last throughout the season if you find creative ways to involve your budding gardeners. How about painting large rocks to place as a label for each type of plant? Or adding something pretty to your garden, such as a hummingbird feeder or some flowers?Have them make a special note on the calendar to mark when the plants went into the garden. Encourage them to measure the plants the same day each week, or even take pictures of them, to track just how much they grow.
Gardening can put sweat on your brow, dirt under your fingernails, and an ache in your back, but the pure joy in seeing the fruits of your labor growing before your eyes is immeasurable.


