Build a Lightwell Under an Attic for a Skylight

Build a Lightwell Under an Attic for a Skylight
Skylights bring more natural light into a room, cutting down on artificial light electricity costs. (Artazum/Shutterstock)
10/14/2021
Updated:
10/14/2021
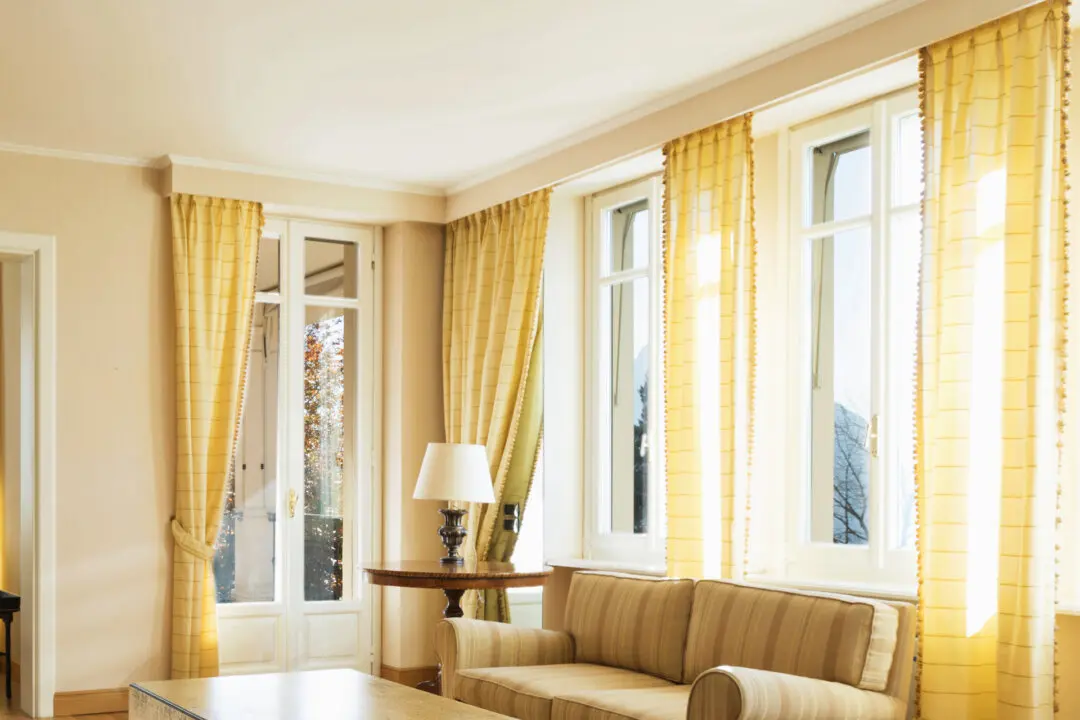
Dear James: My living room is too dark, so I want to add a skylight. My house has a pitched roof. How can I add a skylight when there is an attic above the living room?—Colleen G.
Dear Colleen: Installing a large skylight will definitely bring more natural light into your living room. The basic installation process in the roof itself is the same with a cathedral ceiling or one with an attic above it. Another simple-to-install option is a smaller tubular skylight, but you will not have a view of the sky.

You will have to build a lightwell under the skylight to create an opening through the attic that connects the skylight to the living room ceiling. This is basically just a tunnel, usually tapered out larger at the ceiling than the size of the skylight.

First, you must decide upon the style of skylight you want. The basic options are flat glass or domed plastic, and either can be venting or fixed. A glass skylight is the most expensive material, but it provides a true view of the sky through it. Depending upon how deep your lightwell has to be, a view may not be a significant advantage.

A domed plastic skylight is less expensive and lightweight, making it easier to install. The same amount of light comes through it as from a glass skylight, but the view is distorted. Another advantage of the plastic skylight is the properties of the plastic naturally block the sun’s ultraviolet fading rays. A venting skylight is best if you use natural ventilation during the non-heating seasons.

The next step is to determine the size of skylight you desire. A large skylight in a small room may create too much glare and look odd. It also wastes more energy even if it has double or triple panes. If the skylight is too small, it will be ineffective for lighting. In general, multiply the square footage of your living room by 0.045 to determine a recommended square footage size of the skylight.

Determine approximately where you want the skylight center to be located on the roof. Drill a hole through the roof and hang a wire through it so you can find it from inside the attic. This is just a ballpark position because the location of the roof rafters will determine the final location. Rafters can be cut and reinforced, but it is easier to just avoid them.

With the roof location of the skylight determined, it is time to design the lightwell to the ceiling below. A tapered lightwell, larger at the ceiling than at the roof, is more difficult to build than a straight-walled one, but it looks much better. It also distributes the natural lighting better throughout the room. Plan on making the ceiling area about twice the area of the skylight.

The lightwell is built with standard two-by-four-inch studs, similar to any interior wall in a house. The strength of it is not a design issue because it supports no load. The interior surface should be finished with drywall and painted bright white. The attic sides of the lightwell should be insulated heavily and caulked well. Finally, install the skylight on the roof.

Send your questions to Here's How, 6906 Royalgreen Dr., Cincinnati, OH 45244, or visit Dulley.com. To find out more about James Dulley and read features by other Creators Syndicate writers and cartoonists, visit the Creators Syndicate website at Creators.com. Copyright 2021 Creators.com
Related Topics