Selecting the proper type and color of window film is the first step for an attractive and effective finished job. All types of window film are installed by the same basic procedure, so make your film selection based on the thermal characteristics and appearance of the film.
In general, avoid the dark films unless you live in a very hot climate and have single-pane windows. Dark films tend to block the sun’s heat by absorbing much of it. This causes the window glass to get hot. If you install this dark film on a double-pane window, the glass will surely get hot enough to cause the airtight seal between the panes to fail. The only way to repair a leaky seal is to replace the glass.
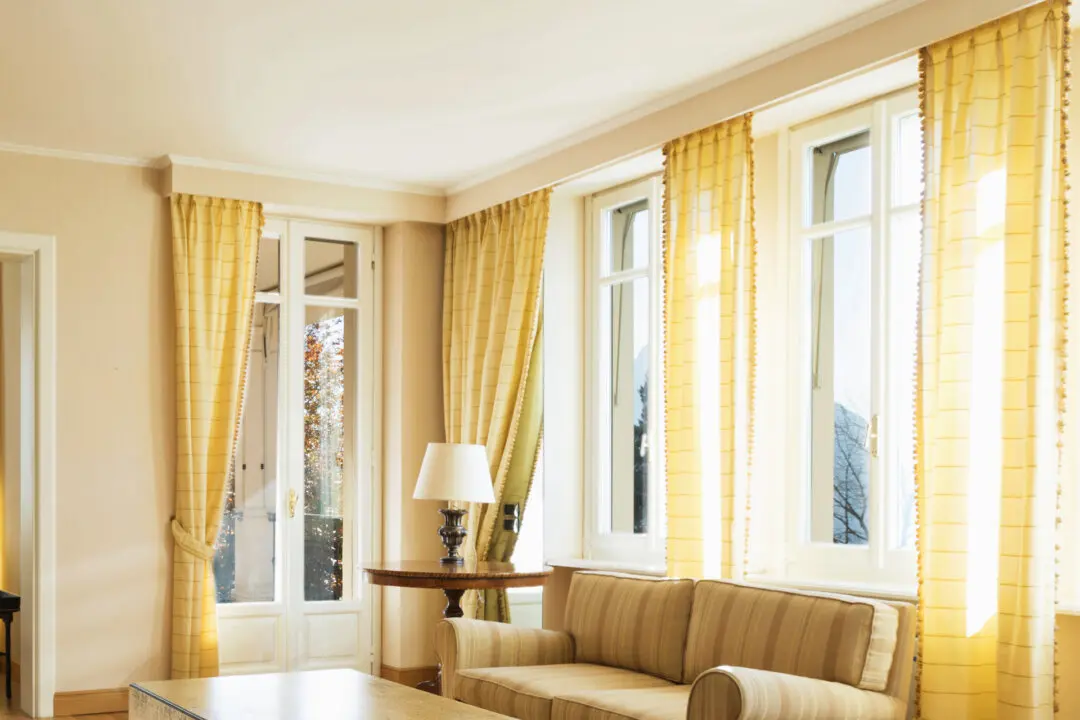
For most homes, a lightly tinted summer/winter window film is best. It has a special coating on it that blocks heat flow in either direction without getting extremely hot itself. Most home center stores sell it in small single-window kits or in large rolls. One of the best do-it-yourself window films is made by CP Films-Gila (800-528-4481).
Now that you have the proper type of window film, it is time to start the installation. The best temperature to install window film is from 45 to 90 degrees. Make sure that the sun will not shine on the window during the installation process. Early morning after the kids go to school is an excellent time. Turn off all indoor fans to reduce airborne dust.
Cleanliness and patience are the keys to a quality window film installation job. Spray a special window film application solution or baby shampoo and water on the glass. Wipe it off with a squeegee. Spray the glass again and scrape it with a razor blade and then squeegee it dry. Spray it once more and then rub it with a lint-free cloth or paper coffee filter.
Measure the glass area. You will probably find it easier to cut the film to size before applying it. Size it carefully to leave a 1/16-inch gap around it. Don’t try to fit it perfectly in the glass opening or you will never get it smoothed out properly.
Spray the window again with the solution until it begins to form beads and runs down. This acts as a lubricant so that you can get the piece of film positioned properly.
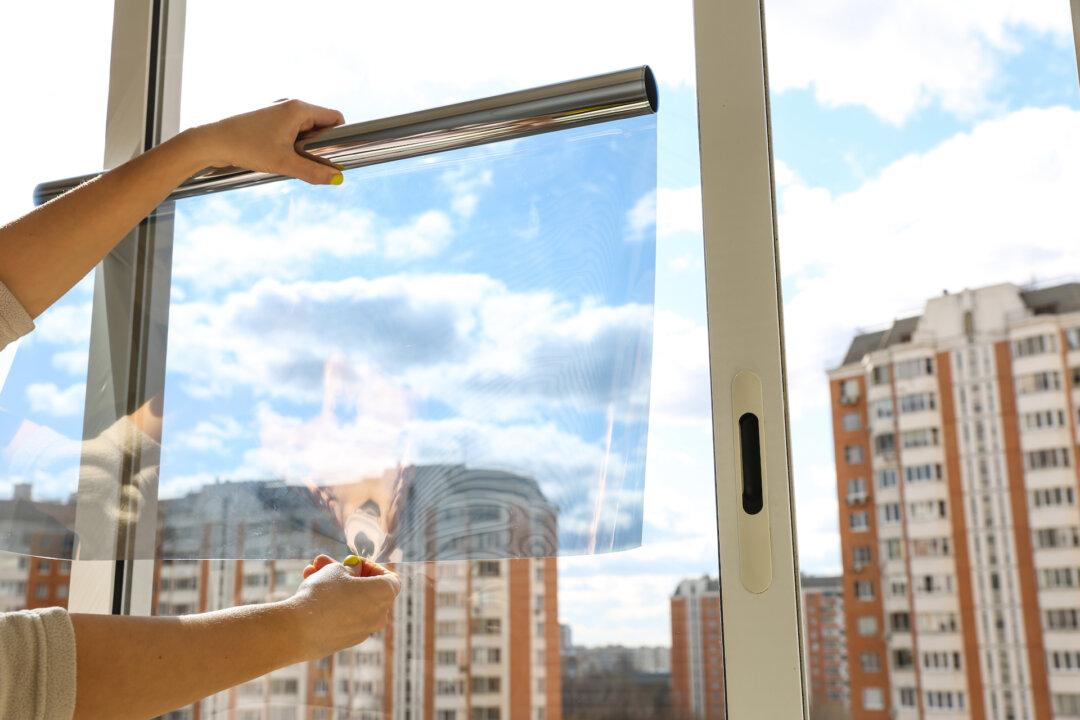
Most films have a protective backing that must be removed to expose the adhesive. Be very patient removing the backing so that the film does not get creased. A trick to get it started is to stick a piece of transparent tape on each side of a corner. Pull them apart with a quick snap and the backing should start to release.
Handle the film only by the corners and place the film against the wet window. Slide the film into position on the glass. Spray the exposed side with more solution. Use the squeegee to fix it tight to the glass and remove bubbles, starting from the center and moving outward.