I’ve had the enormous pleasure over the past months to pass down hard-earned knowledge to my son about many aspects of construction. He and I are working together to finish the basement in his new home that he purchased four years ago. Ask my sweet wife and she’ll tell you that it’s always been my dream to help my kids build or improve their homes.
Last weekend it was time to install a small amount of gorgeous green crackled subway tile in his speakeasy. This 6-inch-high ribbon of tile is sandwiched between two solid walnut countertops. You might think this is a ho-hum job that requires minimal skill. I’d wager you’d be wrong.
I knew months ago we’d be installing this unique, long, rectangular tile. My decades of tile installation experience guided me when I framed the 41-inch-tall wall that created the foundation for the bar. This wall had to be both level and perfectly straight. The bottom and top 2x4 wood plates that I used were selected with care. Not only were both perfectly straight, I made sure they were cut from the center of the tree so they’d stay straight. The vertical studs were also perfect.
Ceramic tile, while quite strong in compression, is very weak in tension. Tension is a force that causes things to pull apart or stretch. Install tile over a low spot or a hump and when you press on it, you’ll cause it to want to stretch. This results in a cracked tile. I’ve done autopsies on cracked floor tile on consult jobs. Each time you lift the tile you can see where the adhesive never made contact. There was the slightest hollow spot under the tile. As soon as you walk on this tile or put a concentrated load on it, the tile cracks.
It’s rare to apply much pressure to a backsplash, but I didn’t want to take any chances. Nor should you. Take the time to make sure any surface you apply tile to has no humps or low spots in it.
I had two choices when it came to adhesive. I could use organic mastic or thinset. Organic mastic is premixed and has the consistency of peanut butter. It’s not a bad adhesive, but I think thinset has distinct advantages.
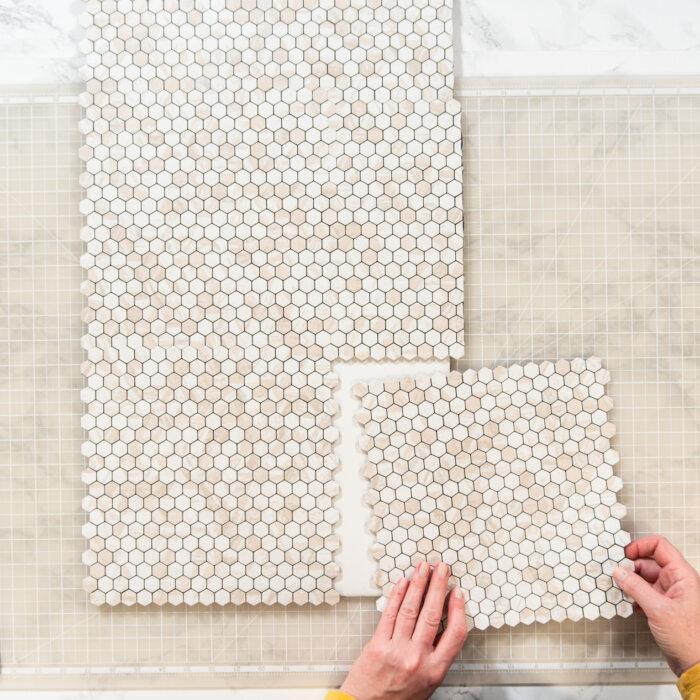
Thinset is a blend of Portland cement, fine silica sand, and sometimes a few additives. It comes dry and you mix it with water to the consistency of a delicious applesauce. The thinset transforms to a solid as the water reacts with the Portland cement. The growing microscopic crystals of cement create a tenacious bond between the tile and whatever you apply the tile to. The thinset is so sticky, it will adhere to smooth metal like epoxy. You’ll discover this when you don’t clean your trowels and tools after using them to spread the thinset! Don’t allow thinset wash water to drain into plumbing. Do all washing outdoors.
I made sure the back of the tile and the half-height bar wall were dust free. Dust will interfere with the bond of both organic mastic and thinset. It only takes minutes to brush the dust from the wall. The high-quality tile was dust free out of the box. This is not always the case, so make sure your tile is clean.
I only mix enough thinset that I can use in an hour. I’ll use ice-cold water if it’s a hot day. I’ll even refrigerate the dry thinset the night before to do all I can to keep the mix cool or cold. This retards the chemical reaction that transforms the plastic thinset into a solid. Should you find your thinset getting hard in the bucket, do not re-temper it with more water. Discard the thinset and mix up new. The added water will weaken the thinset, and remixing it breaks millions of crystal bonds that won’t reform.
You’ll probably need to make L-shaped cuts in a tile or two. These cuts are required to get tile to fit around electric outlet and switch boxes. I use a diamond wet saw to make my cuts. You can use a dry-diamond blade on a hand-held grinder tool, but it creates clouds of dust. Do this cutting outdoors and wear a high-quality mask to prevent ingesting any dust that very likely contains silica.
You’ll discover an assistant is very useful. This person can be cutting tiles while you install them. Mix smaller amounts of thinset if you’re working solo. You’ll be stunned how much time you spend measuring and cutting the tiles as opposed to installing them.
I prefer to use a 1/4- by 1/4-inch square notched trowel to apply the thinset to the back of the tiles or the wall surface. I had to apply the thinset to each tile one at a time because the backsplash was just 6 inches tall. There simply wasn’t enough room to use the trowel in this narrow channel.
I hold the trowel at a 45-degree angle as I remove the excess thinset. It’s vital you make sure the thinset is under the tile where a tile abuts an electric box. This is especially true were the metal ears of the outlet or switch rest on top of the tile. You need to be sure there’s not a hollow spot under the tile at these locations. Should you over tighten the screws that hold the switch or outlet in place, the tile may crack without support beneath it.