Is your dining room table showing the wear and tear of family use? Or is your antique dresser showing its age, but not in a good way? Don’t go shopping or log on to buy something new; instead refresh, restore, or reimagine it.
Water rings, scratches, and general wear and tear may make you think your wood furniture is beyond saving. But good pieces are worth restoring, and it’s easier than you think.
But First, Clean
Before you strip or sand—and we’ll get to that—bypass the spray-on furniture polish—that’s just for a quick spiff up—and instead give it a thorough cleaning. Use a lemon or orange cleaner, or the old reliable Murphy’s Oil Soap. Apply as instructed, let it sit for 10 minutes, and then wipe it off. You may need to do this two or three times, allowing the wood to thoroughly dry between applications. In many cases, removing years of accumulated grime is all that’s needed to reveal the original beauty underneath.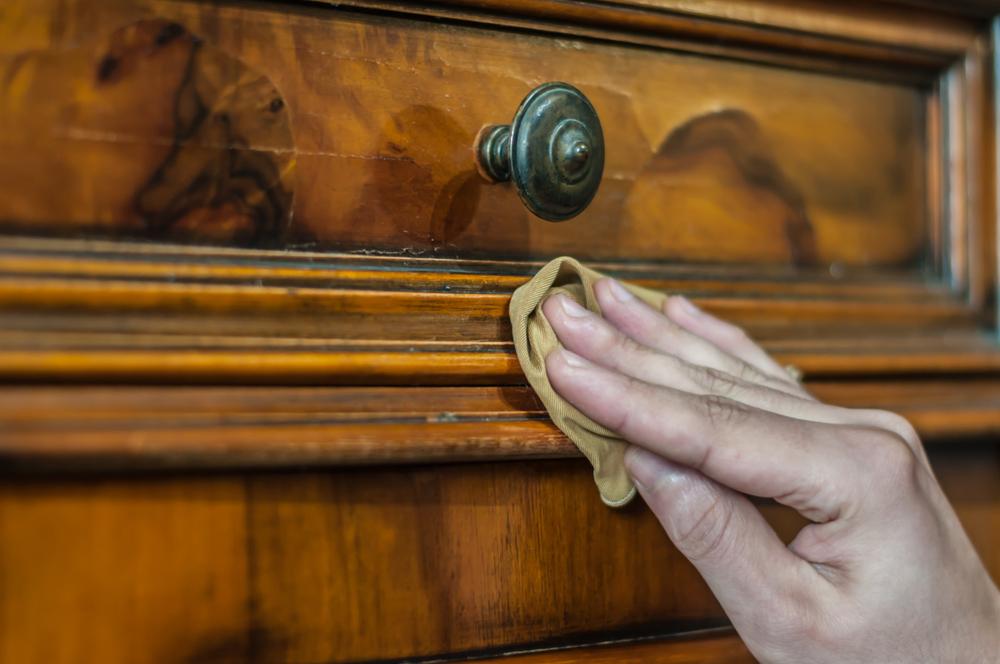
Start by giving your furniture a thorough cleaning. Egeria/Shutterstock
Stained and Dried-Out Wood
Water stains are an inevitable part of owning wood furniture. The white rings are the result of the wood absorbing excess moisture from a coffee mug or a water glass.Get out that bottle of mayonnaise you bought for your famous summer potato salad and lightly dab a bit onto the ring. Let it sit for 30 minutes and then wipe it off. In most cases, this is all you’ll need to do.
While you’ve got the pantry open, you may want to pull out the extra-virgin olive oil and distilled white vinegar if your furniture is splotchy or dried out from being stored in an attic or basement. Mix 3/4 cup oil and 1/4 cup vinegar, dip a cloth in the mixture, and apply lightly. The acetic acid in vinegar cleans without scrubbing, while the olive oil conditions the wood, swelling the fibers and deepening the color. This may also take care of light scratches.
Scratches
Carpenters have been fixing scratches in finished and unfinished wood with nuts for centuries—and enjoying a nice snack in the process. Find a nut that matches the color of your wood, typically a walnut, pecan, or hazelnut. Rub the area with the soft meat of the nut; this fills the scratched area, while the nut oils act as a fine substitute finish.Some people prefer java for very shallow scratches, applying fresh, dark-brewed coffee to a cotton ball and working it over the stain. Other alternatives are, depending on the wood’s color, rubbing in a tiny bit of cooking oil, shoe polish, crayons, and, of course, if you have one, a furniture filler crayon.
Note that if your furniture is painted, none of this will work, and you’ll need to use wood filler and touch-up paint.
Dents
When it comes to dents, steam them. Wet a washcloth, wring it out thoroughly, and place it over the affected area. Take your iron, set it to the highest setting, and apply it back and forth and in circles over the dent. Press down firmly until the washcloth is dry. Repeat as needed; it may take 3 to 4 times. Be careful to not apply the iron directly to the wood, or you’ll have a new repair to deal with.If this method doesn’t raise the dent sufficiently, get some wood filler in the appropriate color. An 8-ounce can will see you through many repairs. For large dents, apply with a putty knife and smooth. Shallow dents dry in about 30 minutes, while deep ones may take two hours. Afterward, you can stain or paint it—more on that below.