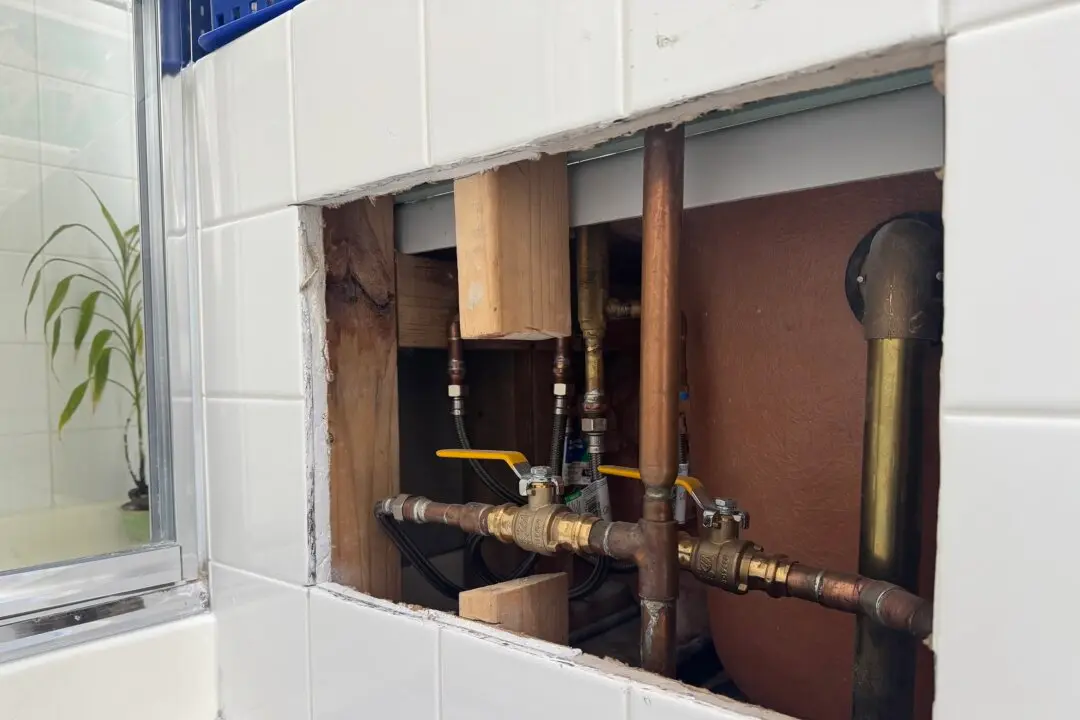
Last week, I fielded no fewer than five phone calls from homeowner with the same grim news. They found it nearly impossible to get quotes from contractors to do fairly simple repairs.
Each caller’s stress level was running on high. Fortunately I talked each one through what they needed to do to complete the repairs themselves, saving a cumulative total of about $30,000 by my best estimation.
That’s what I’m trying to do each week: to lower your anxiety, save you money and give you the confidence so you can cut the cord between you and contractors. I only do this when I feel you can do a repair yourself.
True, certain tasks are beyond your capabilities. But many tasks, even intimidating ones, are not.
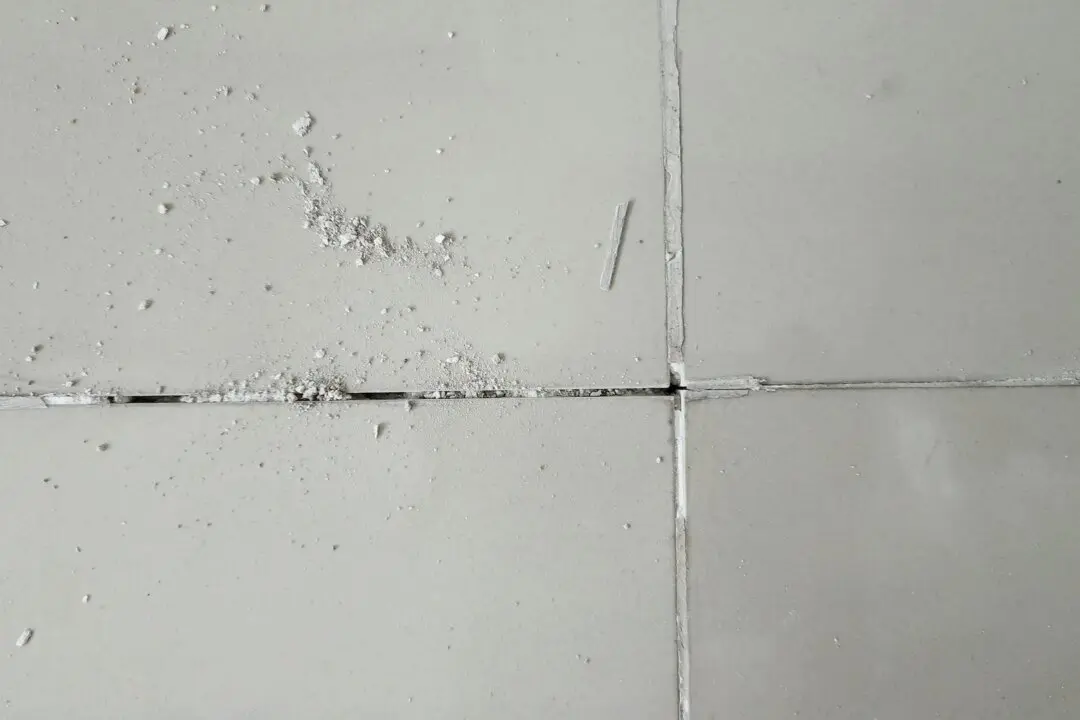
Replacing crumbling mortar in between stones, concrete blocks, or brick is something you can do. This is called repointing or, in many parts of the United States, tuckpointing (although this is something technically different). Let’s get started.
What I love about repointing is that it requires very basic tools. Here’s a list: a half-inch cold chisel, a hammer, a 12-inch-long bricklayer’s trowel, and a 1/2-inch or 3/8-inch repointing trowel.
If you have lots of crumbling mortar to replace, it might pay off in spades to invest in a small rotary hammer drill that you can outfit with a chisel bit instead of a drill bit. This tool can save you hours of time and prevent injuries if you become fatigued and hit your hand with the hammer instead of the end of the cold chisel.
Step one is to use the chisel to remove and crumbling or decayed mortar. You’ll discover it’s easier to add the new mortar if you cut into the old mortar 1/2 inch or so. There’s no need to go deeper unless the mortar is in such bad shape it can be removed with a stick.
Save at least a half cup of this old mortar. You’ll need it to help you match the color of the new mortar.
In fact, let’s discuss that now. Before you even start to remove any mortar, look closely at it. The odds are it’s weathered for decades and you can clearly see the individual pieces of sand in the mortar. Note the color range and shape of the sand. These grains of sand combine with the mortar paste, connecting each piece of sand to others to create the color you perceive.
When the mortar was new all those years ago, it was a uniform gray color, possibly pigmented to some other color, because each grain of sand was coated with the mortar paste like an ice cream bar is dipped and coated with chocolate.
Over time, Mother Nature wears off this coating just as you bite it off the chocolate coating from the ice cream. Once it’s gone, you see what’s beneath the coating. Your job is to locate a gravel pit that is mining the same exact same sand. The sand you use to repair the joints must have the same color range and size of grains or you’ll be doing yourself a big disservice.
If you’re repairing brick in an old building built in the late 1800s or even early 1900s, the original brick masons probably used hydrated lime. This differs from the modern bags of brick mortar one sees today. You can still get hydrated lime, and it’s a superb ingredient to use when mixing new mortar. You can blend this lime with modern mortar mix to create different shades of dried mortar.
I’ve always had great luck making strong mortar by combining three measures of sand to one measure of lime or mortar mix. The Brick Industry Association (BIA) has a treasure trove of technical notes at their website. I urge you to read many, if not all, of them to discover the other mortar recipes and installation tips.
The basics of repointing mortar are simple. Once you have removed the old crumbling mortar, the next step is to use a brush to sweep out the deep joints to get rid of all dust and loose grit. Step three is to mix up fresh mortar, but only as much as you can install in an hour. Avoid adding water to mortar that is starting to harden. This added water will weaken the mortar.
If you can spritz the joints you’re about to fill with clean water, that will go a long way to add strength to the new mortar. Spritzing means just get the brick and the old mortar slightly damp, not saturated with water. Don’t spritz rock because it has virtually no suction. Brick and concrete block do have suction. Suction allows some of the water to leave the fresh mortar so it starts to harden just a bit. This allows you to tool the mortar before it gets too hard.
Avoid working in direct sun on hot days. This will cause the fresh mortar to set too fast. Watch quite a few videos at the BIA website or online to see how professionals repoint mortar. Watch how they slide the mortar into the joints using the narrow repointing trowel. You’ll do quite well, and I guarantee you’ll save lots of money and feel very good about your success!
What can I help you with? What issues around your home worry you? What do you want me to discuss in my upcoming columns? Go here and tell me. Be sure to type the word GO in the URL: https://GO.askthebuilder.com/helpmetim