
A fresh coat of paint does wonders for the inside of a home. Fresh paint does more than just look good. Painting seals the walls from the dust that collects on them and on the tops of all the trim. Repainting restores the skin of you home and makes everything so clean.
The process of painting demands that you move everything around and clean everything. When the painting is all done and everything is back in its place, it gives the house (and you) a feeling of a completely fresh start.
Now there are mold-resistant paints and primers, as well as nontoxic paints that dry fast and are easy to apply. No-VOC paints (Volatile Organic Compounds) are nontoxic even when wet and make painting inside possible while you are living in the space, since there are no toxic solvents being released from the paint as it dries. The new low- and no-VOC. paints dry very fast so you can move everything back in right away. The fact that the new paints dry fast, are nontoxic, and don’t make your place stink, makes the prospect of painting the inside of your home much more appealing than it used to be.
Basic Steps to Painting a Room
The painting itself is the easy part. Most of the work is getting your room prepped for painting, getting your tools together, moving your things away from the walls, and then putting it all back after the job. Though it is not absolutely necessary to move all the furniture out of a room before painting, the more you can get out of the way the better. Once the furniture has been moved and covered, and the room cleaned and vacuumed, it is time to caulk, spackle, and mask.
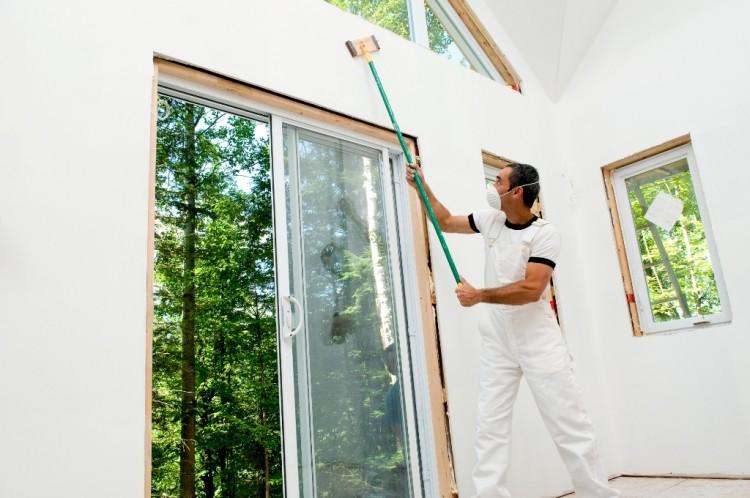
Masking the edges of doors, windows, light fixtures, and anything attached to the walls that will remain while you paint, is well worth the effort. Make sure to press the masking tape firmly on the surface to make a good bond. This will prevent the paint creeping under the paint and gives a nice crisp line when the tape is removed.
There is a big difference in the masking tapes available today. It is well worth the extra cost to buy good masking tape. If you have a lot of painting to do, it is a big help to have a masking gun. This is a device that dispenses a roll of paper and masking tape so that the paper comes off the roll, with the tape half on and half hanging over the edge. It has a built-in cutter and you just pull off what you want and put it in place. This makes masking large areas easy and fast. It is a great way to cover baseboards, the tops of windows, and just about anything.
As an option, you can purchase plastic sheeting pre-taped on one edge. This is very handy for masking large areas, such as a mantle or wainscoting. In some cases, it is best to go ahead and mask everything first, then put the wide masking over the original masking since it is easier to handle a single piece of tape. After the cover plates are removed from the electrical outlets and light switches, tape them up and paint right over them.
Caulking and Spackling
Caulking cracks and gaps and spackling is essential for a professional-looking paint job. Spackle is used to fill old nail holes, nicks, dents, or any blemish that is on a flat surface. Caulk is used to fill gaps and cracks on the inside corners, such as around trim and along the tops of baseboards.
There are many types of painters caulk and most any of them will suffice for basic interior caulking jobs. If you are caulking where water is an issue, use caulk intended for wet areas. Make sure your caulk is paintable. Pure silicone is not paintable, but there are silicone compounds that are.
There are two options on how to purchase caulk: large tubes that go in a caulking gun and smaller squeeze tubes that do not require a gun. You have better control with a squeeze tube of caulking, but it takes more hand strength to operate.
When cutting the tip off a new tube of caulking, start with a small hole so you can get it right where you want it. The less you have to wipe off the better. Wipe off excess caulk with a finger or a damp rag. There is a caulking clean up tool that cleans the caulk off inside corners that can be a great help too, especially if it is a large crack with a lot of excess caulk that needs to be removed.
Spackling can be done with a finger or a putty knife. Spackle is soft, so it sands down quickly. It is best to leave the spackle high, then after it dries sand it off with fine sandpaper. If you have textured walls, you can use a damp sponge to wipe off excess dried spackle.
Finish your preparation with a once-over of every wall and corner. Make sure that all the masked edges are firmly pressed down, and that the floor is protected before you begin to paint. There are many things to consider with paint and its application, which will be the topic of my next article.
Gordon Elliot has over 30 years of experience in working on homes and is on a mission to arm people with the skills and confidence to do home projects they would not have otherwise attempted.
The Epoch Times publishes in 35 countries and in 19 languages. Subscribe to our e-newsletter.