Did you know that you can make your own pasta? Or that there’s a version of it in the grocery store that doesn’t come dry in a box?
Welcome to the world of fresh pasta—which can take your Italian food to another level. It has the same basic ingredients, but a much different taste and texture. Fresh pasta is softer, not as chewy as the stuff in a box, and tastes lighter. Bonus: no chemicals or preservatives. And once you’ve experienced fresh pasta, you’ll often wheel that grocery cart right past the boxes of the dried stuff.
You have two options for fresh pasta. Some grocery stores carry a few versions, often found in the dairy case next to the cheese. But if you don’t mind messing up the kitchen while having some fun, you can make your own.
miniseries/E+/Getty Images
Here’s What You’ll Need
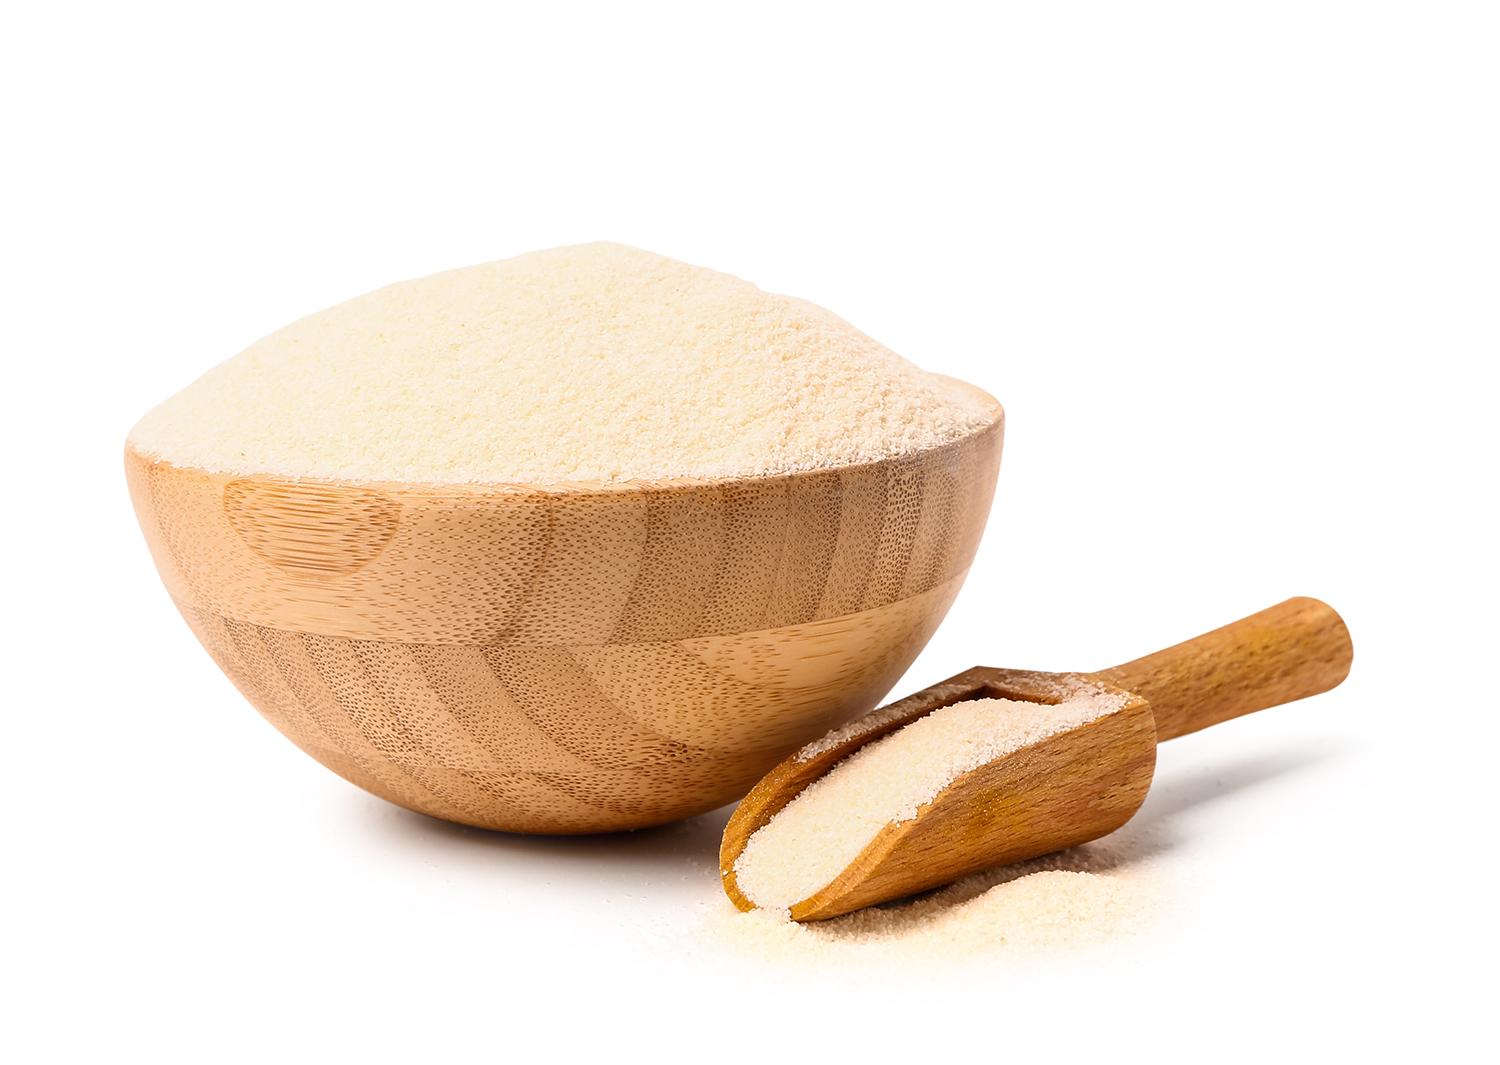
- Semolina flour or 00 flour (the latter is simply finely ground flour)
- Eggs (if you can get fresh farm eggs, even better)
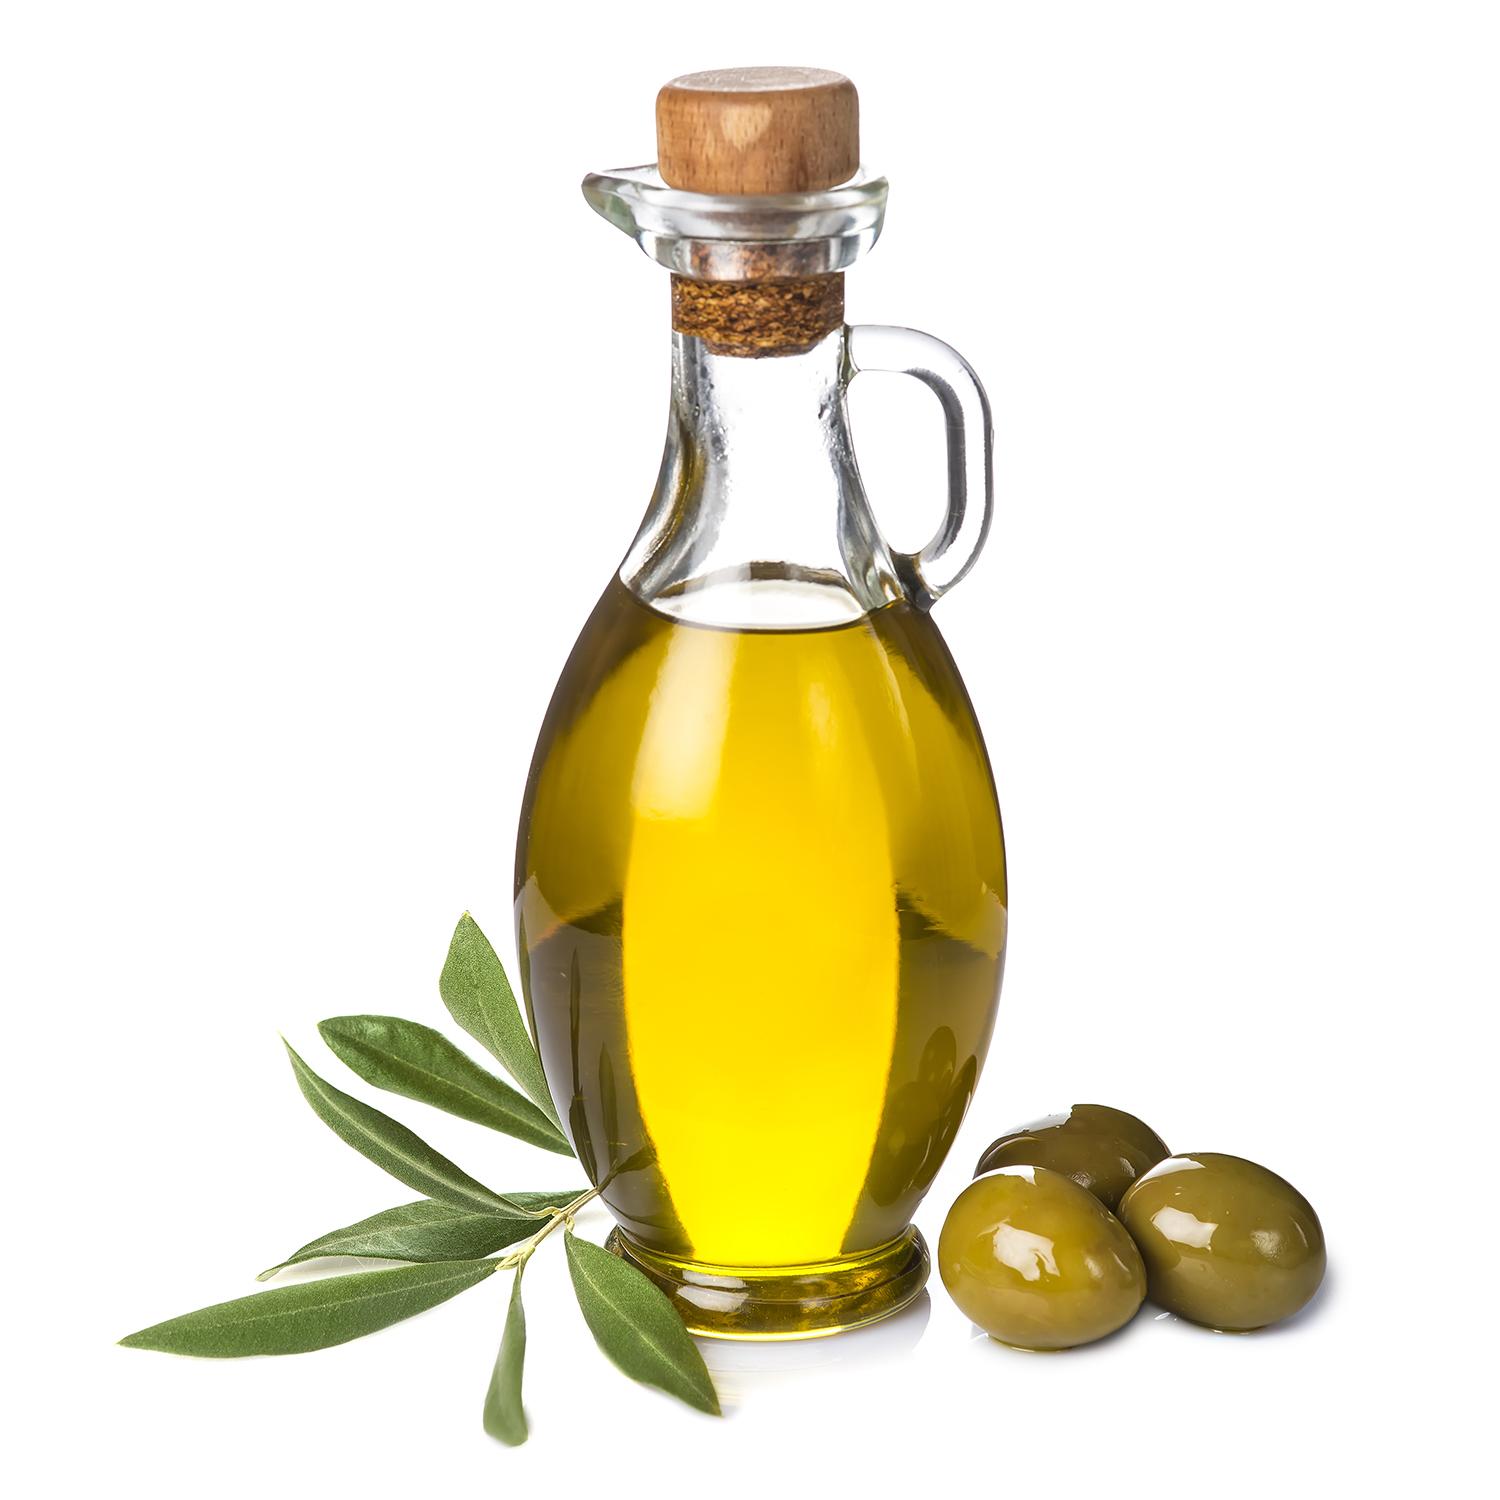
- Olive oil
- Water
- Salt
- Coat hangers (optional)
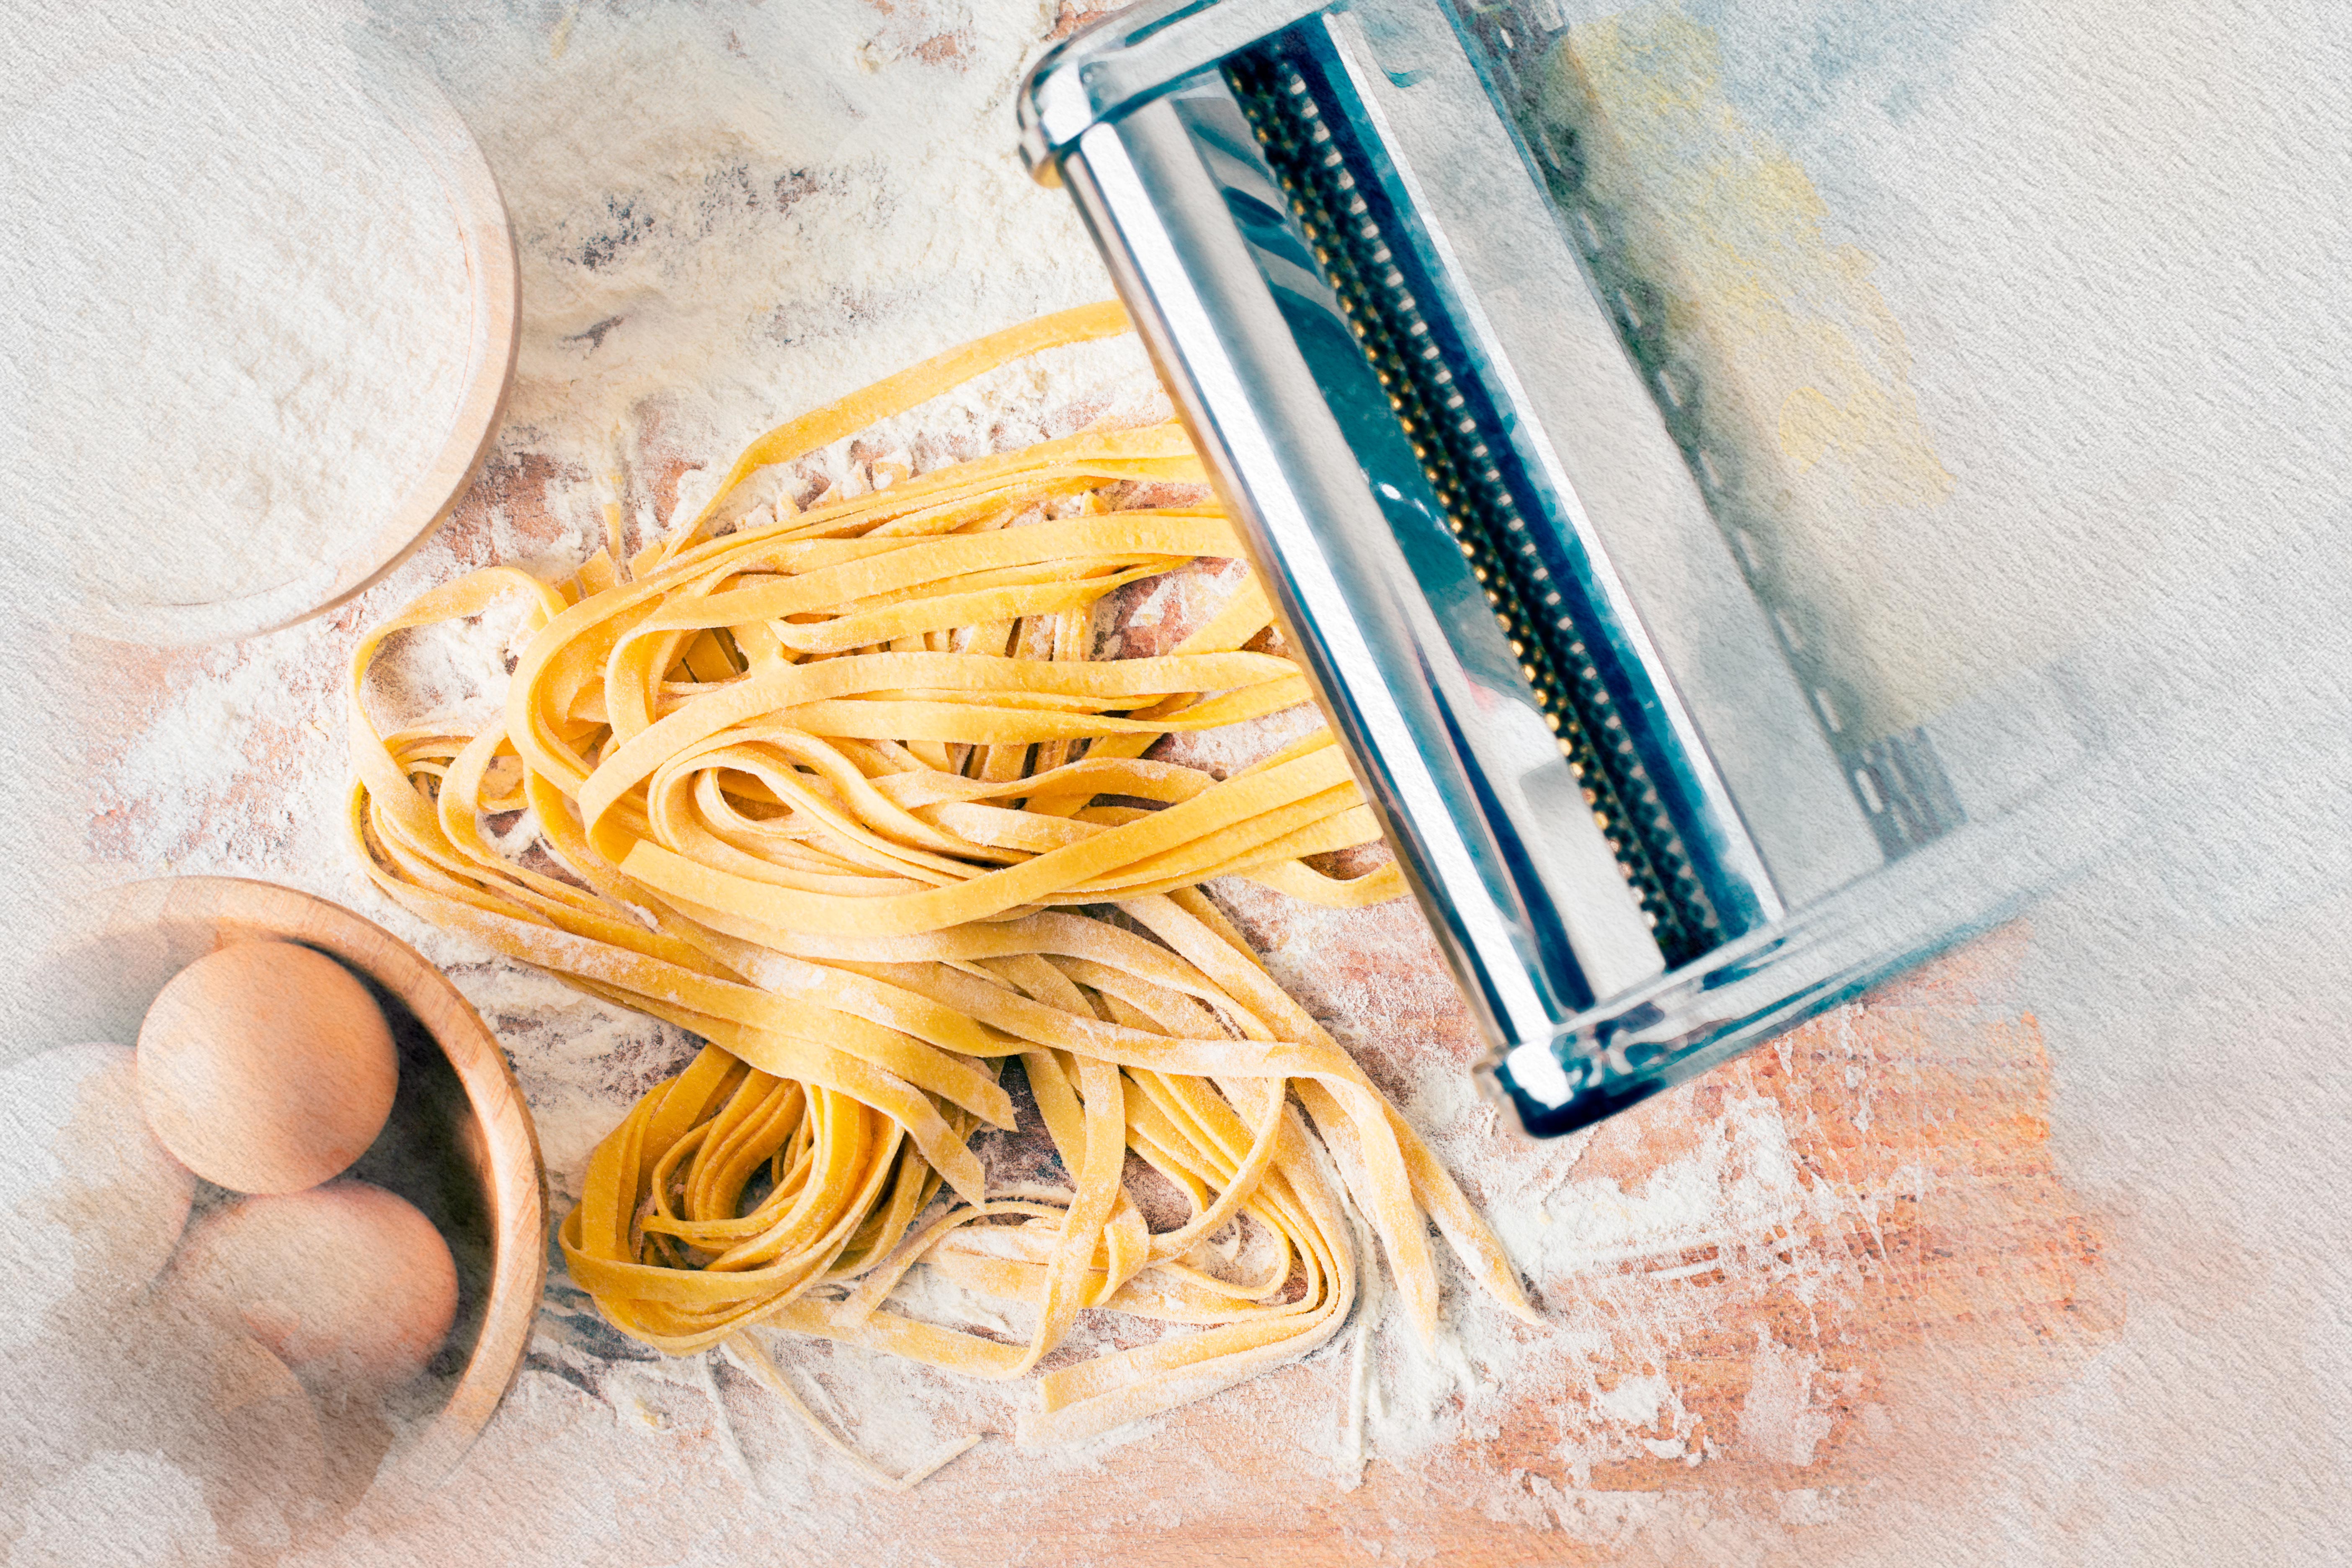
While you don’t necessarily need a pasta maker—you can use a rolling pin to flatten the dough very thin and cut it yourself—it will make your life much easier. There are several varieties of pasta makers on the market, some electric, others hand-crank. One of the most popular, and easiest to use, in my opinion, is a set of attachments that fit on a KitchenAid mixer.
Shutterstock
Shutterstock
Semolina and 00 flour are perfect for pasta. Some people mix the two; others use only semolina. Although you can use regular all-purpose flour, bear in mind that pasta made this way will plump up a bit when cooked, while semolina and 00 flour provide a very nice, light texture. Superfine 00 flour has an elasticity that helps when kneading. Semolina has similar elasticity and a higher gluten content, which helps the pasta keep its shape. Not all grocery stores carry these, so you might have to shop around a bit.
For this recipe, we’re going to make fettuccine or lasagna noodles, so we’ll start by making a batch of dough. Note that there are many different recipes out there. The measurements may be a little different, but the ingredients are usually the same. Some people use more flour, only egg yolks, and so on.
Being Italian and having spent years working in my father’s delicatessen, I’ve always enjoyed the trial-and-error part of cooking and have tried a few recipes over the years. I didn’t care for plain, all-purpose flour recipes at all—too chewy. I’ve never noticed much difference between versions using only yolks and the whole egg, except that dough using only the yolks had a richer color, while those using whole eggs were easier to knead.
I prefer the following recipe, which makes enough pasta for about four servings. (For my Italian family, maybe three!) Remember, it’s all about your personal taste, so don’t be afraid to experiment and try some others before settling on a favorite.
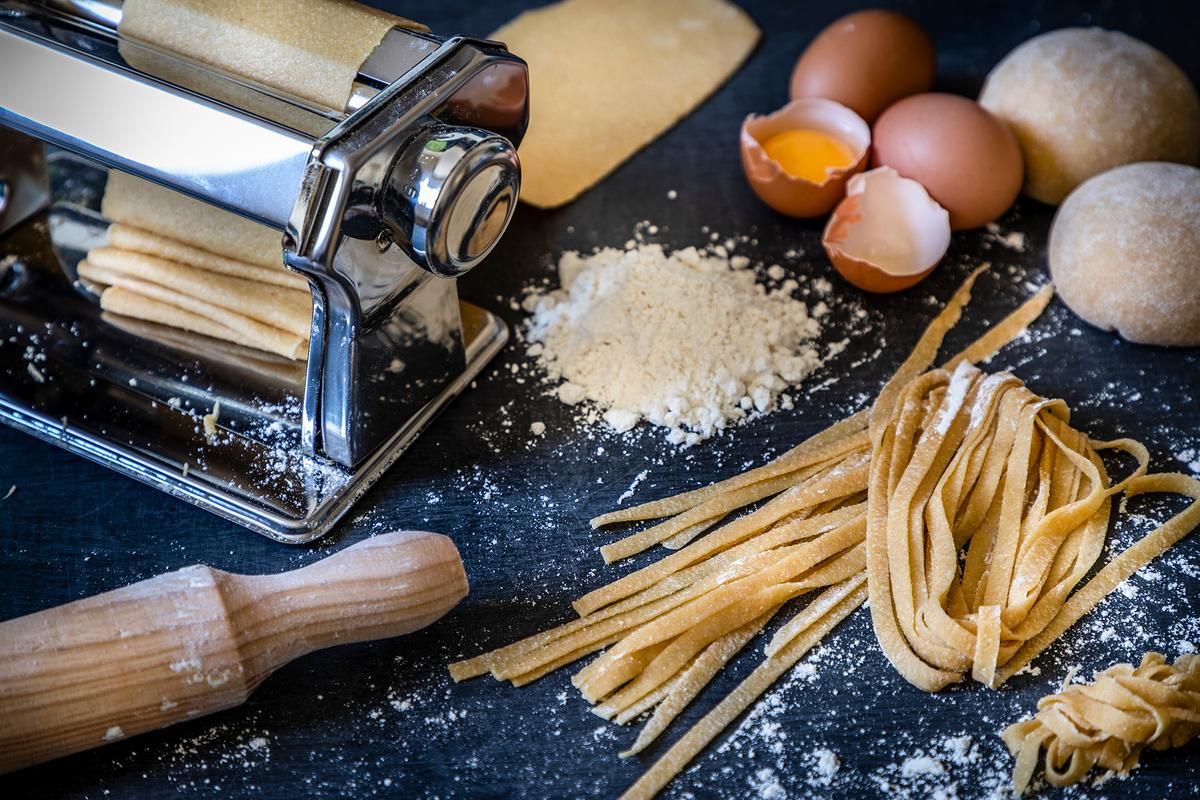
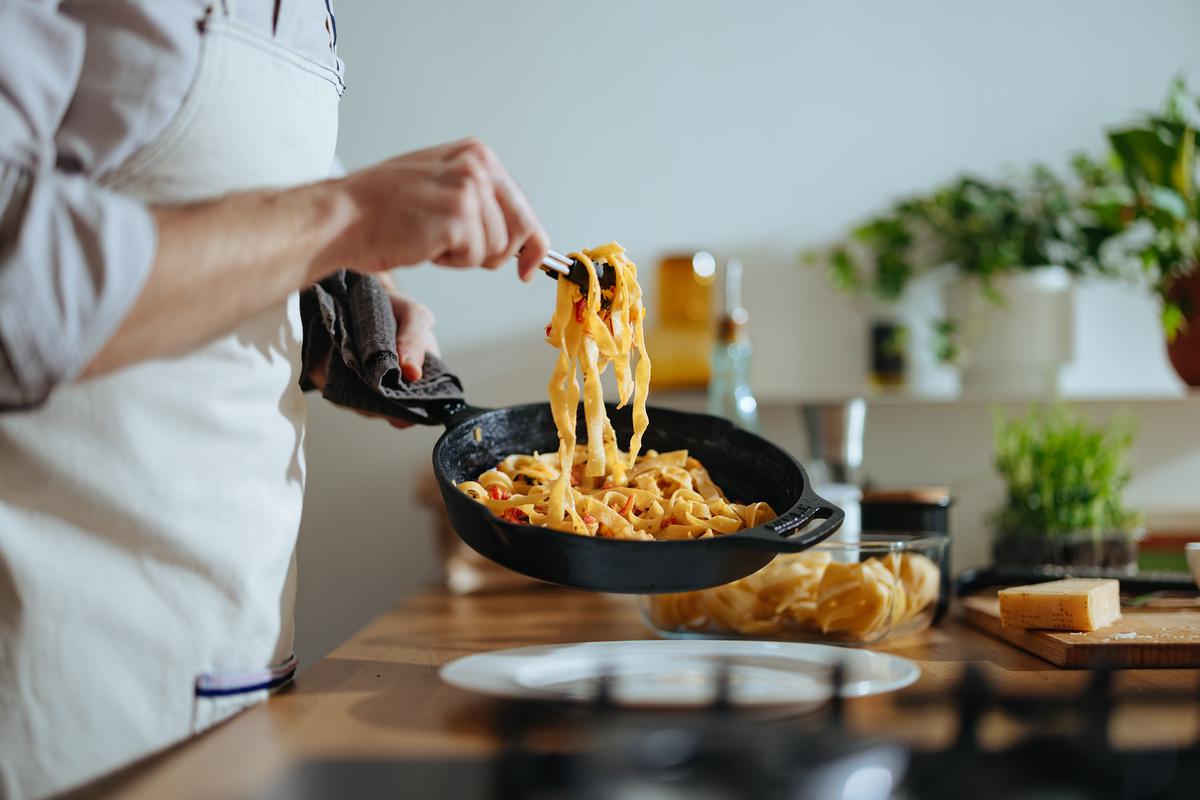
A pasta maker is helpful but not absolutely necessary for homemade pasta. carlosgaw/E+/Getty Images
Fresh Pasta
Serves 4- 1 1/2 cups flour (either semolina, 00 flour, or a 50-50 mixture of the two)
- 2 large eggs
- 2 tablespoons olive oil
- 2 tablespoons water
- 1/2 teaspoon salt
When it’s mixed, you’ll have a smooth ball of dough. If it’s sticking to your hands quite a bit, add a little flour at a time and continue kneading until it doesn’t stick. Too dry and crumbly? Add a few drops of water at a time until it holds together. Wrap it in plastic wrap and let the dough rest at room temperature for at least an hour. This lets the flour fully absorb the eggs.
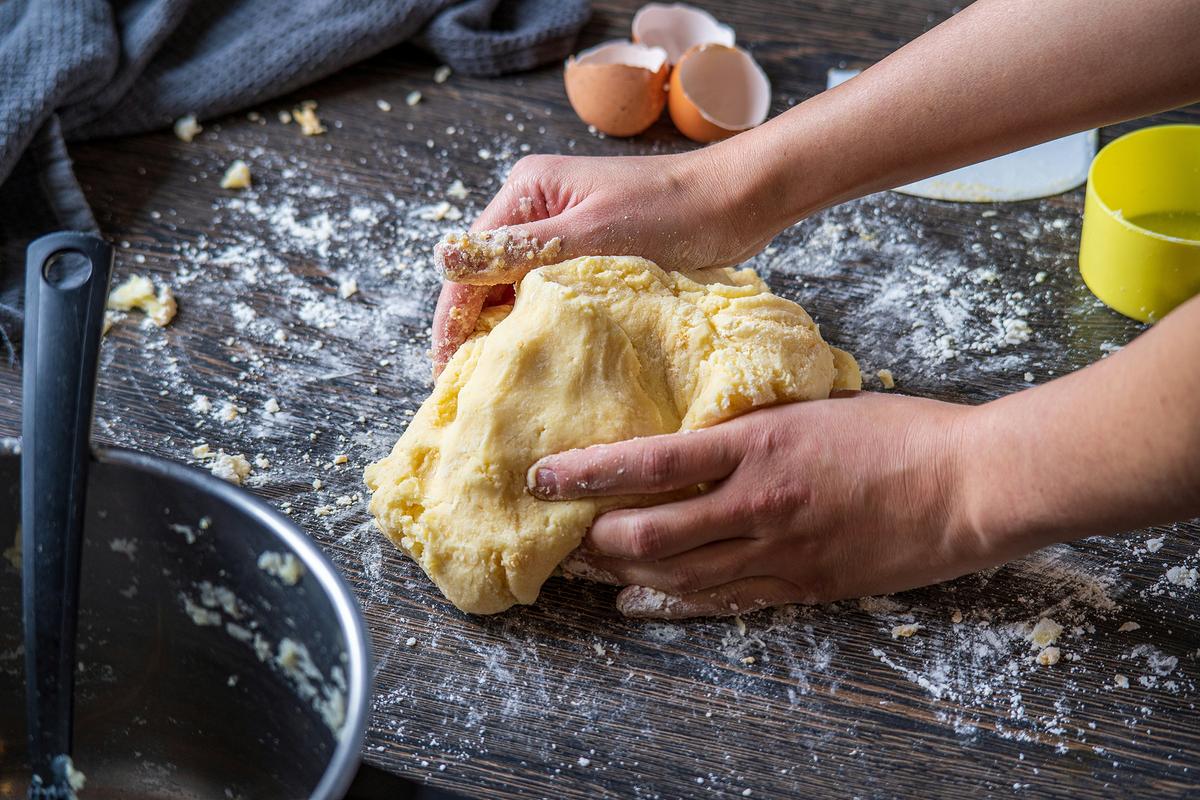
Time to get your hands dirty! Enjoy the process of mastering the dough consistency. Unsplash
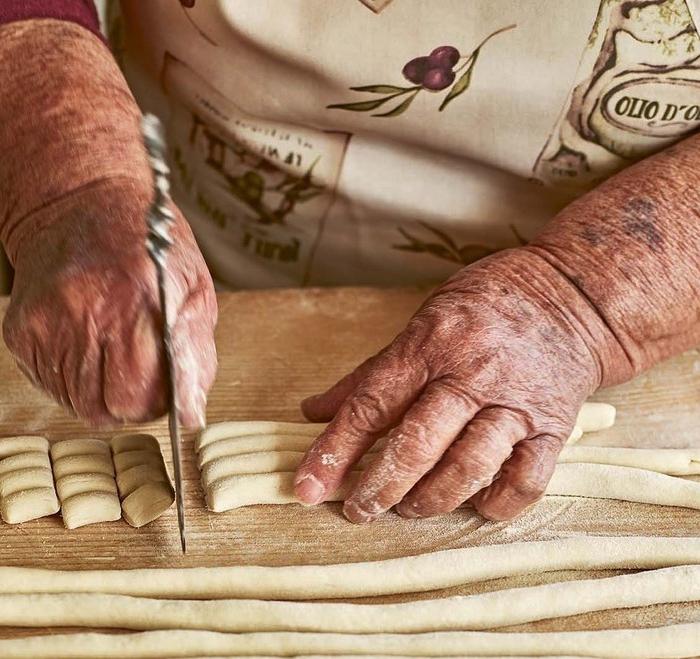
After the dough has rested, cut the ball into four quarters.
Every pasta-making machine or attachment operates differently, so always read the directions. If you’re using the KitchenAid mixer, attach the pasta roller and set the width to the widest setting. Take one of the quarters and run it through the roller. Fold the sheet of dough in half and run it through again. Then set the pasta roller to the next thinner setting. You won’t have to fold the dough again. Continue feeding the pasta through the roller, sprinkling a little flour on it along the way to keep it from sticking, and changing the roller to a thinner setting after each time until you reach the desired setting for the thickness you want. Do the same thing with the other three-quarters of the dough.
If you want the pasta for lasagna, your sheets are ready. If you want fettuccine, swap out the roller for the pasta cutter for fettuccine and run the sheets through.
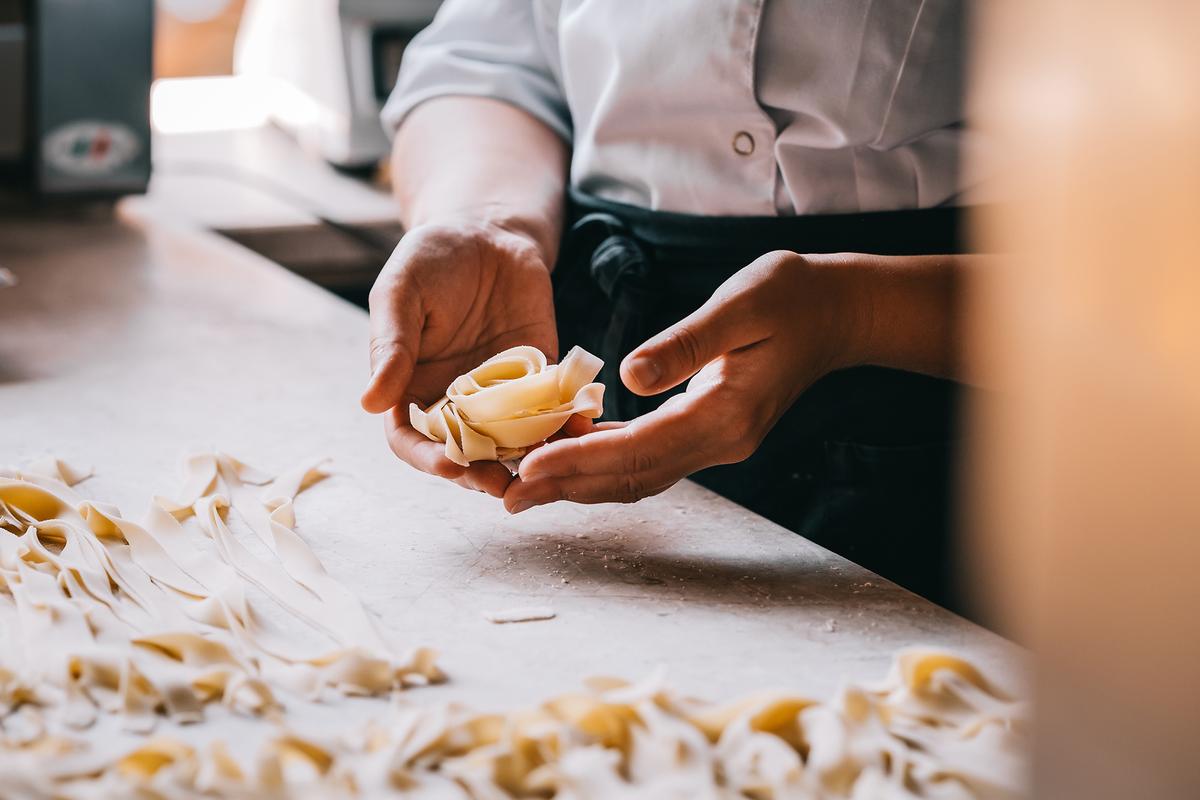
Freshly made fettuccine brings a whole new dimension to pasta dishes. JulyProkopiv/iStock/Getty Images
KitchenAid has a very helpful video of the whole process. While you can do this yourself, it’s a lot easier to have an extra pair of hands until you master it. The first time that you make fresh pasta, the process might feel like a slapstick comedy.
Finally, hang the pasta to dry. This is where the coat hangers may come in. Drape the pasta onto the hangers, and you can hook them onto kitchen cabinet handles. This will create an absolutely ridiculous image, with pasta hanging off your cabinets like Spanish moss. If someone drops by, that person will wonder if you’ve taken leave of your senses.
Pasta drying racks, which are inexpensive, make things a lot easier, and are a lot easier to wash than coat hangers.
Dry the pasta for 15 to 30 minutes, or until stiff but pliable to the touch—not hard like pasta out of a box. The time will vary depending on the temperature and humidity of your home. (I’ve tried cooking it immediately after making it, but noted that it fell apart a bit.)
After letting the pasta dry, you can cook it or keep it in the refrigerator for about two days. Remember, there are no preservatives. You can also store it in the freezer for a month. I simply place it in zip-close freezer storage bags.

Note that fresh pasta cooks very fast, sometimes in 2 or 3 minutes after being added to boiling water. Straight from the freezer, it’ll take 3 to 5 minutes. Keep a close eye on the pasta either way by pulling out one strand and giving it a taste. If you’re going to use the sheets of pasta that are uncut for lasagna, you don’t need to cook them before assembling the lasagna.
You can now enjoy something delicious and realize that making a big mess in the kitchen is often worth it. And if you end up using the coat hangers, remember to wash them before using them to hang up shirts and coats, as flour doesn’t look good on clothing.