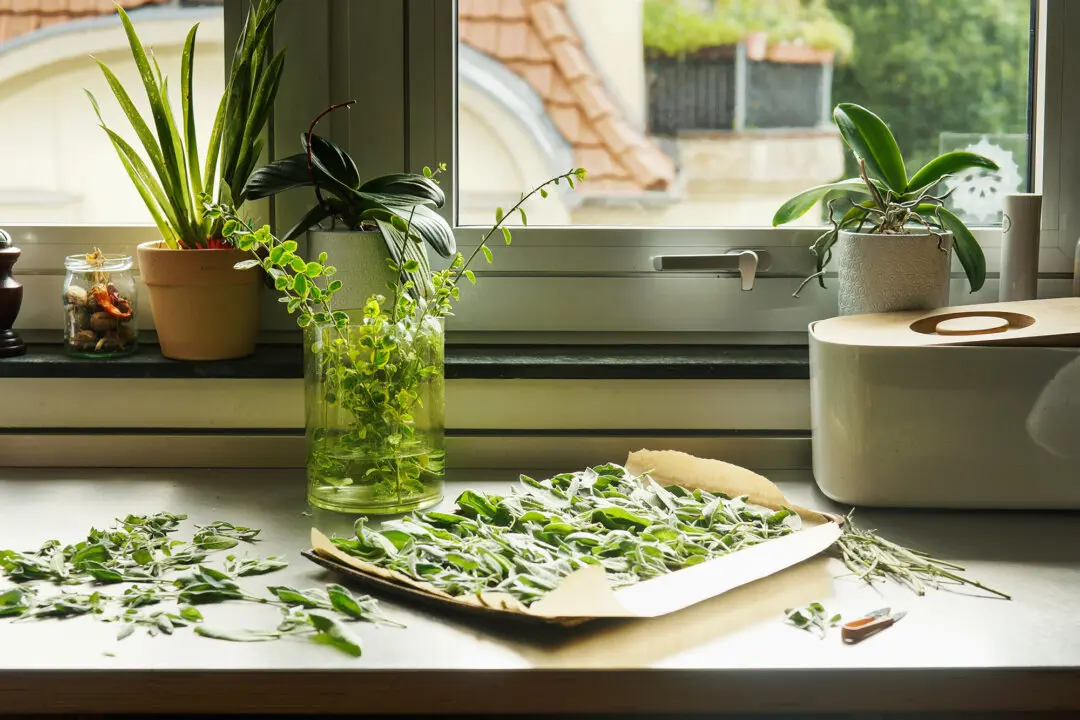
Franklin D. Roosevelt wisely said, “The nation that destroys its soil destroys itself.” The date was Feb. 26, 1937, and he was making his case to state governors for effective soil management, explaining that healthy soil is an economic asset. Whether one is talking thousands of acres, a backyard garden, or even a compact container garden, the best soils are alive and fed by compost—a crumbly, dark, earthy-smelling, nutrient-rich soil amendment. Some gardeners even use compost instead of soil to grow plants.
Composting keeps organic waste out of landfills, enhances water retention in soil, reduces or may even eliminate the need for chemical fertilizers and, best of all, promotes higher crop yields. Ready to compost at home?
Decisions, Decisions
There are two main ways to compost at home—with a third for small apartment dwellers or those not ready to make the full compost system commitment—and it’s important to choose one before you set the first banana peel aside. The most basic option, if you have the space, is a backyard compost pile or bin that you can make yourself or buy.The second option is vermicomposting (worm composting), which takes up less space and can be done outdoors or even inside, as long as you’re not squeamish about living with worms.
The third is a countertop composter, an electronic appliance that resembles a bread maker to fit with kitchen décor. Simply put the kitchen waste in it, press a button, wait a few hours for it to work, and voila, you’ve got a small batch of plant food.
Piles, Bins, and Rich Results
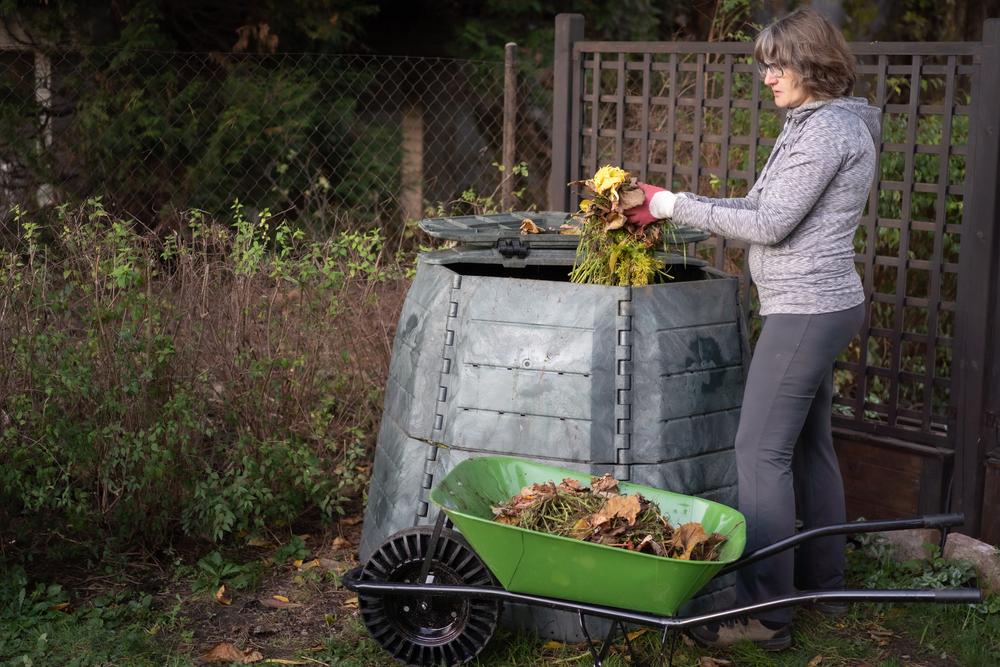
The first step is to decide where to situate your compost pile or bin. Organic materials will break down in sun or shade, but you want to choose a location with convenient access, good drainage (or you’ll have a rotting mess on the bottom), and a nearby water source.You can frame a pile with leftover construction materials such as wire fencing, wood, or cinder blocks, but for more visible locations, you’ll probably want an enclosed bin, or perhaps a tumbler. Tumblers are easier to use and produce compost quicker, but can be pricey.
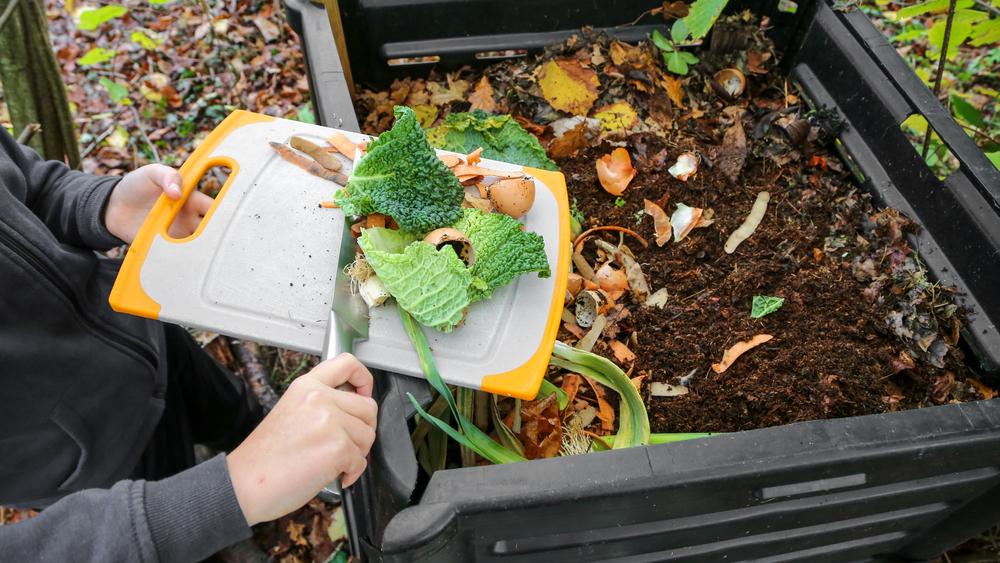
Gather together your carbon-rich materials, which are called “brown” materials because they include dry leaves, plants, twigs, wood chips, and the like. This provides the basics for the soil microorganism’s diet. The next ingredients are the nitrogen-rich “green” materials, which include food scraps (even moldy ones), grass clippings, and similar waste. This nitrogen is necessary to heat the pile and create the right conditions for material breakdown.
The best piles start with four to six inches of bulky browns to elevate and aerate the base of the pile and absorb extra liquids. Then start layering your greens and browns like a lasagna, with two to three times the browns (dry leaves are great here) to greens; always top this off with four to eight inches of browns.
Turning the pile occasionally with a garden fork will speed up the decomposition (now you see the charm of a compost tumbler!). Always turn from the outside of the pile inward. If the pile is too dry, moisten it while turning. If it’s too wet or has an odor, add more browns while turning. If the pile isn’t heating up, add more greens while turning. It should reach temperatures of 130 to 160 degrees F. When it’s no longer heating and there’s no more visible food waste, it’s time to harvest!
Wondrous Worms
While there are many worm-composting bins you can buy, you can easily make one out of untreated wood, or simply use a plastic storage container with a tight-fitting lid. Drill air holes and drainage holes and set it in a second bin to catch any liquid runoff.Worm bins do well in a basement, closet, or shady outdoor area with temperatures of 60 to 80 degrees Fahrenheit. Even though they can withstand temperatures ranging from 32 to 95 degrees in a properly prepared environment with at least four inches of media, they will eat and reproduce less—and thus be less effective at vermicomposting—at temperatures over 80 degrees. Similarly, plan to bring them inside or cover them with a blanket or straw in colder months as needed.
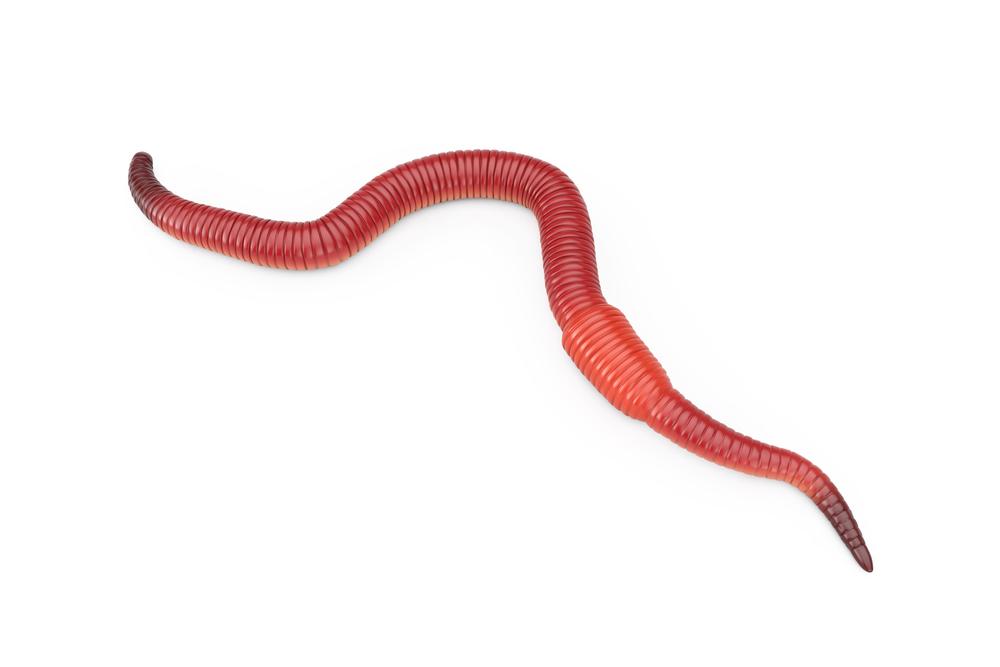
There are thousands of species of earthworms, but only seven are used for composting, with the most popular being the red wiggler.
Start each new compost cycle with a two-inch layer of shredded non-glossy newspaper, office paper, cardboard, and dry leaves, then lightly dampen it. Add a thin layer of soil and top with kitchen scraps (avoiding citrus, onions, garlic, meat, dairy products, grease, or bones) cut into tiny pieces, and then add another two inches of paper or leaf bedding. Add the worms and, after they’ve gotten comfortable and wiggled into the compost, continue to add food scraps covered by more bedding.
Always wait until the existing scraps are eaten before adding more, but you’ll be surprised how quickly that happens. Worms eat up to 25 percent of their body weight per day and reproduce like mad. In as little as 90 days you should have a decent layer of worm castings, aka vermicompost, at the bottom, ready to harvest.