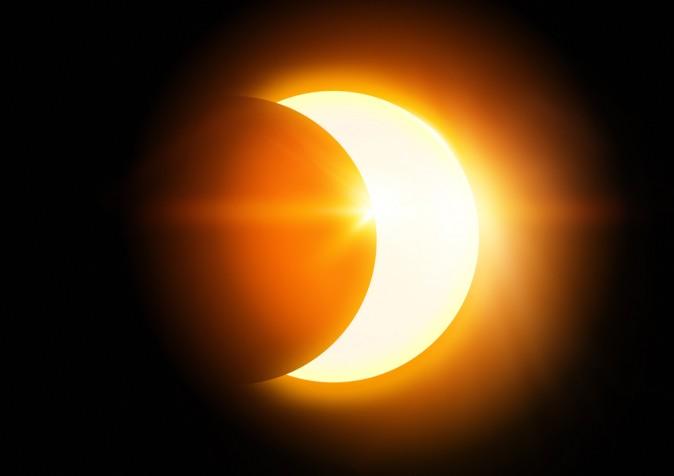
On the late afternoon of April 29, there will be an annular Solar eclipse. In an annular eclipse the Moon does not completely cover the Sun, and the Sun forms a thin ring around the Moon at maximum eclipse depth. From Australia though, we only get to see a partial eclipse.
Unlike this month’s Total Lunar eclipse, a partial Solar Eclipse is never safe to look at, and you will need to use safe solar viewing techniques outlined below. While you may balk at trying to see a partial Solar Eclipse late on a work day where you can’t drag equipment around with you, even a simple pinhole or leaf shadows will allow you to see the eclipse (more leaf images here).
Viewers will see between 64% (Hobart) - 4% (Darwin) of the Sun covered by the Moon, with southern Australia favoured (the opposite of last years annular eclipse). The partial solar eclipse occurs close to sunset and in some places such as Sydney and Brisbane the Sun sets during maximum partial eclipse (see the table below). This is an excellent opportunity of get dramatic images of the “Crescent” sun setting. You will, however, need a flat, unobstructed horizon to see the eclipse at its best.
A table showing eclipse times for more Australian cities in Universal Time is here, and a map of the path is here.
Do NOT look directly at the Sun! Do not use so called filters. Over exposed film, smoked glass etc. used as filters are NOT, repeat NOT safe. Only special solar-rated viewing spectacles from astronomical suppliers should be used (for one example see here), they may cost a bit, but your eyesight is without price. Never use eyepiece filters for telescopes. These can crack at inopportune times and destroy your eyesight. At no time is it safe to view the eclipse with the unaided eye.
The easiest and cheapest way to observe this event is by making a pinhole in a stiff square of cardboard and projecting the image of the Sun onto a flat surface. You are basically making a simple pinhole camera, which will reveal the changes to the Suns outline quite satisfactorily. A card with a 1 mm hole should be projected onto a surface (eg white paper, or a white wall) about 20 cm away, a 5 mm hole should be projected onto a surface 1 to 1.5 meters away.
You need to create a reasonable sized image, so you need a fair distance between the pinhole and the surface you project the image on. This will mean the image is going to be fairly dim, so you also need some sort of sun shield to keep in image in shadow. I use the longest available postpac postal tube, with alfoil over the top (and the pinhole in the alfoil), and wide ring of stiff cardboard to ensure that the image of the sun is projected into a dark area. This link will show you several methods to make pinhole projection systems.
You can also use binocular and telescopic projection systems. This link will show you how to make safe solar viewing and telescope projection systems. Here is my step by step guide to making a binocular projection system, and a guide to aiming your binoculars or telescope when you can’t actually look at the Sun. And this is the projection system I use with my refractor telescope.
Remember, do NOT look directly at the Sun, as irreparable eye damage or blindness can occur (see this video for a graphic demonstration).
This article was originally published at www.theconversation.com. Read the original here.
*Image of “Partial Solar Eclipse“ via Shutterstock


