“We have been restoring cars since 1984, with several going on to win concours honors,” Mr. Brekke said, referring to the prestigious events where classic vehicles are judged for their style, history, and the accuracy of their preservation or restoration, with the best of the best receiving top honors. Two of the firm’s more notable projects include a complete restoration of a 1956 Continental Mark II car owned by Henry Ford and the restoration of Howard Hughes’s first Rolls Royce, a 1925 Rolls Piccadilly Roadster.
But most of his clients are “normal people with relatively normal cars who simply want to make them look like new again, even if they don’t enter them in concours competitions,” he said. “We make that happen and then teach them how to keep it that way.”
Any amount of regular driving will result in an accumulation of dirt and dust, and the paint will begin to lose its gleam. But all of that can be countered by regular cleaning and care. Keeping your car in great condition helps maximize its value and enhance your pride of ownership.
It starts with basic prevention: “Pay attention and address any unusual sounds or mechanical issues right away,” Mr. Brekke said, and be mindful on the road, “staying away from trucks hauling gravel or pulling trailers full of loose cargo.” If possible, he advises that cars be kept in a garage and washed at least once a month and whenever they get dirty.

“Never run the car through an automated car wash that might use harsh chemicals that can dull the paint, or rotating brushes that can leave scratches,” said Mr. Tumaylle, who has been maintaining his own vehicles for many years. (Happily, he doesn’t have to handwash the museum’s $200 million collection of 2,000-plus unique, television and movie-related vehicles—including ones seen in “James Bond” and “Batman” movies—as the prized cars are stored inside.)
Step 1: Clean Under the Hood
But before working on the car exterior, open the hood and use a spray-on degreaser to remove dust, oil spots, or grime; be sure to rinse thoroughly with cool water in a soft spray pattern.Step 2: Wash the Exterior
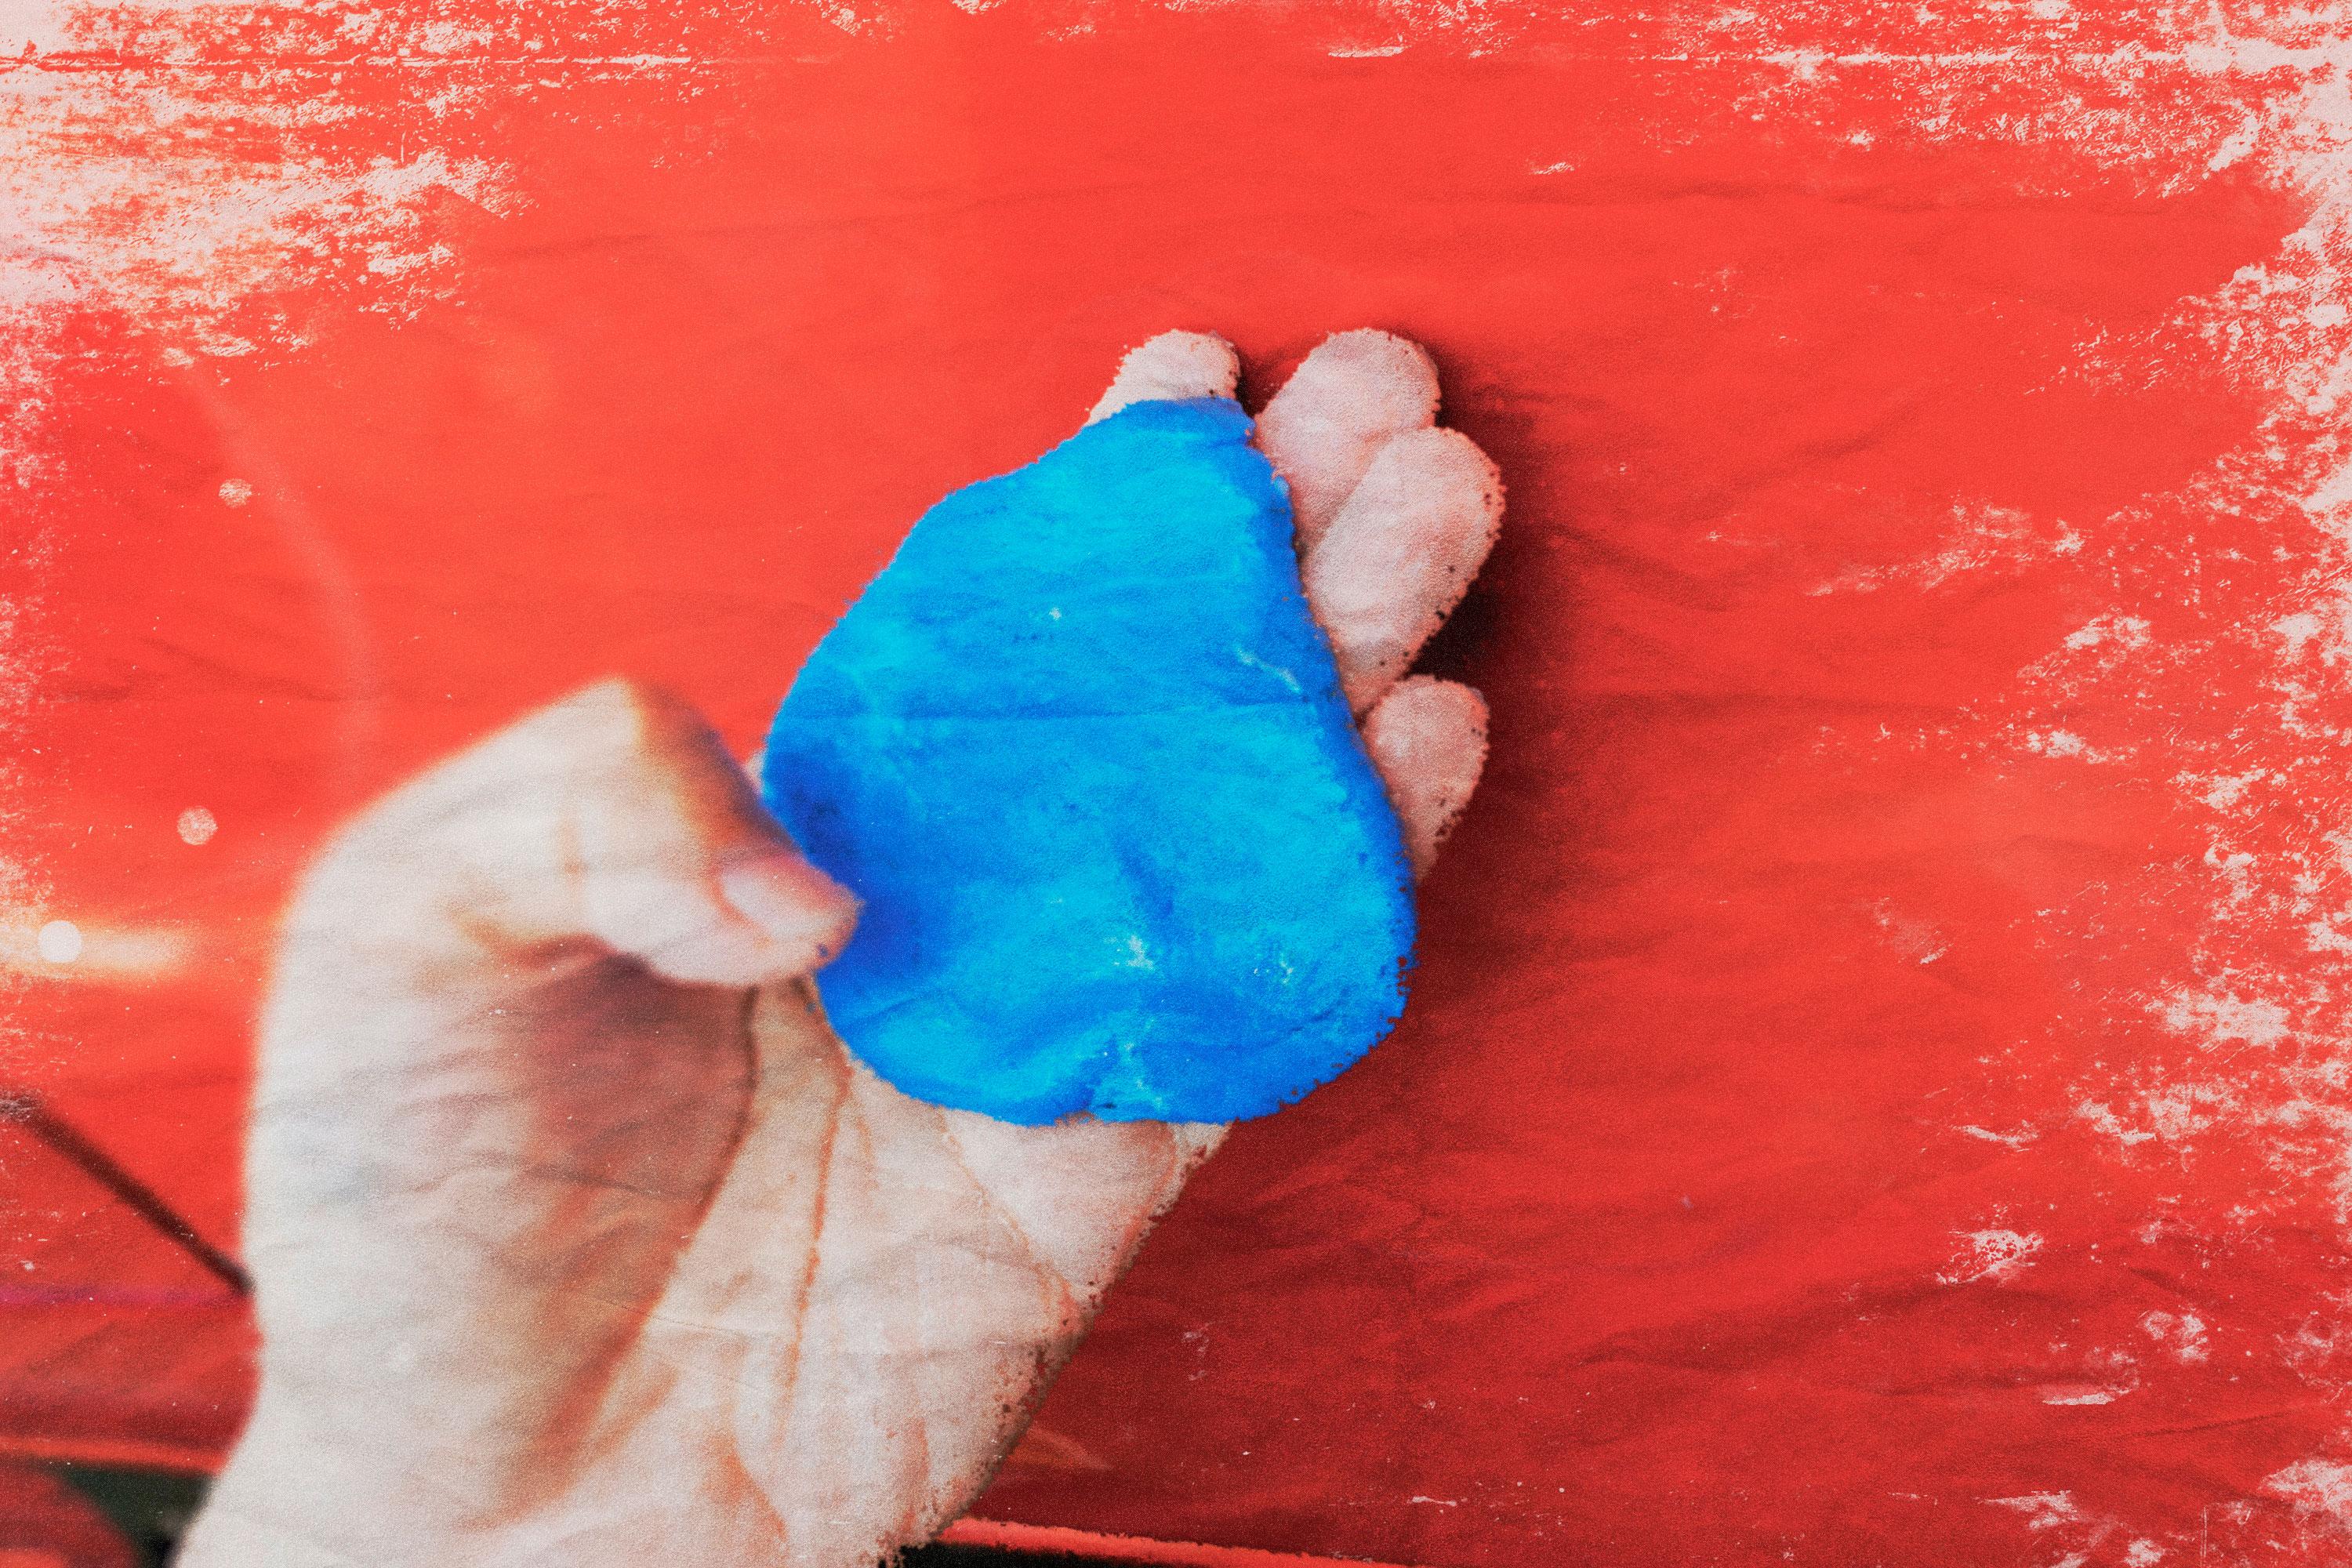
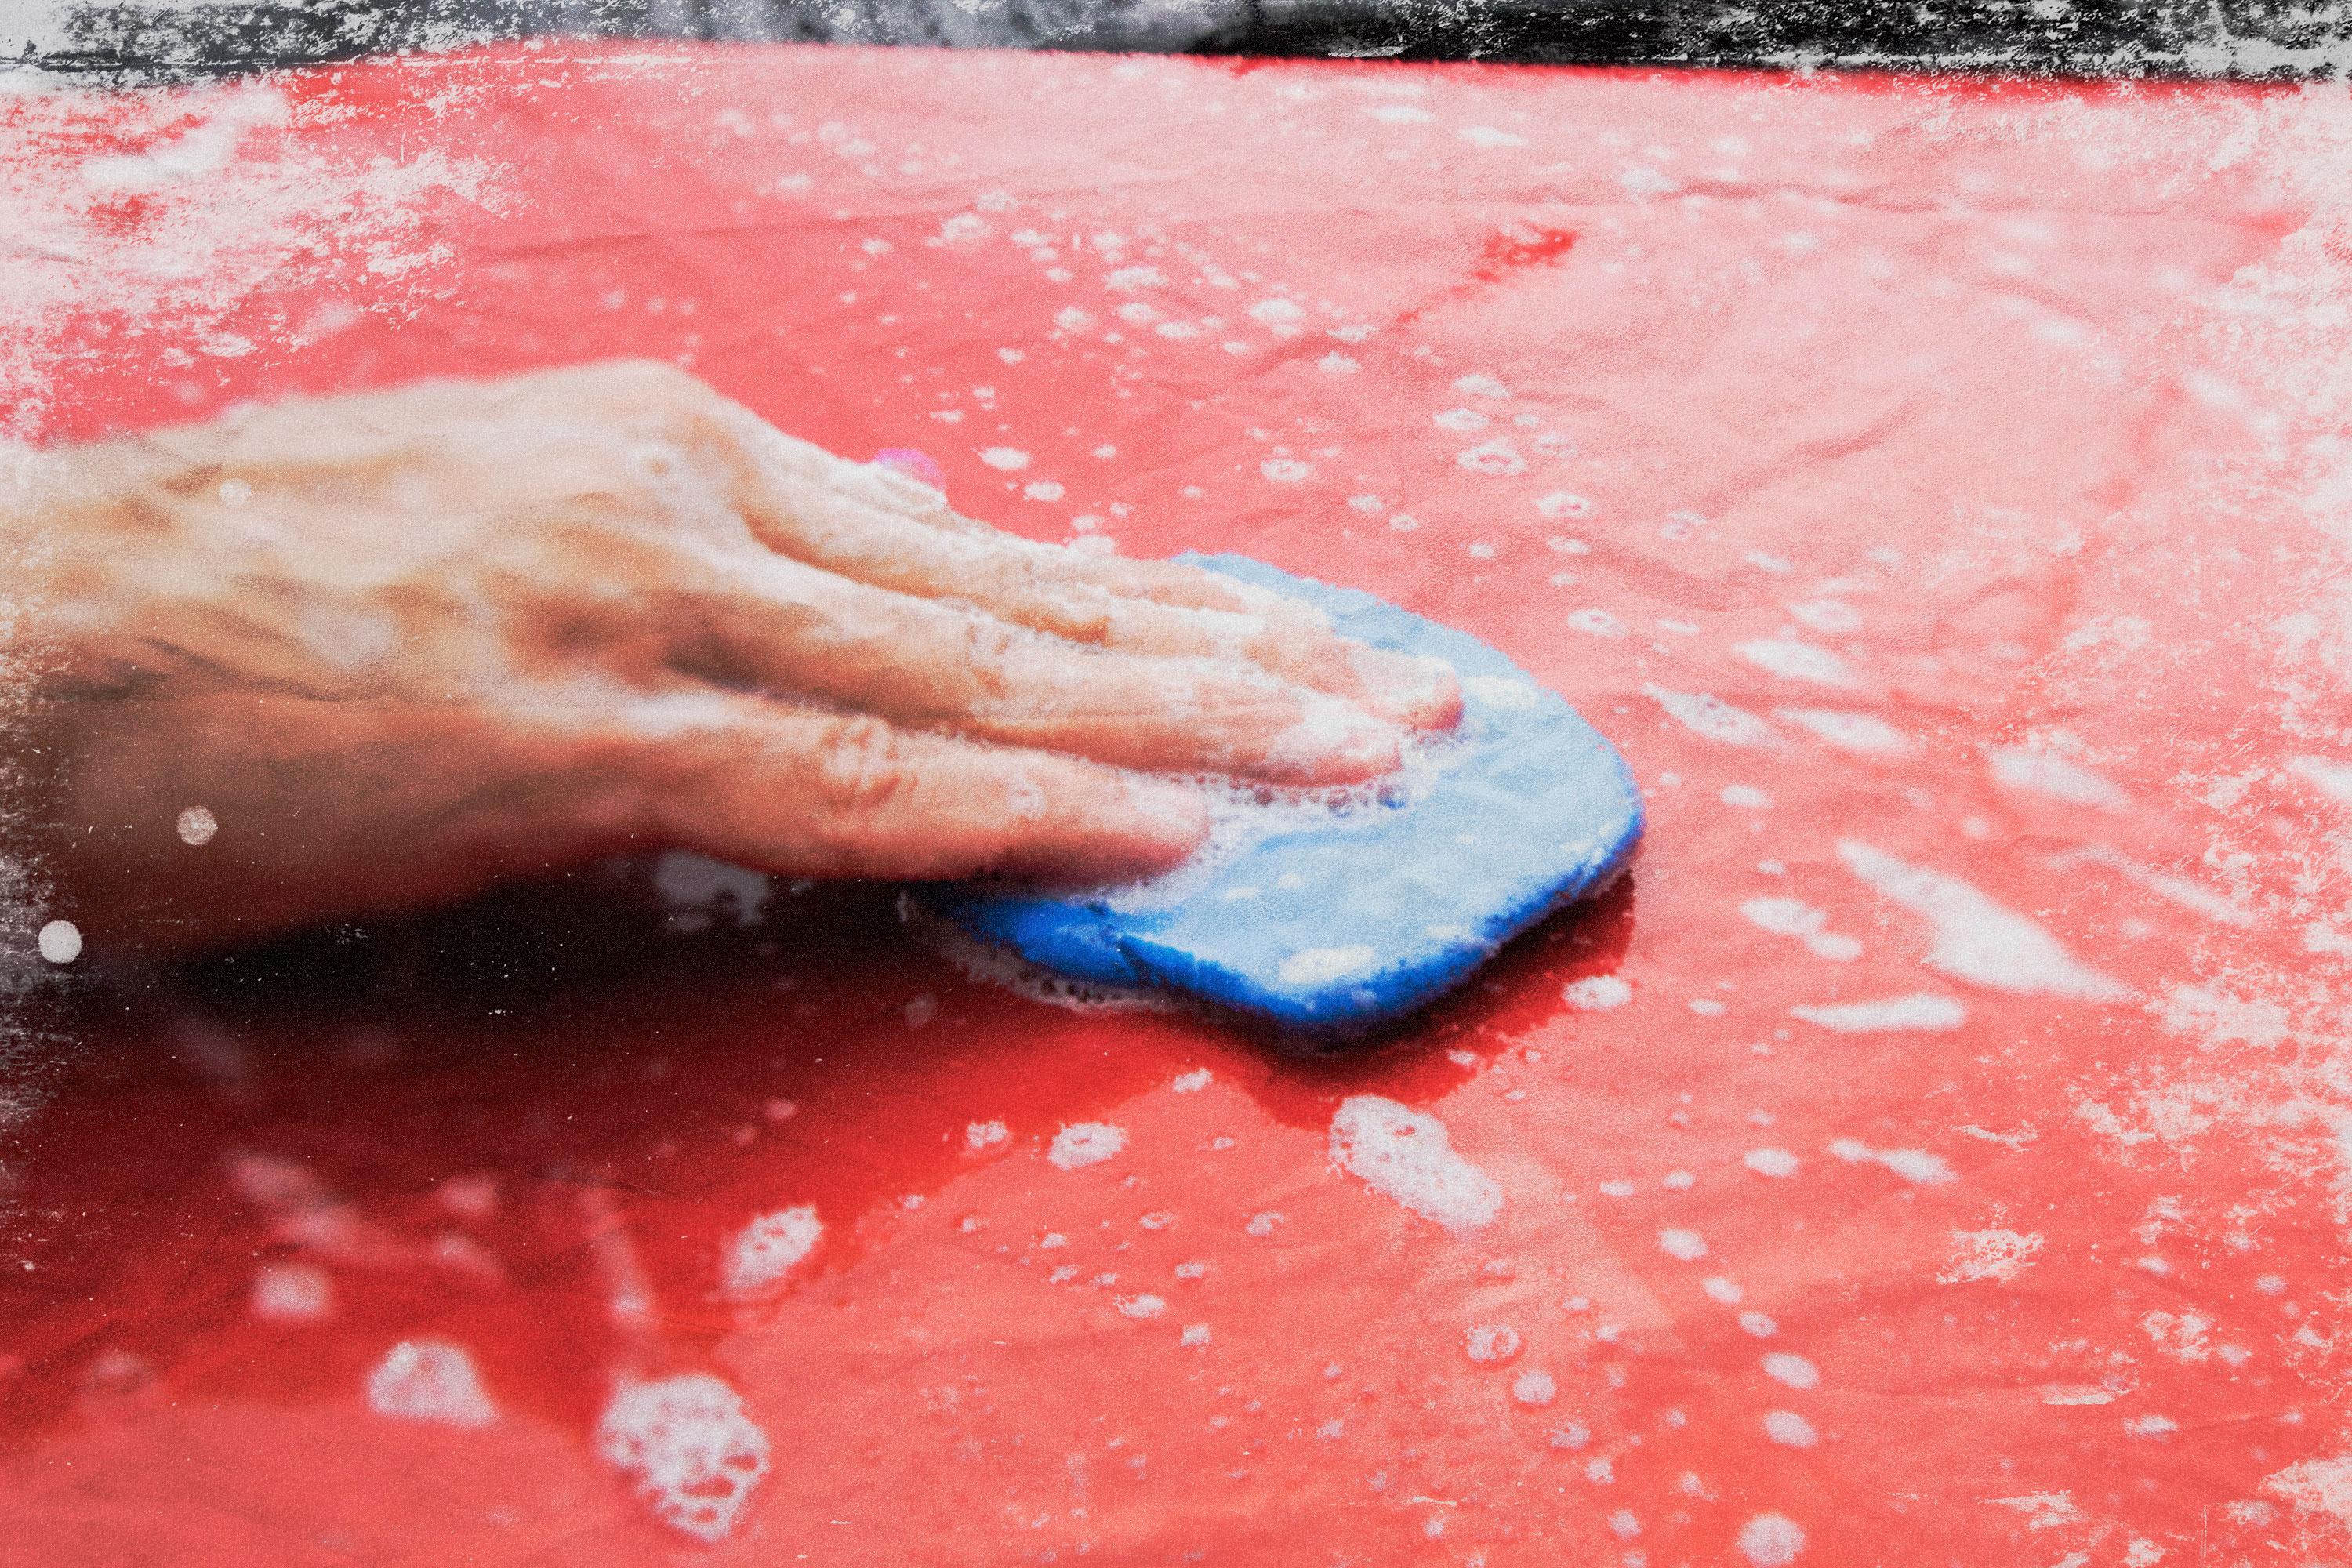
Resist the urge to raid the kitchen for a bottle of liquid dish soap and a sponge or scrub brush. Dishwashing soap can dry and otherwise damage automotive paint and may strip away protective coatings of wax or polish, and even the softest brush bristles can leave scratches or swirl marks in paint. That’s why pros use soft microfiber cloths or mitts instead of a sponge or brush.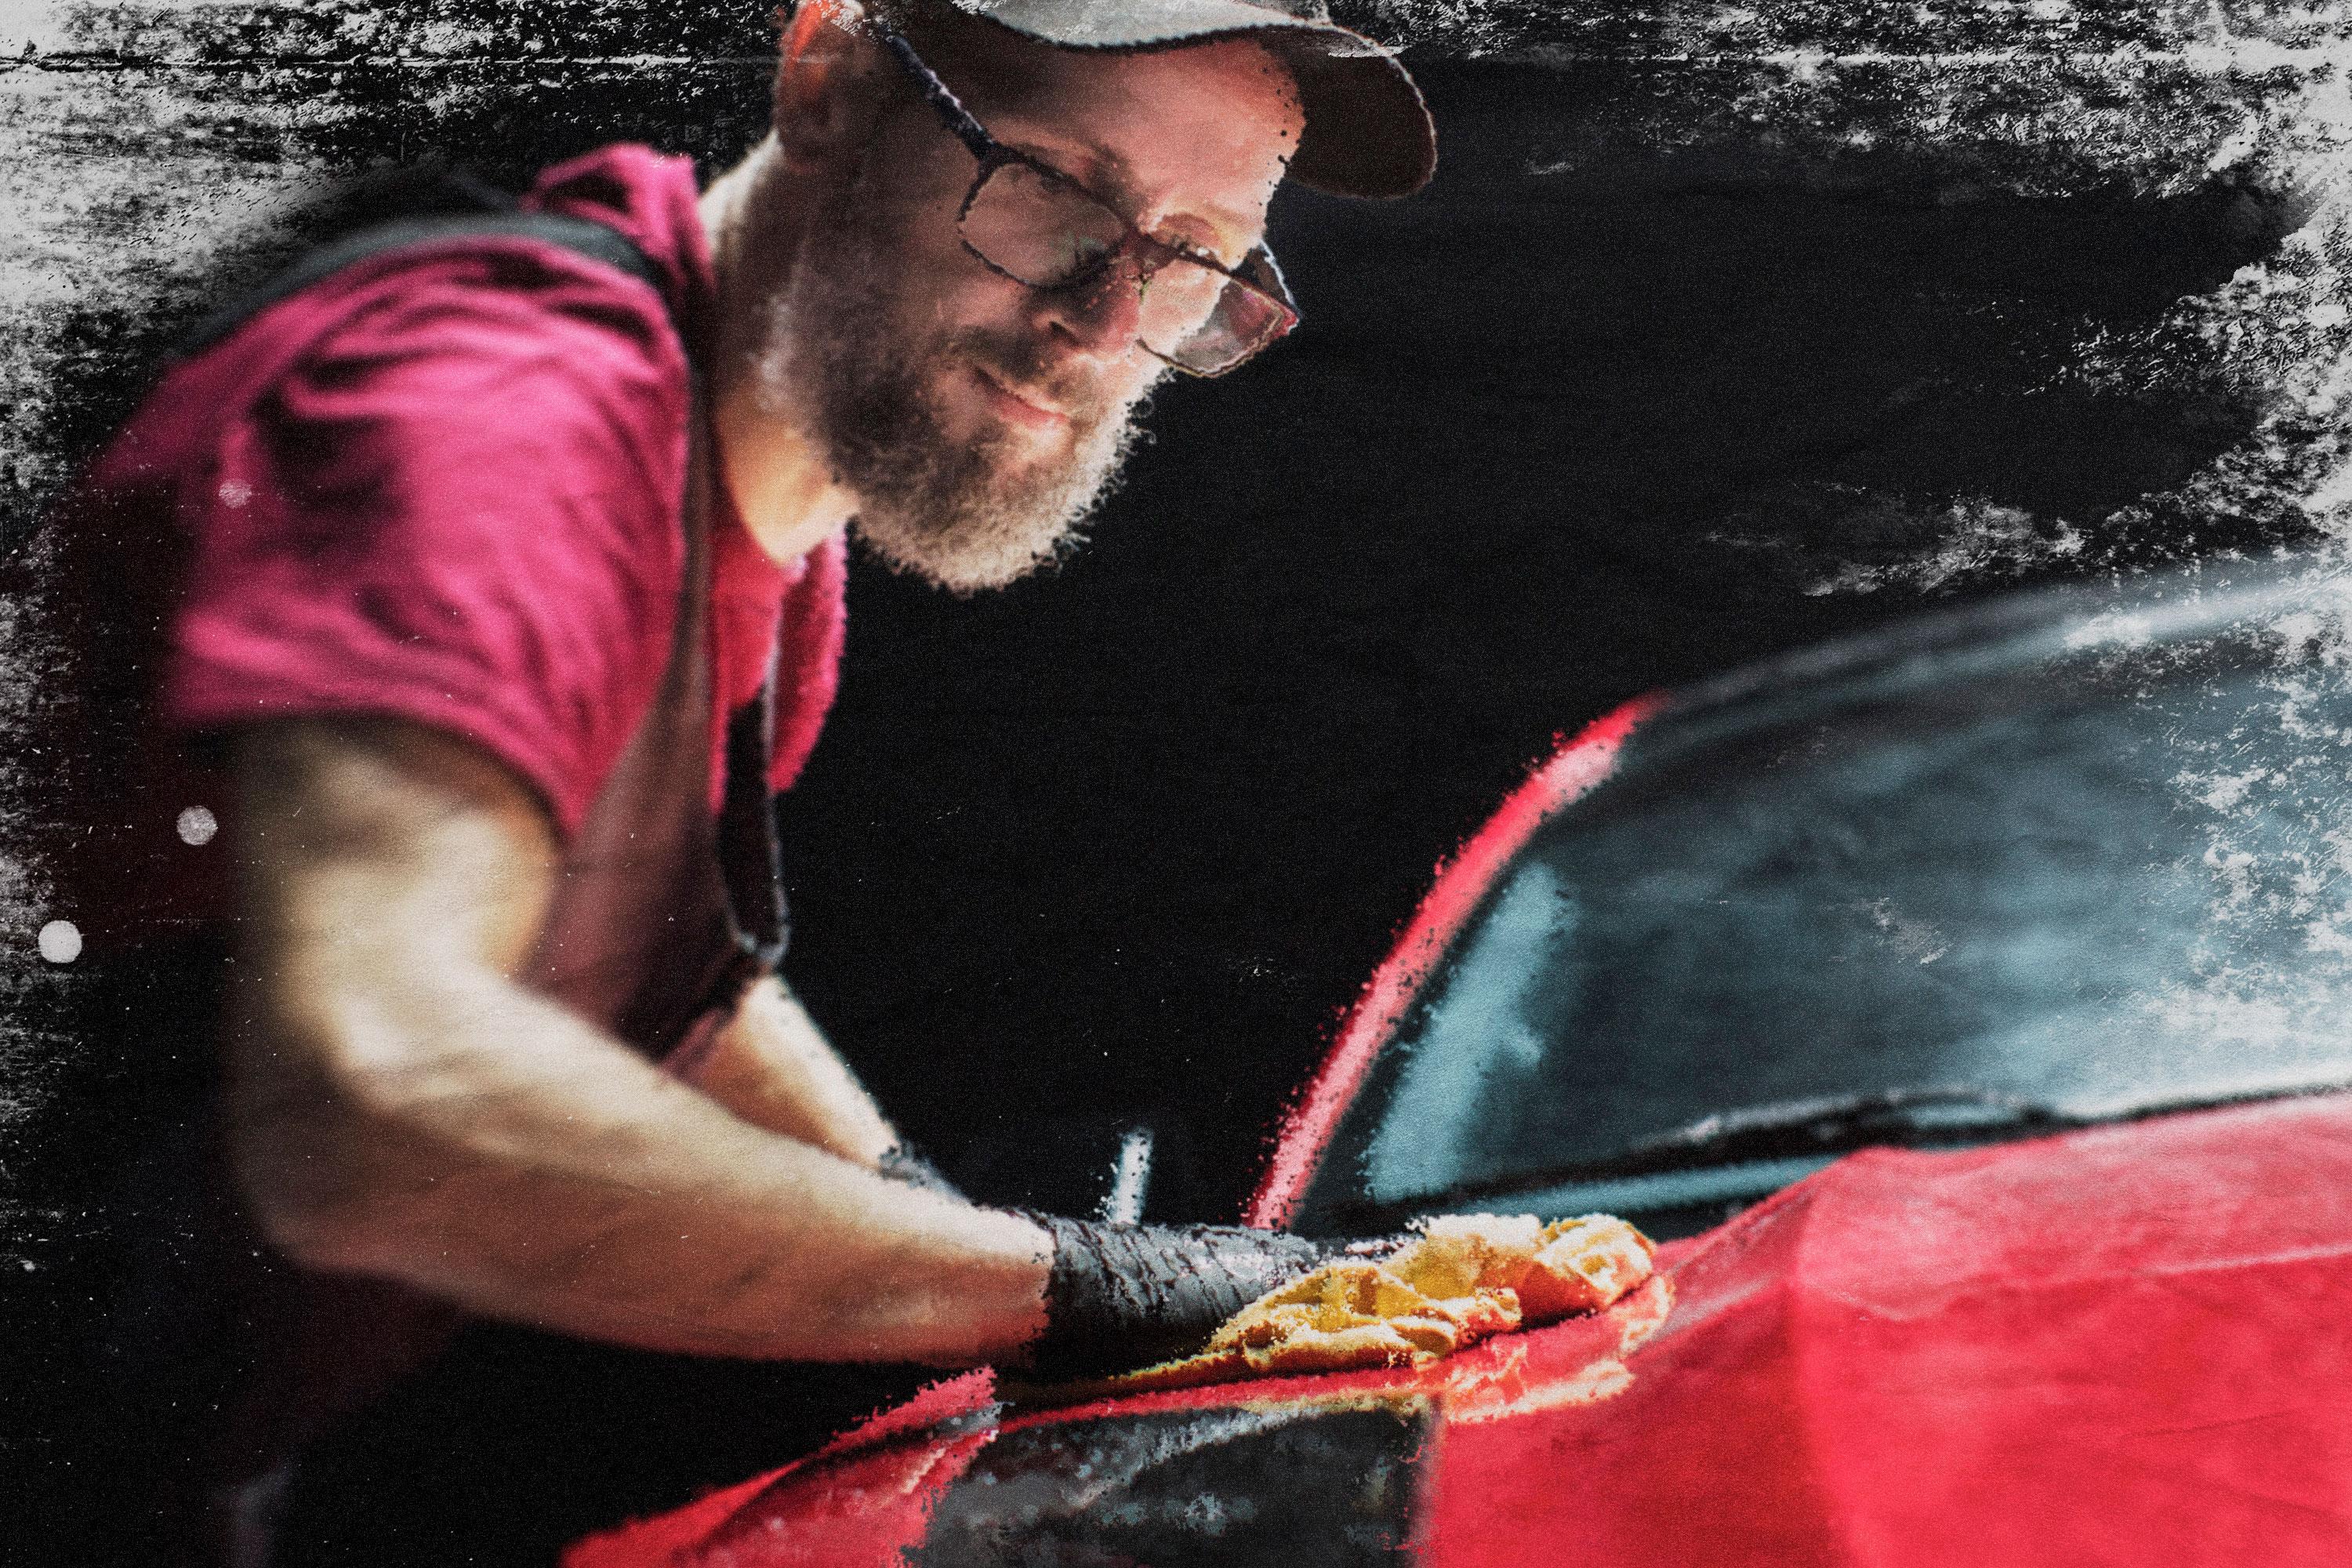

“Only use soaps formulated specifically for use on automotive paint, such as any of the many options from Meguiars, Chemical Guys, or Turtle Wax,” advised Mr. Tumaylle.
To avoid inadvertently causing scratches in the paint from grit picked up by the car washing mitt, use the “two buckets, two mitts system.” Most pros have a sudsy solution of car wash in one bucket and clean water in the second to rinse the mitt or cloth between uses and remove any debris.
As an extra step toward avoiding accidental scratches, one mitt is used only for washing painted surfaces, while another is used only on tires, wheels, and wheel wells. Yes, it seems a bit obsessive, but scratches are forever, so a little extra effort pays off in not using curse words that might traumatize the neighbors.
Clean the Tires, Wheels, and Wheel Wells
To remove tough brake dust from wheels, Mr. Tumaylle uses a microfiber cloth dipped in vinegar, followed by a thorough rinse to ensure no residue is left behind.
A bucket filled with car wash soap and a soft scrub brush is the perfect combination for cleaning tires and the liner inside the wheel wells; he advises cleaning the wheels first, and then washing the tires.
Spot-Treat Pits and Scratches
Bird droppings, tree sap, and other tough-to-remove contaminants can pit painted surfaces. This requires a more advanced level of cleaning, using what is called a clay bar, which is actually a pliable block or lump of a soft resin compound that is very slightly abrasive. Using light pressure, rub or roll it over the spot to slowly remove the pitting. It also works to eliminate light scratches.Mr. Tumaylle only uses a clay bar on areas of the car that regular soap can’t clean, while other experts, including Mr. Brekke and those who actively enter vehicles in concours competitions, recommend clay-barring the entire vehicle every few years for a fresh, bright finish. Clay bars can be a bit daunting for first-timers, but by following the directions, they’re actually very easy to use.
Rinse and Dry
Rinse thoroughly using a soft spray pattern to remove all soap. After the vehicle has been rinsed clean, pros use a leaf blower to dry it to prevent accidentally causing any scratches from a towel that may be holding grit.Step 3: Tidy Up the Trunk
Next, open the trunk or cargo area and use a vacuum to pick up any dirt or small bits of leaves, paper, or other debris that may have accumulated.Step 4: Deep-Clean the Interior
Now it’s time to focus on all areas of the vehicle’s interior, including glass, leather, and plastic components and surfaces. The interior should be the cleanest part of any vehicle, if only because it’s where the owner spends the most time.Remove and Clean the Floor Mats
Start by removing the floor mats, setting them aside to be vacuumed, and if they are weatherproof, rinsed clean. Adding a good set of weatherproof floor mats is not inexpensive, but doing so pays off over the long term by making it easy to remove moisture and muck, especially in snow season, while keeping the carpet underneath very close to new.Vacuum Carpets and Seats
Mr. Tumaylle’s tip for exceptionally clean carpets and seats is to use a leaf blower to loosen dust and dirt before vacuuming it up—and open the car doors before doing this!“If it’s really ingrained in the carpets, I’ll use a buffer with the pad removed to agitate and loosen it for vacuuming,” he added.
He also suggests occasionally removing the seats—which, while by no means an easy task, is not as hard as it may seem for cars equipped with bucket seats—to get every bit of dust, dirt, and forgotten candy wrappers out.

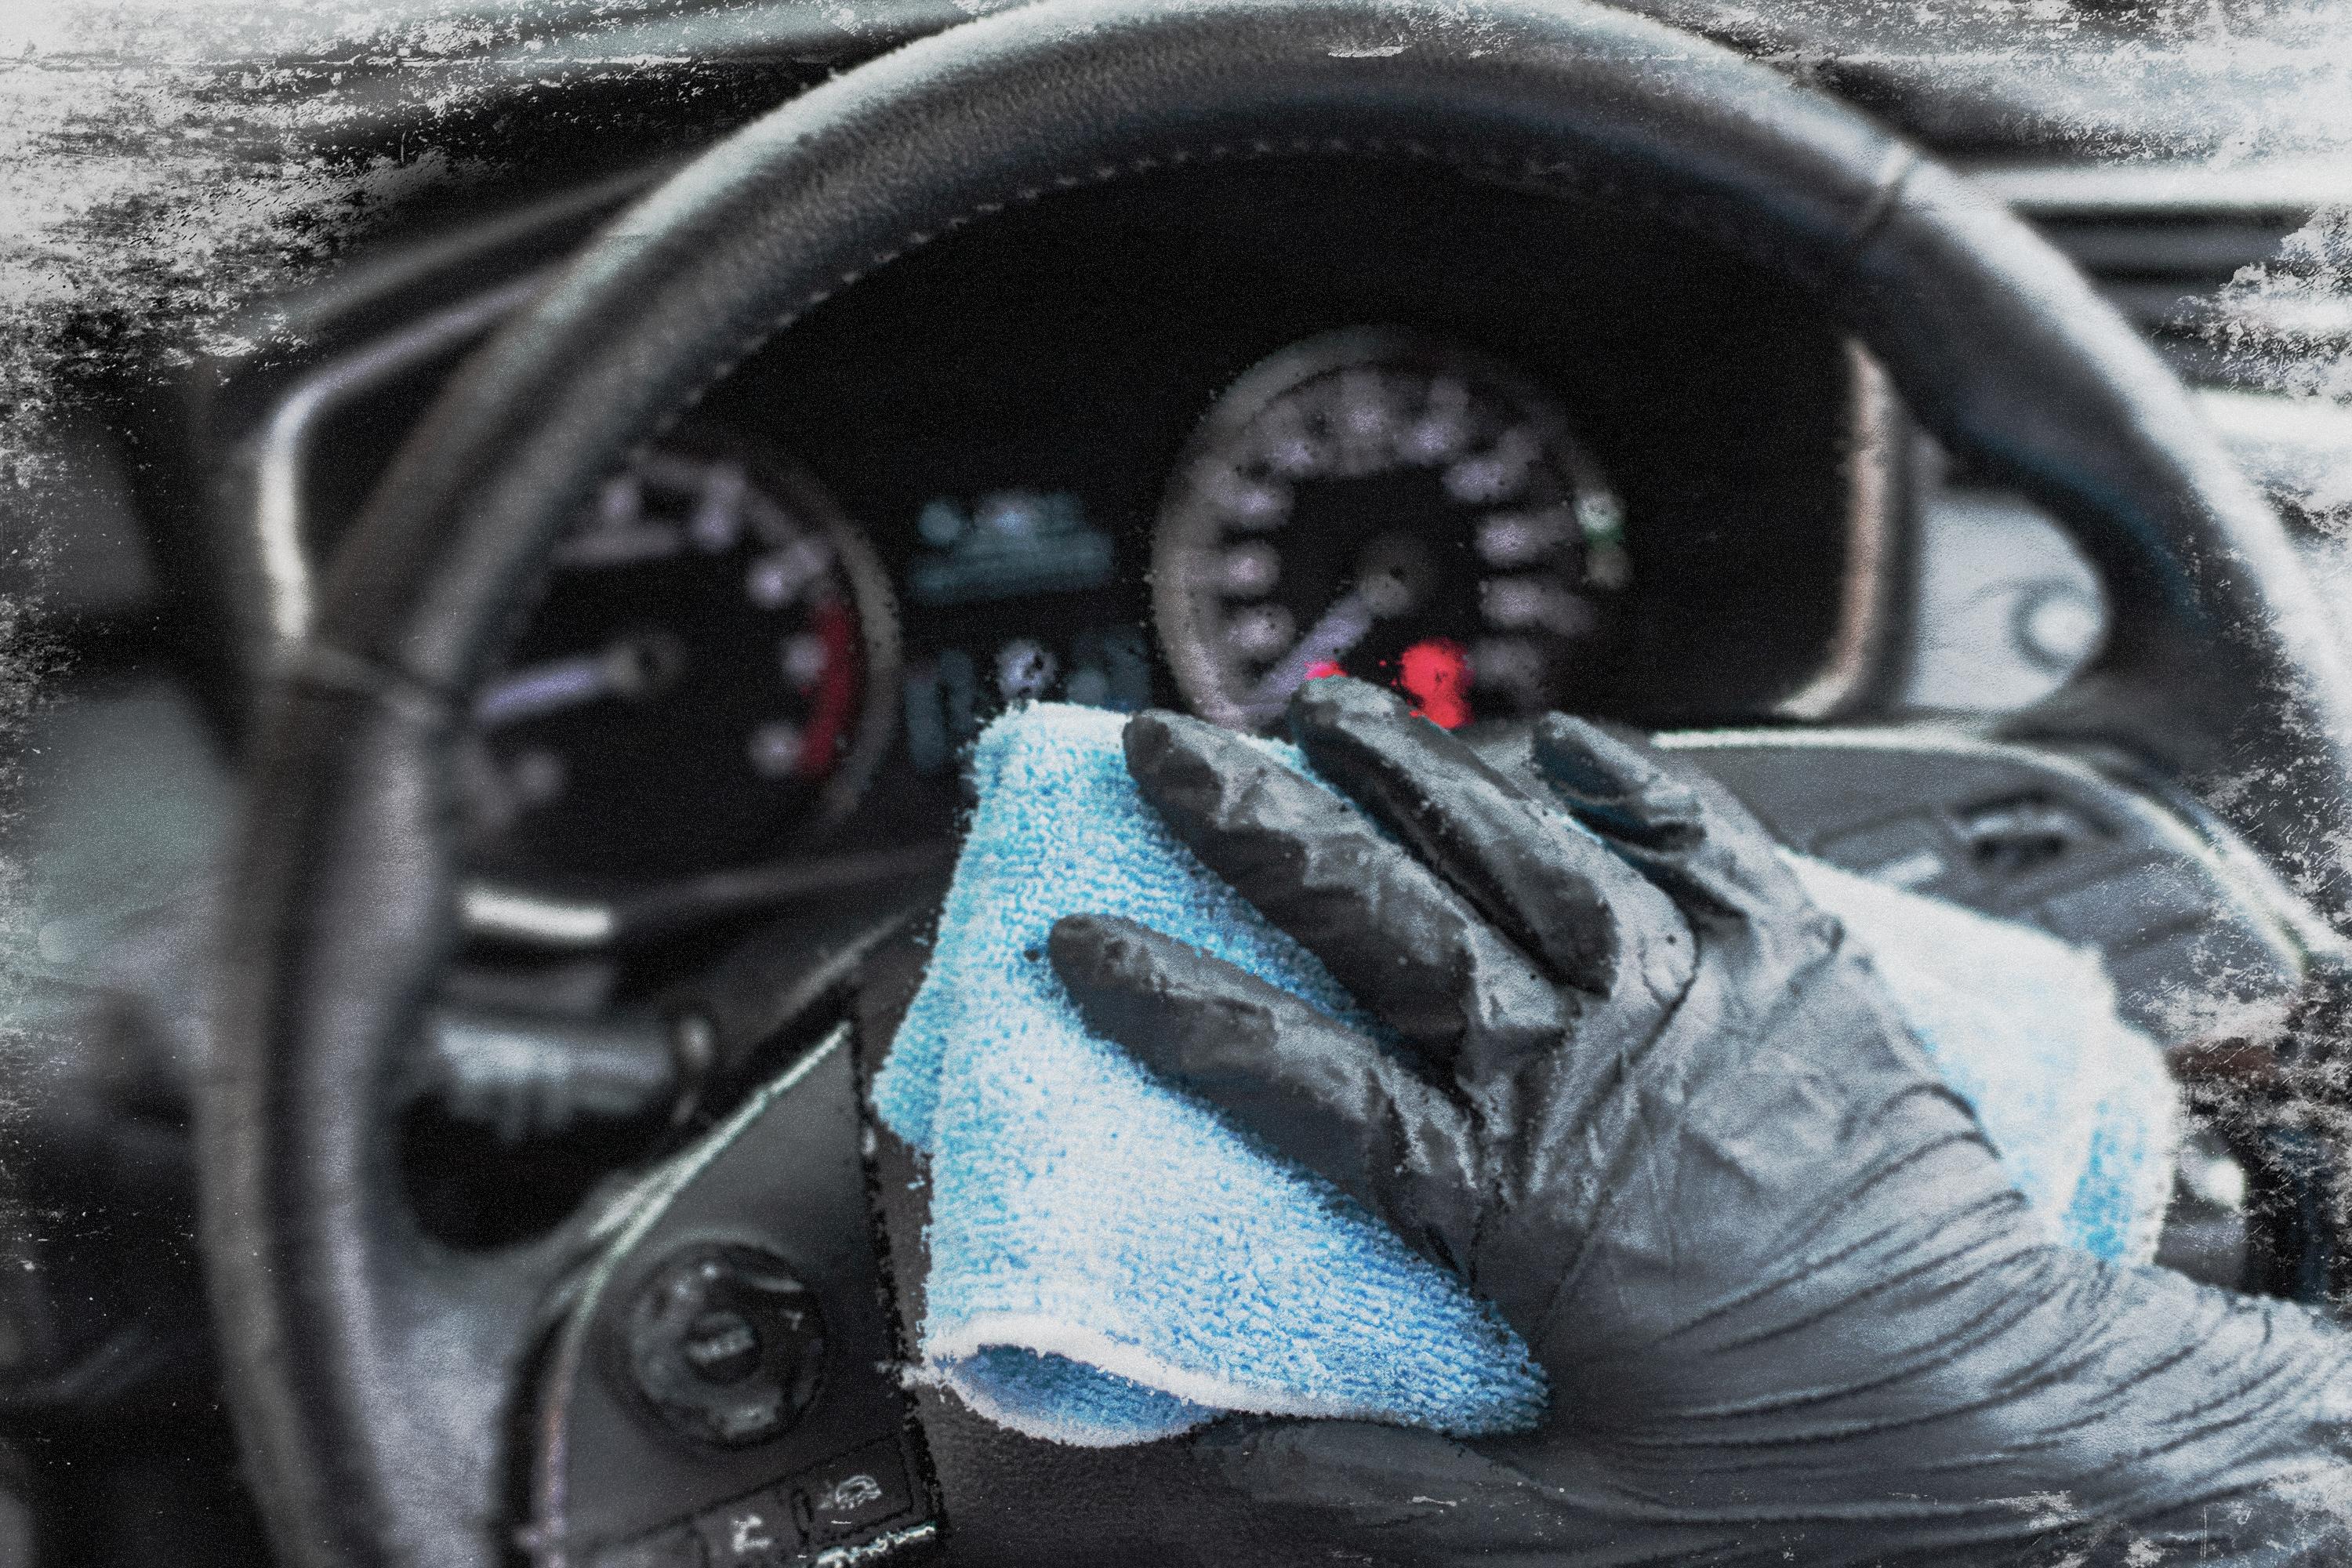
Wipe Down the Dashboard
After vacuuming the entire interior, Mr. Brekke uses a microfiber cloth lightly dampened with water to wipe up and remove dust from the dashboard, steering wheel, instrument panel, console cover, and control knobs.Apply a Leather Protectant
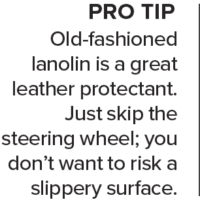
Except for the steering wheel, to prevent it from being slippery, a light coating of a leather protectant should be applied to preserve and protect these surfaces.
Clean the Door Handles
If the door handles are a bit dirty from normal use, dip a microfiber cloth in a very diluted solution of car wash and water to wipe away fingerprints or soiling.Clean the Windows and Mirrors
Use glass cleaner to restore clarity to the windshield, all windows, and the rearview mirror.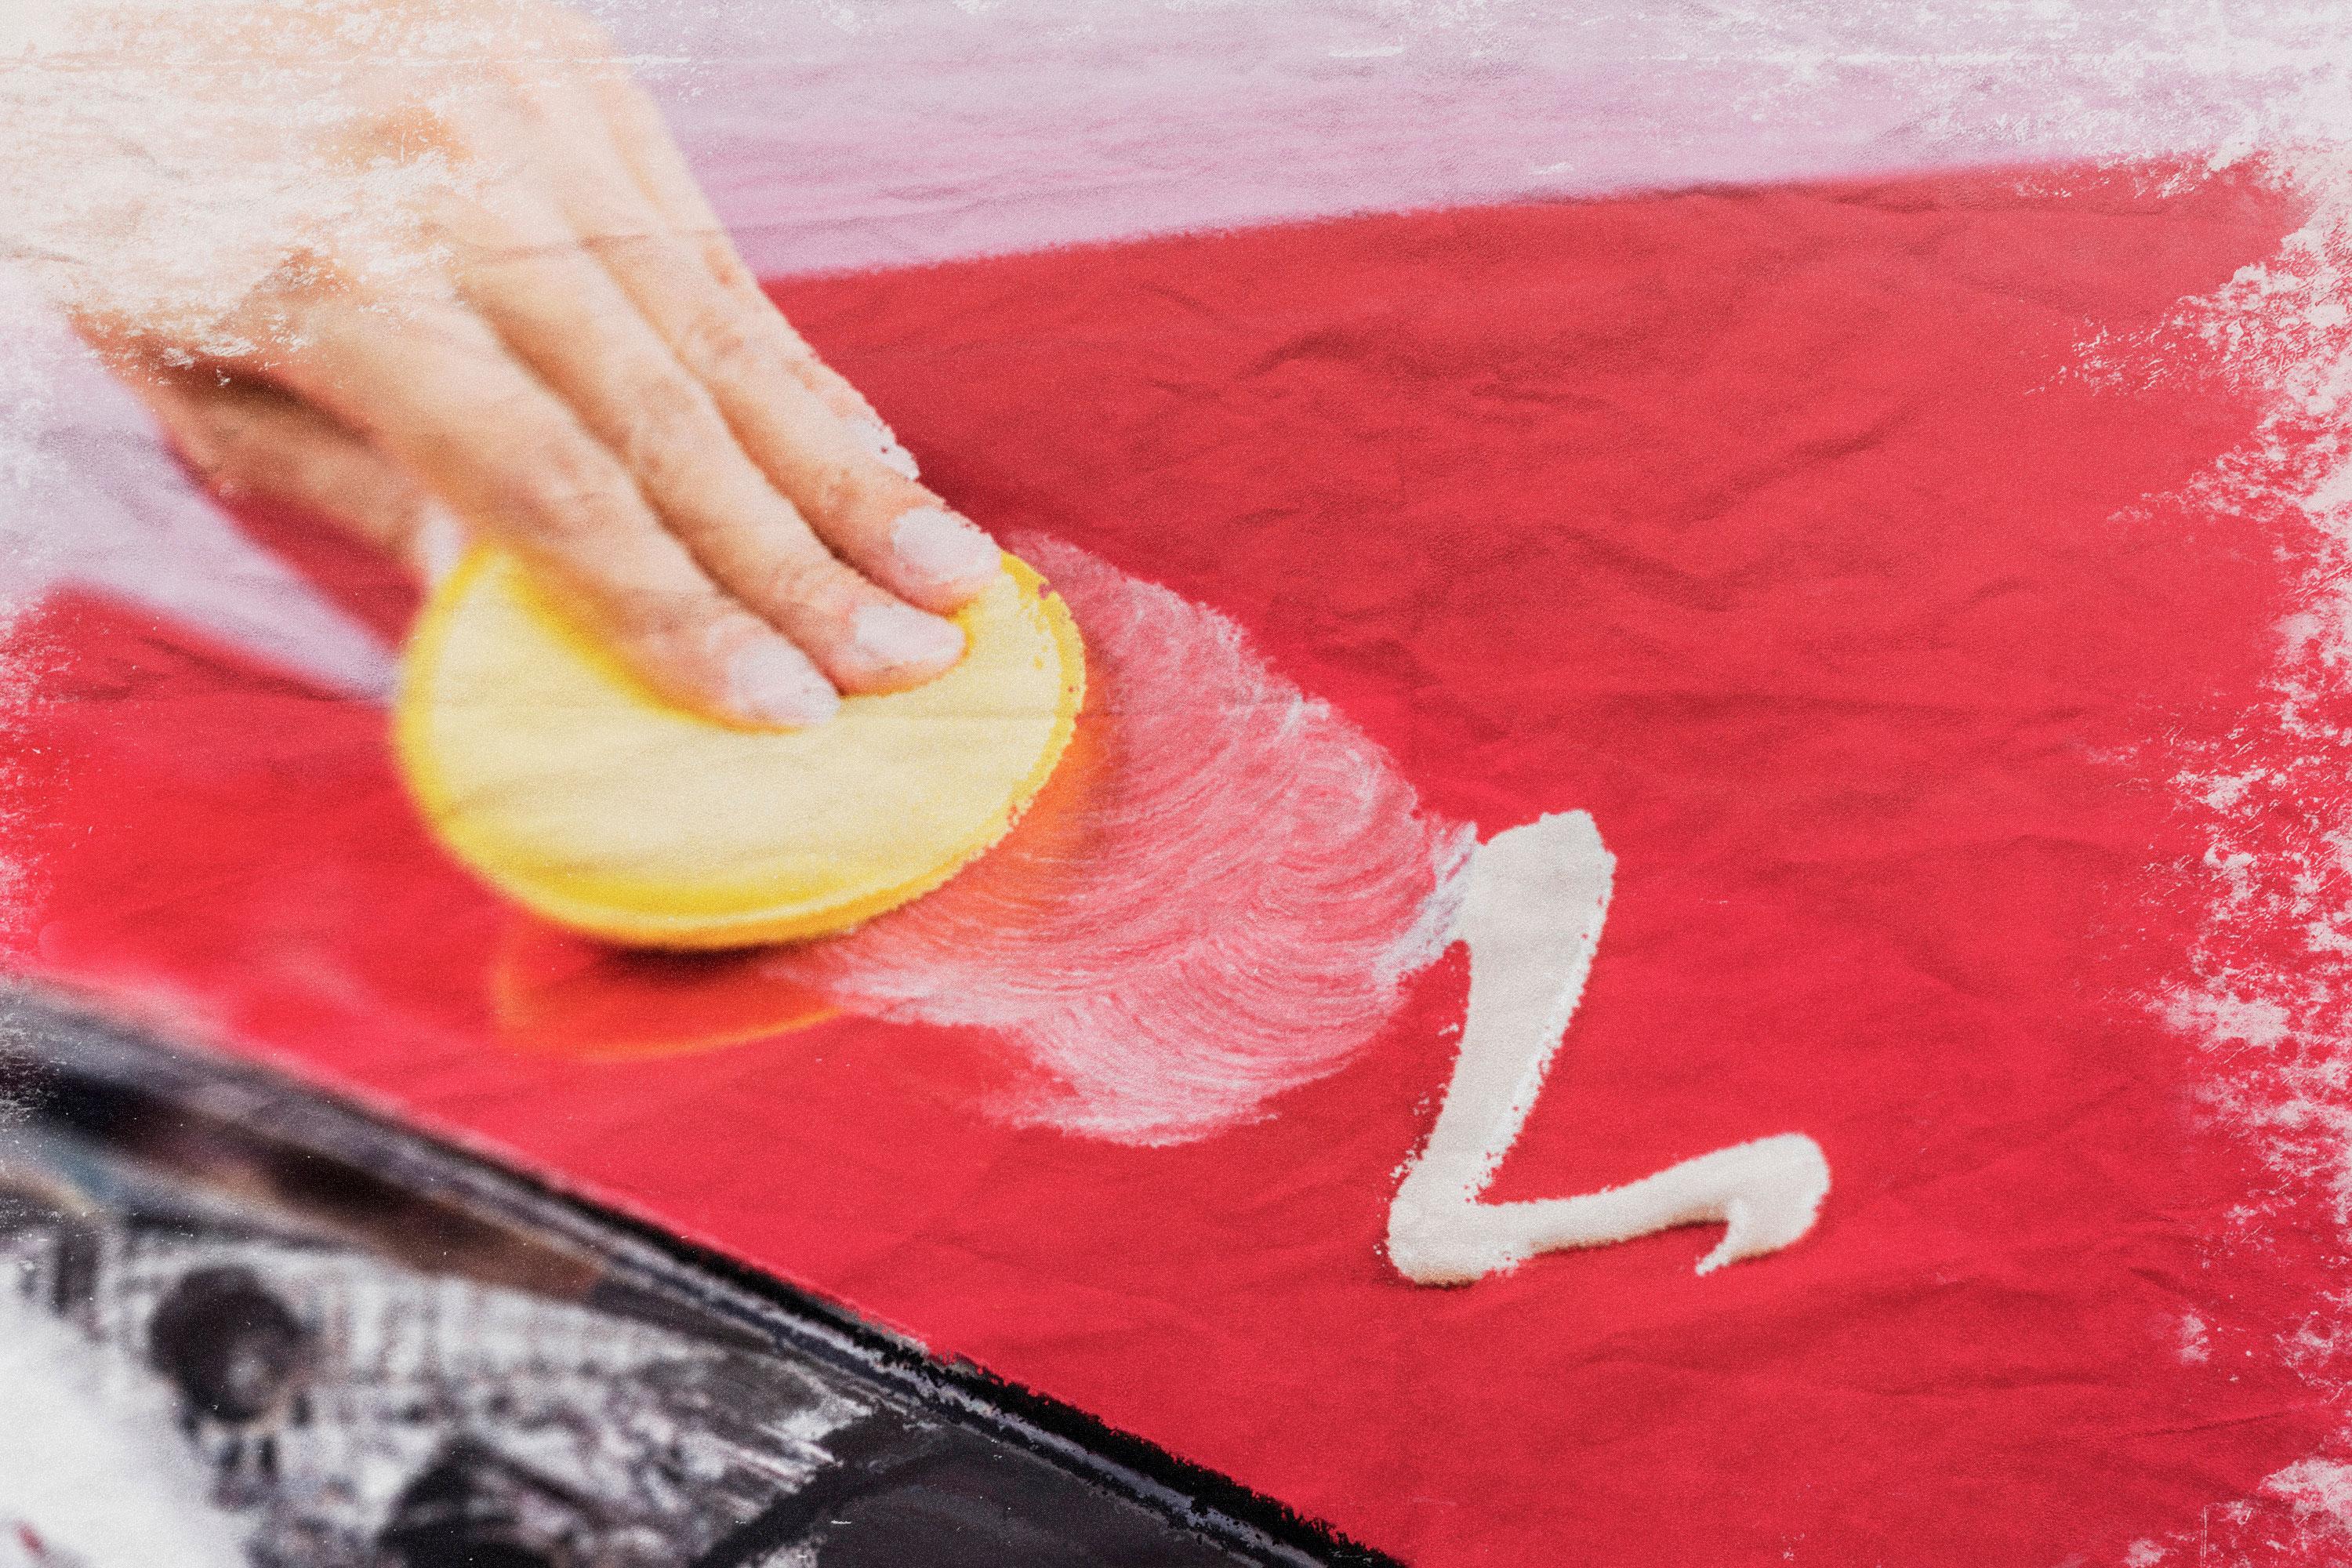
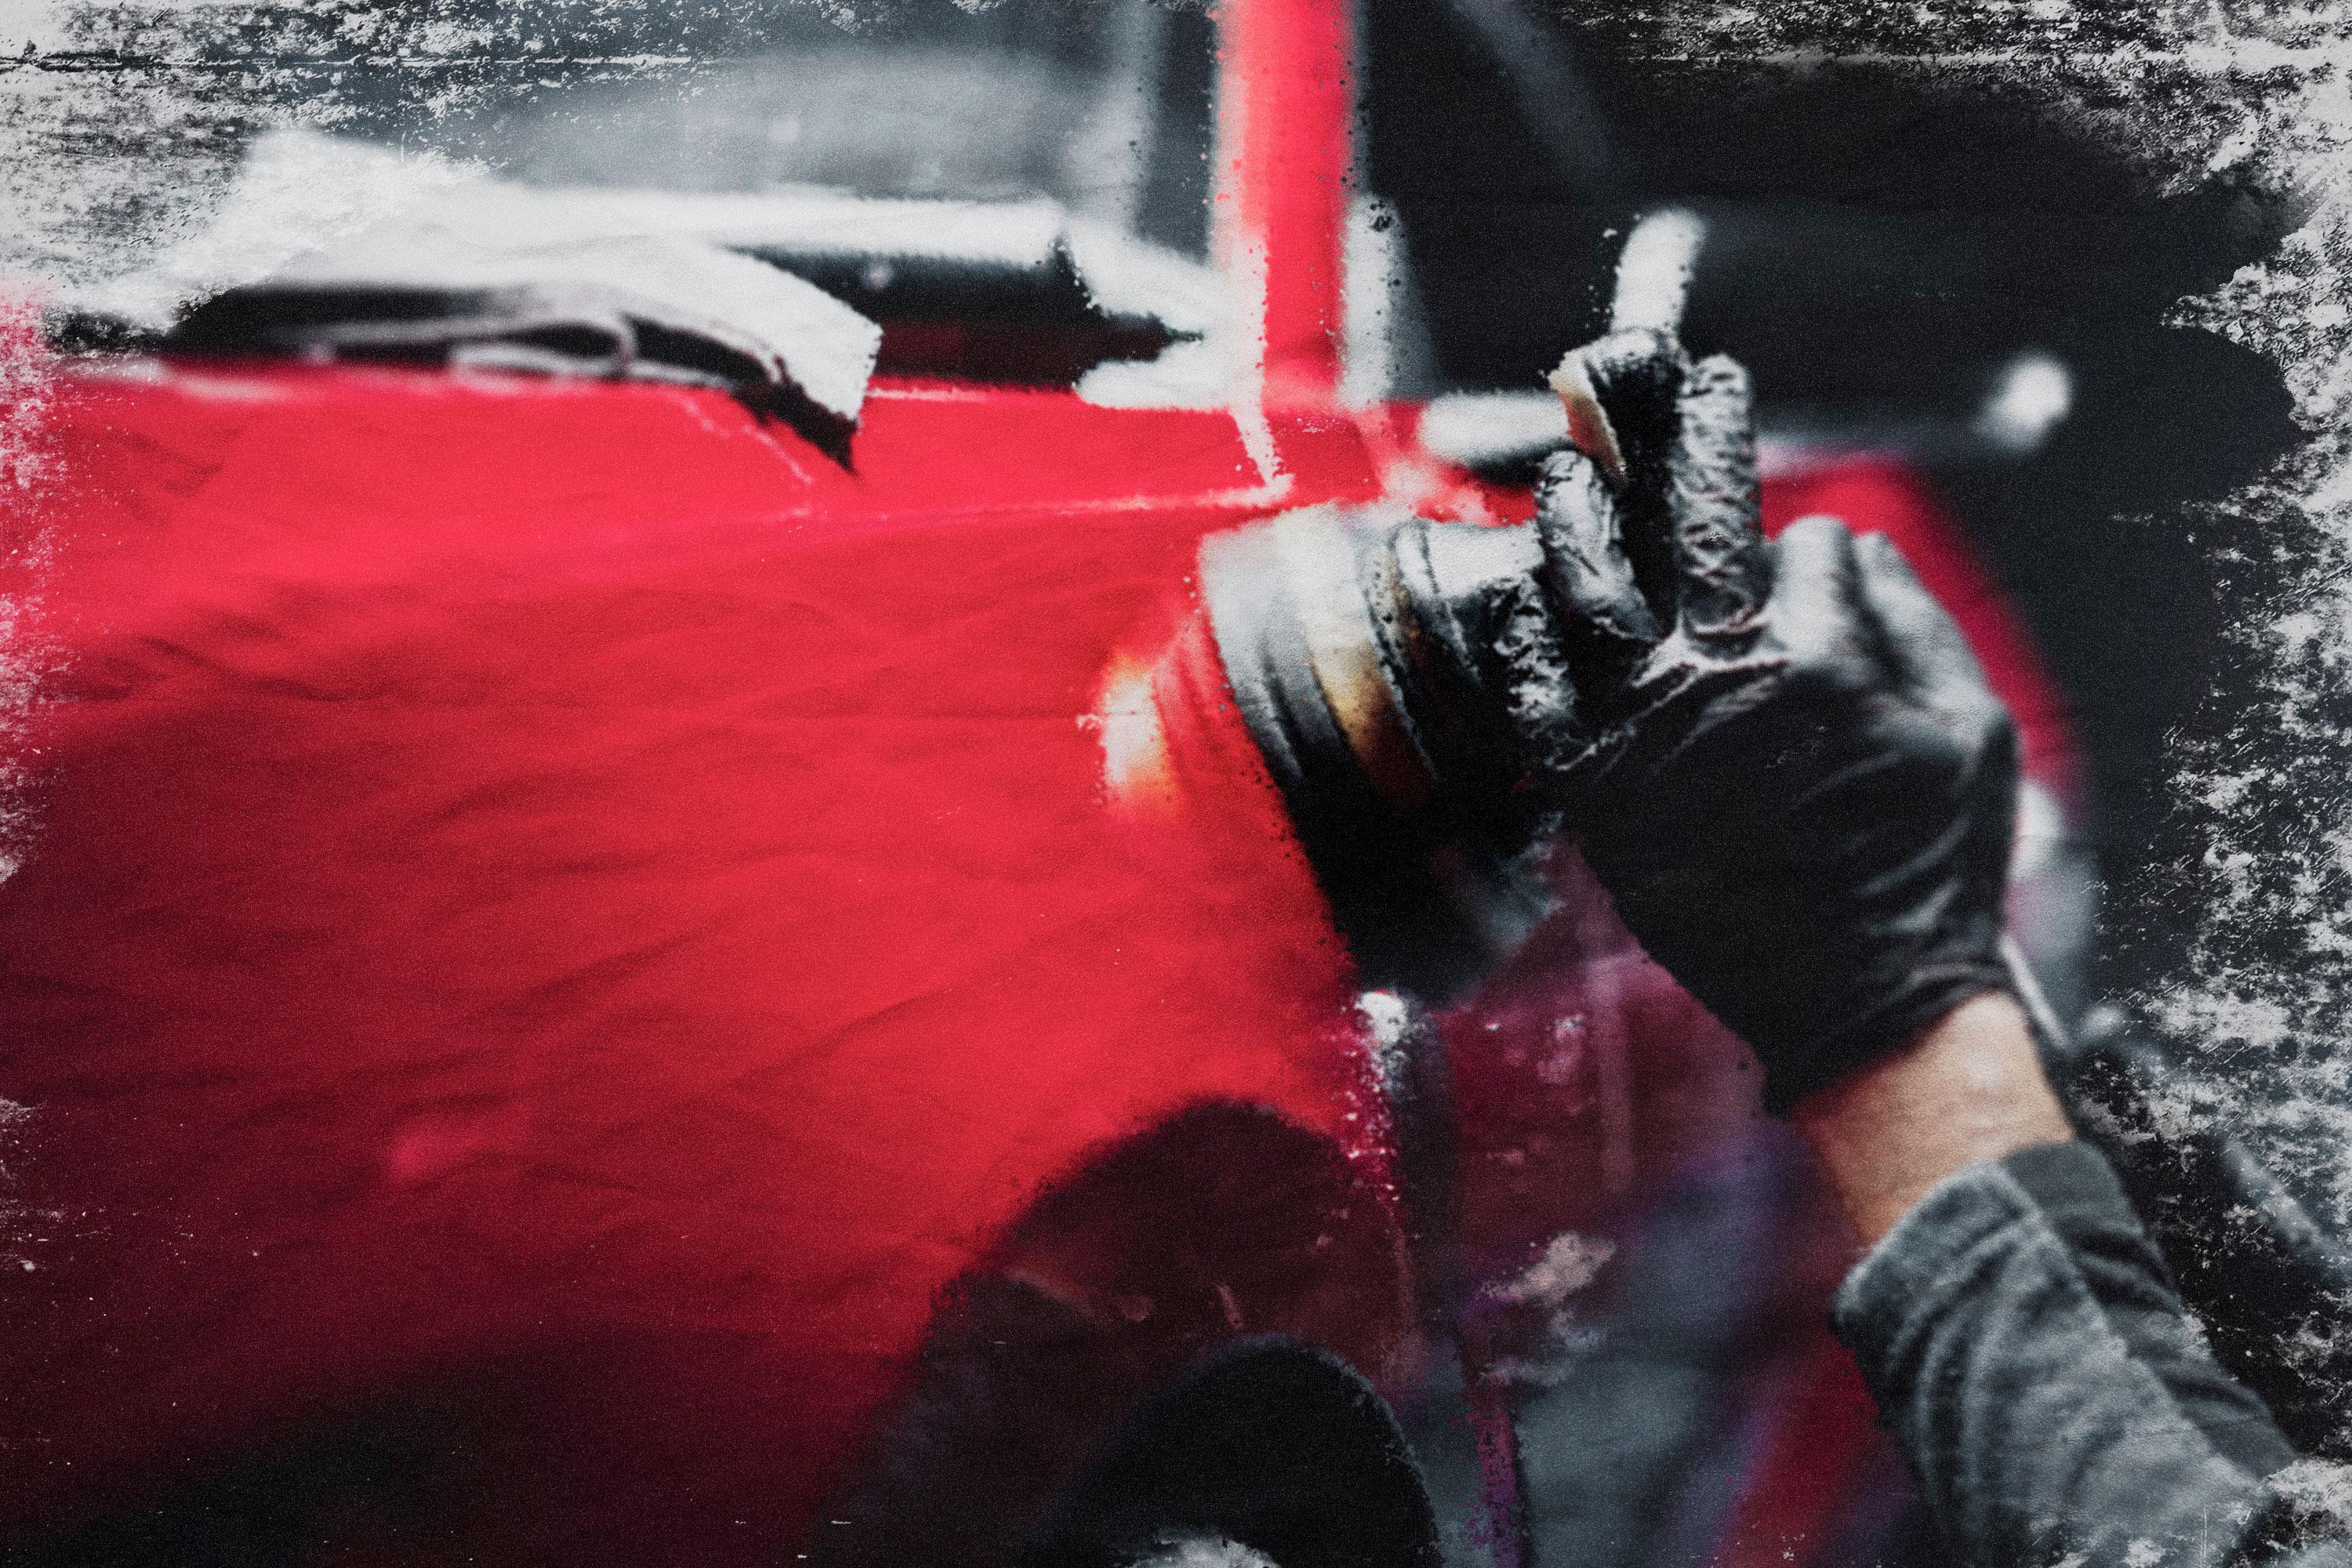
Step 5: Apply Wax or Polish to the Exterior
The last step of detailing is protection, which includes all painted parts of the doors and cargo area hatches that are covered when they are closed, as well as the painted surfaces of the vehicle’s door jambs. This process is usually referred to as “waxing.” However, not all car waxes are equal, and not all of them are even wax.While Mr. Tumaylle likes ceramic coatings, which have the benefit of repelling almost all moisture and dirt, some require professional application, can only be cleaned using specific products, and will require a time-consuming and costly removal and reapplication process within several years.
Mr. Brekke uses DIY-friendly carnauba wax “to enhance the shine and to help prevent a buildup of bugs and road grime,” he said. The product is easy to apply and easy to remove.
Apply a dab of the wax or polish about the size of a quarter to a clean, soft cloth, working in small sections of about two or three feet at a time. When it dries to a haze, buff it off with an old, soft cotton towel. Don’t apply it to plastic trim, and if you get it on medallions, use an old toothbrush to remove it.
Step 6: Show It Off!
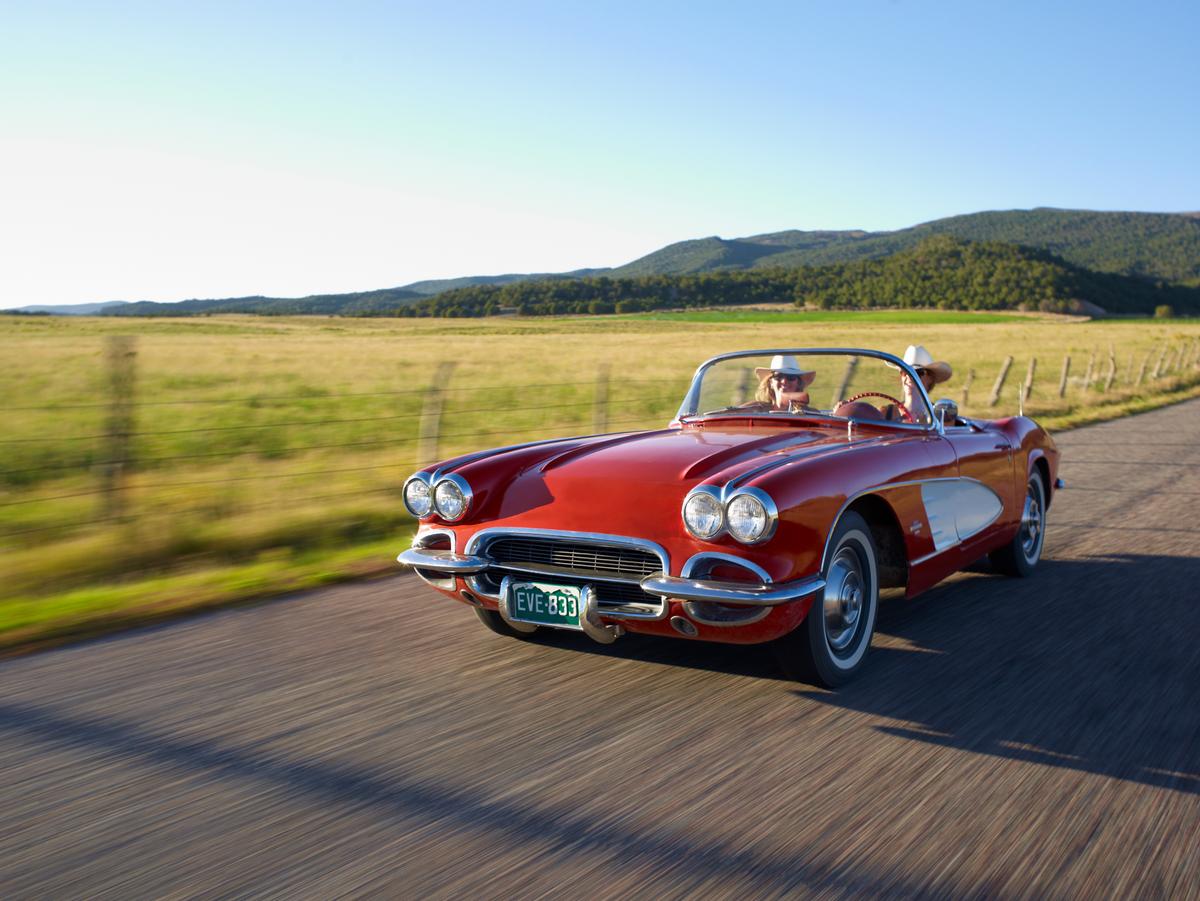
The bottom line is: It’s easier than you might expect to keep your car in showroom condition. Don’t let its pristine condition, however, keep you from using it. Unlike concours and other classic vehicles, yours is meant to be driven. As Mr. Brekke says, “Enjoy your vehicle; don’t be afraid to show it off and share your story about it.”