SPECIAL COVERAGE
Read More


Read More
Senate Dismisses Mayorkas Impeachment Articles
Senate Democrats voted to quash a Mayorkas impeachment trial over Republican objections that such a move violates the Constitution.


![[LIVE on 4.19 1PM ET] How Diet, Lifestyle Could End 80 Percent of Diabetes, Cancer, other Disease](/_next/image?url=https%3A%2F%2Fimg.theepochtimes.com%2Fassets%2Fuploads%2F2024%2F04%2F13%2Fid5628731-Food-Matters-web-1920x1080-1.jpeg&w=1200&q=75)
Senate Dismisses Mayorkas Impeachment Articles
Senate Democrats voted to quash a Mayorkas impeachment trial over Republican objections that such a move violates the Constitution.

![[LIVE on 4.19 1PM ET] How Diet, Lifestyle Could End 80 Percent of Diabetes, Cancer, other Disease](/_next/image?url=https%3A%2F%2Fimg.theepochtimes.com%2Fassets%2Fuploads%2F2024%2F04%2F13%2Fid5628731-Food-Matters-web-1920x1080-1-1080x720.jpeg&w=1200&q=75)


Trending Videos


Top Premium Reads


Top Stories


Most Read

911 Outage Affecting Multiple States
Officials are urging the public to refrain from testing the emergency phone lines while efforts to restore service are ongoing.


China Knows How to Stop Fentanyl But Is ‘Perfectly Okay’ Letting It Flow to US: Krishnamoorthi
The House Select Committee on the Chinese Communist Party (CCP) held a hearing on Tuesday to discuss the CCP’s apparent role in the global fentanyl trade and it


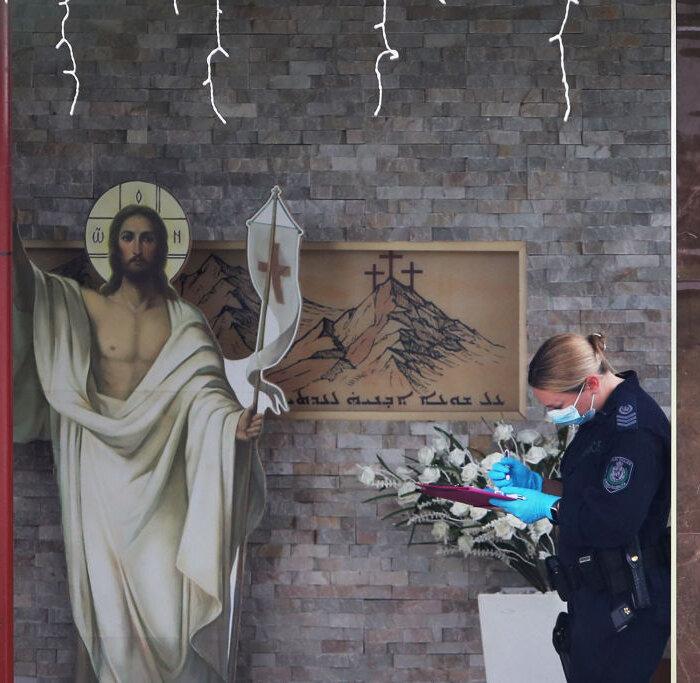
Novel Legal Arguments Made in Covenant Shooter’s Documents Case
Arguments were finally held this week a year after the initial lawsuits seeking the documents were filed.


Trial for FBI Informant Accused of Faking Biden Bribe Claims Won’t Begin Until After 2024 Election Judge Rules
Alexander Smirnov was identified earlier this year as a confidential FBI informant who passed allegations to the bureau.


House Rejects Bill That Would Require Feds to Obtain a Warrant to Purchase Americans’ Data
‘This bill is exactly the type of legislation needed to rein in the federal government and protect the privacy rights of Americans,’ Rep. Harriet Hageman said.


Northern California City Relaxes Homeless Rules Amid Federal Lawsuit
San Rafael officials have struggled to address public safety issues surrounding a large homeless encampment near a middle school.


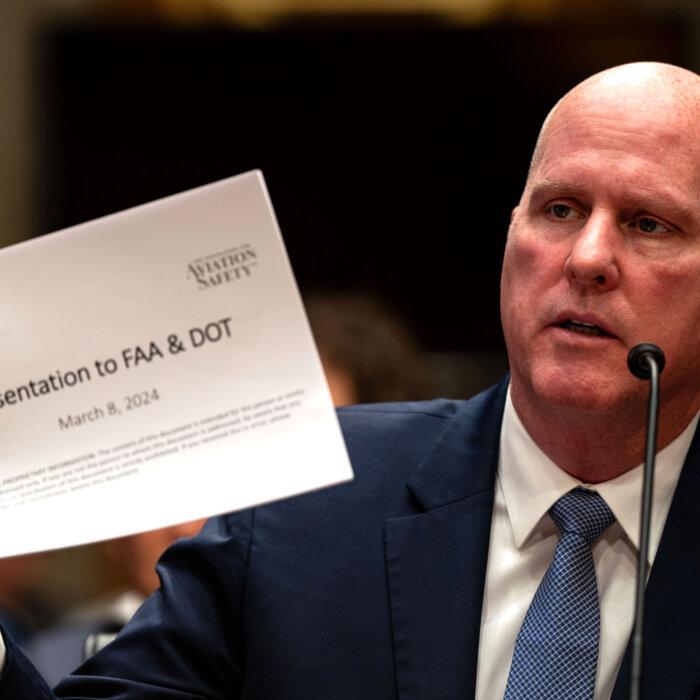
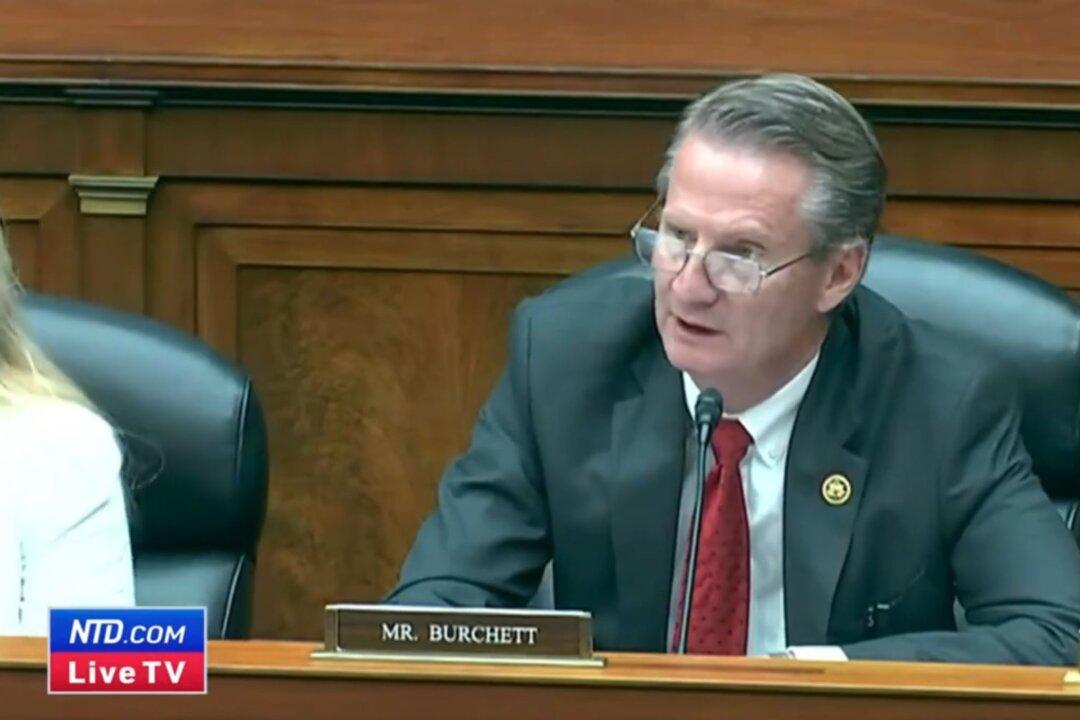
‘This Is a Criminal Cover-Up’: Whistleblowers Sound Alarm Over Boeing Safety Concerns
The aircraft manufacturer is facing congressional scrutiny after a recent mid-air emergency.

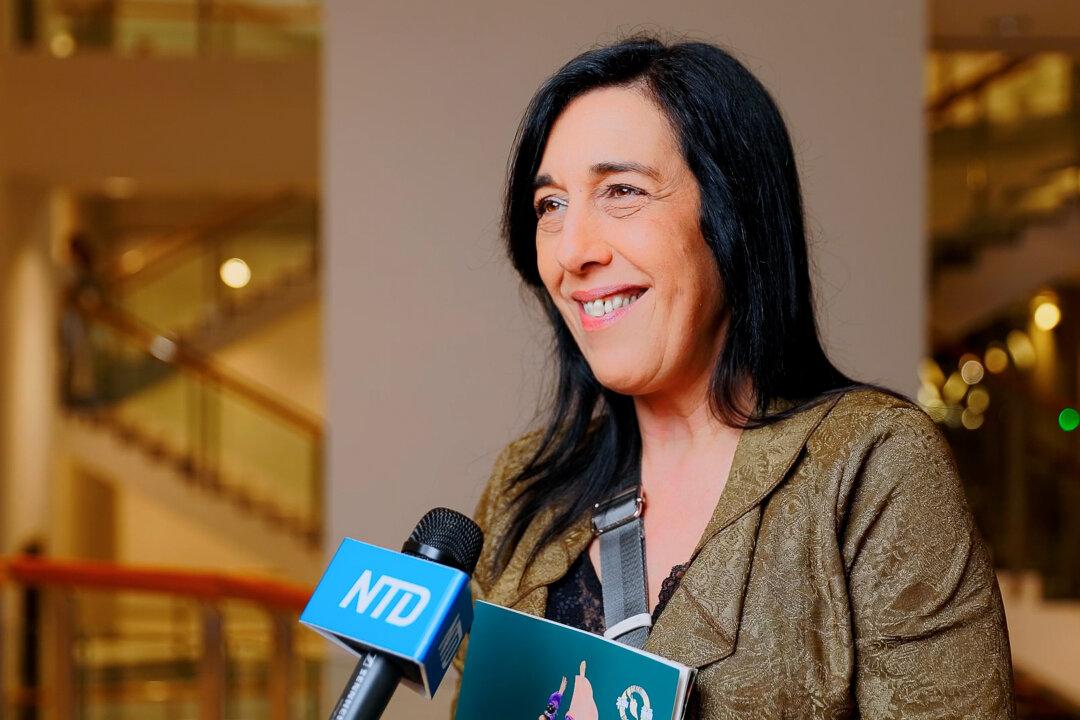
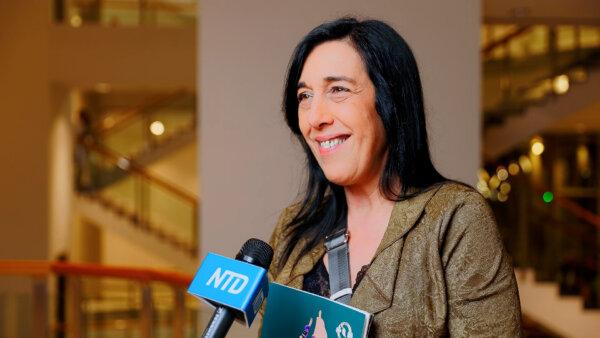
Lawmaker Asks How US Can Protect Shen Yun Against Malign CCP Campaign
‘They are frankly criminal acts by a foreign government against our people on our soil,’ expert witness says about campaign targeting performing arts company.


Biden to Reimpose Sanctions on Venezuelan Oil and Gas
Some standalone licenses with the socialist nation will remain intact.


Supreme Court Justices Seem Skeptical of Jan. 6 Obstruction Charge Used in Trump Case
Hundreds of defendants, including President Trump, hope the court’s eventual ruling in this former cop’s appeal will lead to their charges being dismissed.


Georgia DAs Sue to Block ‘Rogue’ Prosecutor Law That Democrats Fear Can Be Used Against Fani Willis
‘Holding rogue prosecutors accountable for refusing to uphold the law is ... critical to ensuring our communities remain safe and secure,’ Gov. Brian Kemp said.


Michigan Gov. Whitmer Seeks to Slash Auditor General’s Budget by 28 Percent
Auditor General Doug Ringler warned the decrease ‘would significantly impair the oversight’ his office provides.


Bill Barr Responds to Trump Hush Money Trial: ‘Abomination’
The former attorney general revealed who he might vote for in 2024.


‘The Rose of Tralee’: A Woman’s Virtue Celebrated
An Irish town’s famous love story and beloved folk song inspires a yearly festival honoring beauty and virtue.
‘The Rose of Tralee’: A Woman’s Virtue Celebrated
An Irish town’s famous love story and beloved folk song inspires a yearly festival honoring beauty and virtue.

Epoch Readers’ Stories
Wisdom From a Retired Cowboy Artist
I have lived the life of the sculptures I have made.
Section 3 of 14th Amendment Not Applicable for Ruling Trump out of 2024
I don’t believe that Section 3 of 14th Amendment is self-executive and therefore can not be applied directly by the court.
Inspired Stories
Empower the World with Your Story: Share Love, Inspiration, and Hope with Millions


Special Coverage
Special Coverage


![[LIVE Q&A 04/18 at 10:30AM ET] 20 States Want to Allow Assisted Suicide](/_next/image?url=https%3A%2F%2Fimg.theepochtimes.com%2Fassets%2Fuploads%2F2024%2F04%2F17%2Fid5631798-CR-TN_REC_0418-600x338.jpg&w=1200&q=75)


Epoch Health


Bright

‘Tim’s Vermeer’: Duplicating a Masterwork
Magicians Penn Jillette and Teller lend their talents to a documentary that reveals a few centuries-old secrets.

The French Loire Valley’s Cheverny Castle
In this installment of ‘Larger Than Life: Architecture Through the Ages,’ we learn that a noble family calls this 600-year old castle home.

What Was Karl Marx Like?
Marx’s unbalanced Life and unbalanced philosophy has had deadly implications for millions.

Booth Tarkington’s Short Story, ‘The Spring Concert’
A 19th-century author reminds us of the radiating warmth of spring.

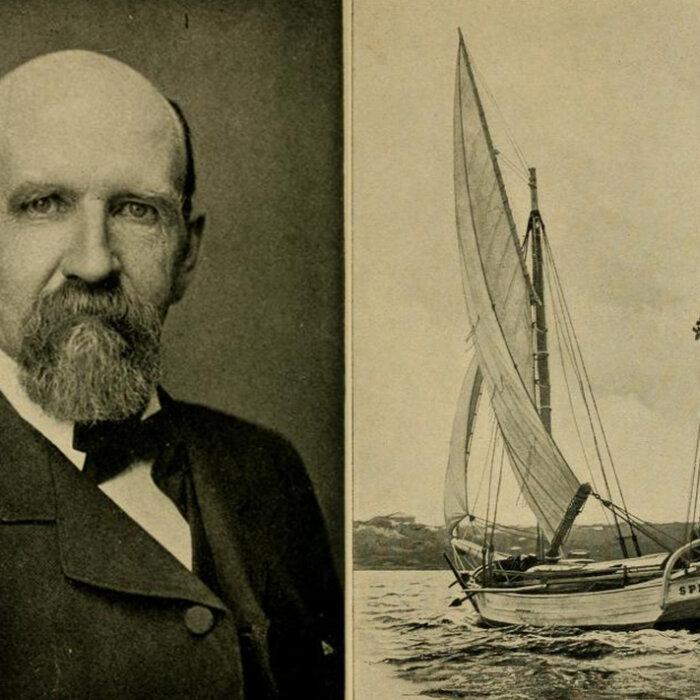
S. Truett Cathy: Founder of Chick-fil-A
This entrepreneur called on his ethic of hard work to build a successful fast food franchise.

Rembrandt’s Sole Seascape and the Great Heist
Stolen from the Isabella Stewart Gardner Museum in 1990, ‘Christ in the Storm on the Sea of Galilee’ along with two other Rembrandts are still missing.

Where Time Stands Still: Mast General Store
The general stores encapsulates a bygone era for travelers in North Carolina.


‘Tim’s Vermeer’: Duplicating a Masterwork
Magicians Penn Jillette and Teller lend their talents to a documentary that reveals a few centuries-old secrets.


The ‘French 75’ Cocktail Will Make You Feel Like You’re at a Fancy Restaurant
A French 75 is a great classic cocktail to celebrate milestones or special events with.


Ed Perkins on Travel: Travel Scams—Anything New?
Hotels are not the only places that have hidden fees.

Helsinki and Tallinn: Pearls of the Baltic
Finland and Estonia—are not only neighbors, but soul sisters.
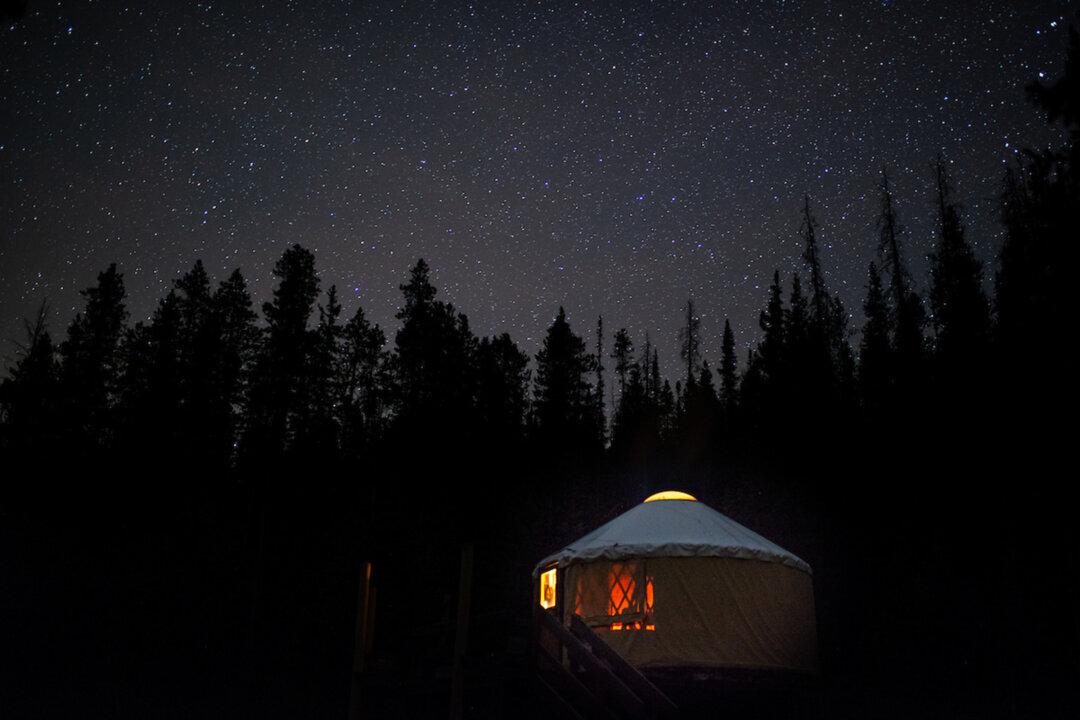
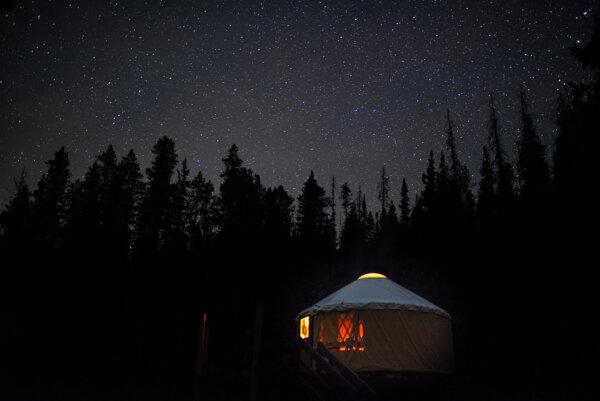
Yurt Overnights Returning to Colorado State Park After Controversial Pause
Yurts were traditionally used by nomads in Mongolia, Siberia, and Turkey.

Ed Perkins on Travel: Travel Scams—Anything New?
Hotels are not the only places that have hidden fees.